


9
2. Setting up the Display
Note
1. The EasyLink-compliant device
must be switched on and selected
as the source.
2. Philips does not guarantee 100%
interoperability with all HDMI CEC
devices.
3
Description of the On Screen Display
What is On-Screen Display (OSD)?
On-Screen Display (OSD) is a feature in
all Philips LCD displays. It allows an end
user to adjust screen performance or
select functions of the displays directly
through an on-screen instruction
window. A user friendly on screen
display interface is shown as below:
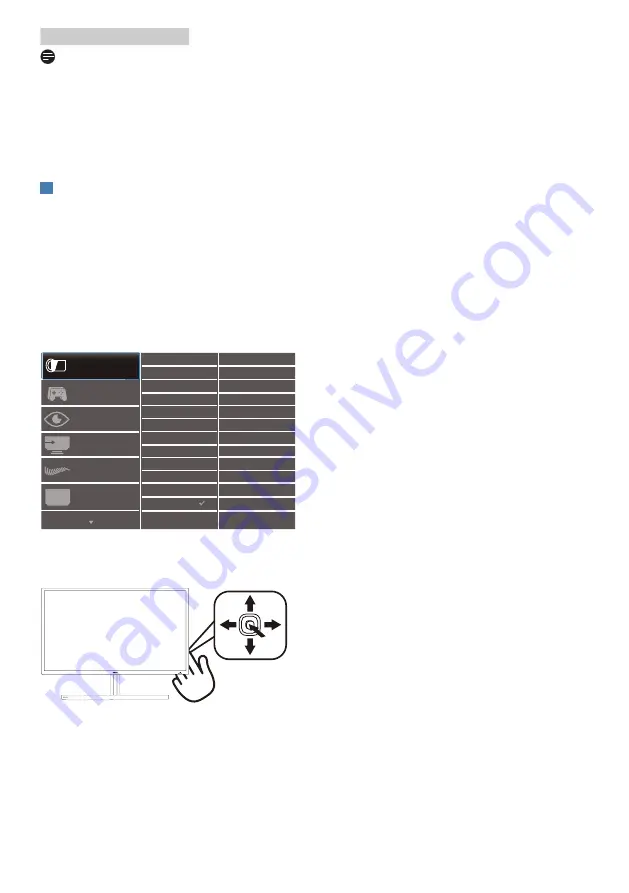
Basic and simple instruction on the
control keys
To access the OSD menu on this Philips
display simply use the single toggle
button on the backside of the display
bezel. The single button operates like
a joystick. To move the cursor, simply
toggle the button in four directions.
Press the button to select desired
option.


