C
2
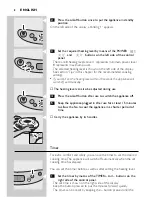
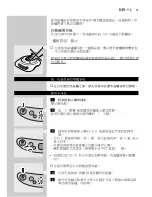
Press the on/off button once to put the appliance in standby
position.
On the left side of the display a blinking '1' appears.
C
3
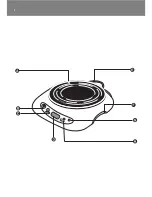
Set the required heating level by means of the POWER
and
buttons on the left side of the control
panel.
- There are 8 heating levels. Level 1 represents minimum power, level
8 represents maximum power.
- The selected heating level is shown on the left side of the display.
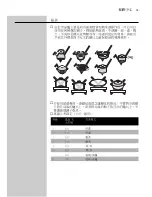
- See section 'Tips' in this chapter for the recommended cooking
settings.
B
If you don't set the heating level within 30 seconds, the appliance will
switch off automatically.
◗
The heating level can also be adjusted during use.
C
4
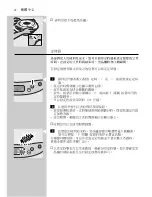
Press the on/off button after use to switch the appliance off.
5
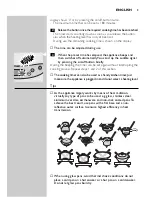
Keep the appliance plugged in after use for at least 15 minutes
to allow the fan to cool the appliance in a shorter period of
time.
C
◗
Carry the appliance by its handles.
Timer
For extra comfort and safety, you can use the timer to set the desired
cooking time.The appliance will switch off automatically when the set
cooking time has elapsed.
You can set the timer before as well as after setting the heating level.
C
1
Set the timer by means of the TIMER
¢
and
£
buttons on the
right side of the control panel.
- The set time is shown on the right side of the display.
- Keep the button pressed to put the minutes forward quickly.
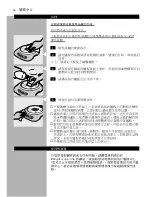
- The timer can be reset by keeping the
£
button pressed until the
ENGLISH
8
Содержание Haloplate HD4415
Страница 1: ...Haloplate HD4415 ...
Страница 2: ...2 ...
Страница 3: ...3 ...
Страница 4: ...4 ...
Страница 5: ...ENGLISH 6 12 HD4415 ...
Страница 12: ...A E B F C G D H 12 ...
Страница 13: ...C 1 C 2 C 3 B C 4 5 13 ...
Страница 14: ...C C 1 2 C 3 14 ...
Страница 15: ...15 ...
Страница 16: ...16 1 C 2 C 3 4 C 5 ...
Страница 17: ...17 ...
Страница 18: ...18 ...
Страница 19: ...19 ...
Страница 20: ...u 4222 002 00031 www philips com ...


