background image

18

English

External Sources

Listening to external sources

Using AUX IN (white/red jacks)

1

Use the audio cables (white/red, not supplied) to
connect 

AUX IN (L/R)

 jacks of the main unit

(located on the back panel ) to the
corresponding AUDIO OUT jacks on an
external device (such as TV or VCR).

2

Press 

AUX

 to select AUX..

Using MP3 LINK (3.5 mm jack )

1

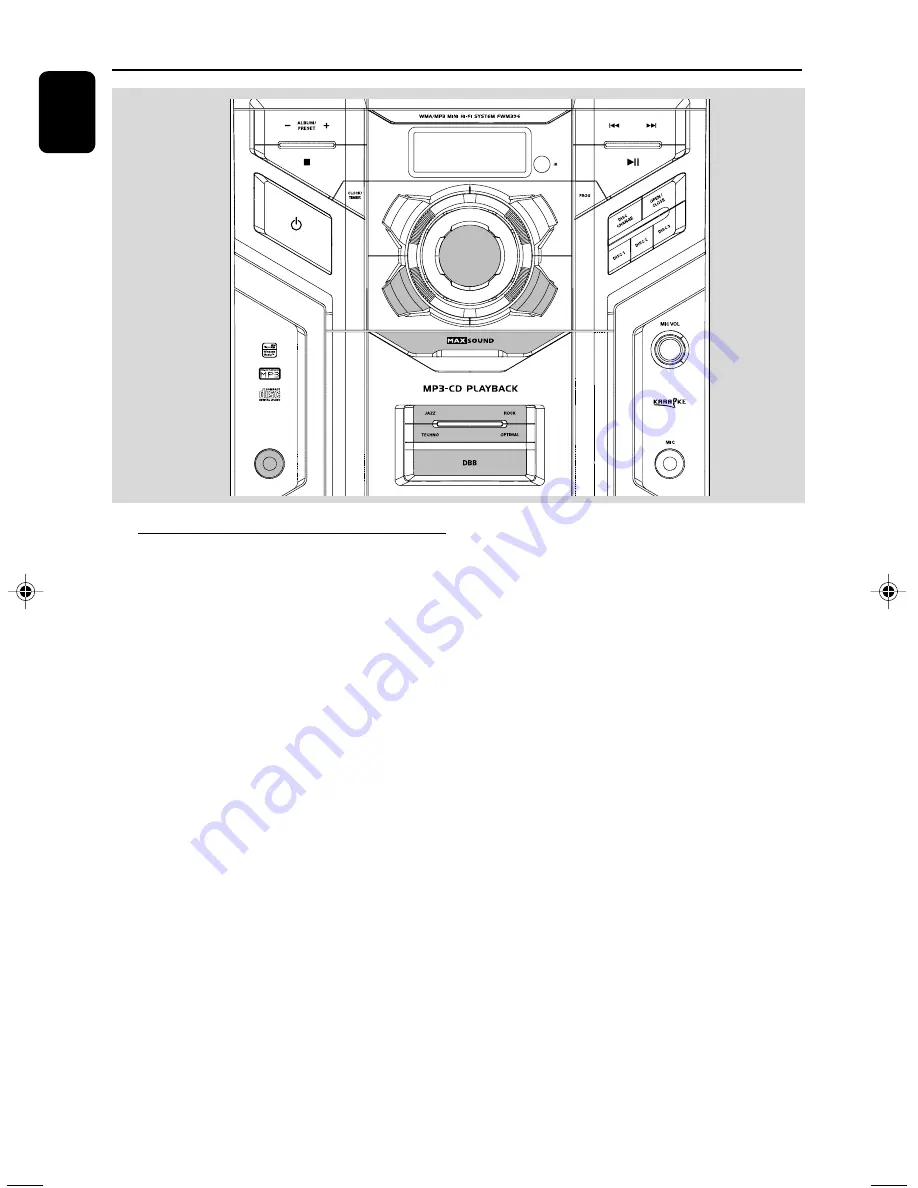
Use a MP3 link cable (supplied) to connect

MP3 LINK 

jack of the main unit (3.5 mm,

located on the front panel) to an AUDIO OUT
or headphone jack on an external equipment
(such as CD player, or VCR).

2

Press 

MP3 LINK 

(or 

Line-in 

(MP3 LINK) on

the remote control) to select MP3 LINK.

Note:
– All the sound control features (DSC or DBB, for
example) are available for selection.
– Refer to the operating instructions for the
connected equipment for details.

MP3 LINK

pg001-023_FWM396_55_Eng 4/3/08, 

15:35

18

Содержание FWM396

Страница 1: ...FWM396 Mini Hi Fi System Register your product and get support at www philips com welcome ...

Страница 2: ...e Serie ______________________________ LEA CUIDADOSAMENTE ESTE INSTRUCTIVO ANTES DE USAR SU APARATO AVISO IMPORTANTE Philips Mexicana S A de C V no se hace responsable por daños o desperfectos causados por Maltrato descuido o mal uso presencia de insectos o roedores cucarachas ratones etc Cuando el aparato no haya sido operarado de acuerdo con el instructivo del uso fuera de los valores nominales ...

Страница 3: ...3 1 2 3 4 5 6 7 8 9 0 1 2 3 4 5 6 7 8 9 0 3 MP3 LINK ...

Страница 4: ...other unsafe operation ATENCIÓN El uso de mando o ajustes o la ejecucción de métodos que no sean los aquí descritos puede ocasionar peligro de exposición a radiación CUIDADO A utilização de comandos ou ajustes ou a execução de procedimentos diferentes dos descritos neste manual podem provocar uma exposição a radiações perigosas ou outras operações inseguras ...

Страница 5: ...5 English Português Español Index English 6 Português 52 Español 24 ...

Страница 6: ...BB Dynamic Bass Boost Karaoke 13 CD MP3 CD WMA Operations Discs for playback 14 About MP3 disc 14 Loading discs 14 15 Playing discs 15 Replacing discs during playback 15 Selecting a desired track passage 15 Selecting a desired Album Title MP3 WMA disc only 15 Different play modes SHUFFLE and REPEAT 16 Programming the disc tracks 16 Erasing the programme 16 Radio Reception Tuning to radio stations ...

Страница 7: ...lug or an appliance coupler is used as the disconnet device the disconnet device shall remain readily operable Place the system in a location with adequate ventilation to prevent internal heat build up in your system Allow at least 10 cm 4 inches clearance from the rear and the top of the unit and 5 cm 2 inches from each side The ventilation should not be impeded by covering the ventilation openin...

Страница 8: ...ing an electric shock The machine does not contain any user serviceable parts Modification of the product could result in hazardous radiation of EMC or other unsafe operation To avoid overheating of the system a safety circuit has been built in Therefore your system may switch to Standby mode automatically under extreme conditions If this happens let the system cool down before reusing it not avai...

Страница 9: ...SPEAKERS terminals right speaker to R and left speaker to L coloured marked wire to and black unmarked wire to 1 2 Fully insert the stripped portion of the speaker wire into the terminal as shown Notes For optimal sound performance use the supplied speakers Do not connect more than one speaker to any one pair of speaker terminals Do not connect speakers with an impedance lower than the speakers su...

Страница 10: ... system on or to standby mode 6 Source selection to select the following DISC to select disc tray 1 2 or 3 TUNER to select waveband FM or MW MP3 LINK to select the input for an additional appliance MP3 LINK AUX to select the input for an additional appliance AUX 7 MAX SOUND to activate or deactivate the optimal mix of various sound features 8 DSC Digital Sound Control Selects different types of pr...

Страница 11: ...higher radio frequency for Clock Timer to set the hour í ë for MP3 CD to select previous next title for CD to skip to the beginning of the current previous or next track 7 DSC Selects different types of preset sound equaliser settings OPTIMAL TECHNO ROCK or JAZZ 8 Ç for CD MP3 CD to stop playback or to clear a programme for Clock to exit clock setting 9 ALB PRESET for MP3 CD to select previous nex...

Страница 12: ...UTO INSTALL PRESS PLAY is displayed 2 PressÉ Åagain to start installation All previously stored radio stations will be replaced To exit without storing the Plug and Play Press Ç If you do not complete the Plug and Play installation the function will be restarted when you next turn on the main supply again Notes When the power is turned on the disc tray may open and close to initialise the system I...

Страница 13: ...ound effects that have preset equaliser settings providing the best music reproduction 1 Press DSC to select OPTIMAL TECHNO ROCK or JAZZ The selected DSC is shown DBB Dynamic Bass Boost There are three DBB settings to enhance the bass response 1 Press DBB on the remote control to select DBB 1 DBB 2 DBB 3 or DBB OFF The selected DBB is shown except for DBB OFF mode Note Some discs or tapes might be...

Страница 14: ...RW discs MP3 CDs WMA CD ROMs with MP3 WMA tracks DRM protected WMA is not supported CD MP3 CD WMA Operations About MP3 disc Supported formats ISO9660 Joliet Multisession Max track number plus album is 512 The max MP3 program track number is 40 SupportedVBR bit rate Supported sampling frequencies for MP3 disc are 32 kHz 44 1 kHz 48 kHz Supported Bit rates of MP3 disc are 32 64 96 128 192 256 kbps L...

Страница 15: ...disc only In CD mode press DISC or DISC 1 2 3 on the remote control The current disc will play once then stop To interrupt playback Press É Å The display freezes and the elapsed playing time flashes when playback is interrupted To resume playback press É Åagain To stop playback Press Ç Replacing discs during playback 1 Press DISC CHANGE The disc tray will open without interrupting current playback...

Страница 16: ...ntrol to select a disc 3 In stop mode press PROG to start programming PROG starts flashing 4 Press S T or í ë on the remote control repeatedly to select the desired track For MP3 WMA disc press ALBUM PRESTE and S T or í ë on the remote control to select the desired album and title for programming 5 Press PROG to store the track 6 To end programming press 9 once PROG stays and the programme mode re...

Страница 17: ...available stations are programmed in order of waveband reception strength When all the available radio stations are stored or the memory for 40 presets are used the first preset radio station will be played MP3 LINK To stop storing the automatic preset Press Ç Manual programming 1 Tune to your desired station refer to Tuning to radio stations 2 Press PROG to activate programming PROG flashes in th...

Страница 18: ...s AUX to select AUX Using MP3 LINK 3 5 mm jack 1 Use a MP3 link cable supplied to connect MP3 LINK jack of the main unit 3 5 mm located on the front panel to an AUDIO OUT or headphone jack on an external equipment such as CD player orVCR 2 Press MP3 LINK or Line in MP3 LINK on the remote control to select MP3 LINK Note All the sound control features DSC or DBB for example are available for selecti...

Страница 19: ...or if a power failure occurs During clock setting if no button is pressed within 90 seconds the system will exit clock setting mode automatically Timer setting The system can switch on to CD orTUNER mode automatically at a preset time serving as an alarm to wake you up IMPORTANT Before setting the timer ensure that the clock is set correctly 1 In standby mode press and hold CLOCK TIMER or TIMER on...

Страница 20: ...IMER Press TIMER ON OFF on the remote control appears on the display Sleep timer setting The sleep timer enables the system to switch to standby mode automatically at a preset time 1 In active mode press SLEEP on the remote control repeatedly to select a preset time The selections are as follows time in minutes 15 30 45 60 90 120 OFF 15 2 When you reach the desired length of time stop pressing the...

Страница 21: ...Dimensions w x h x d 207 x 309 x 214 mm Weight 2 8 kg each GENERAL Material finish Polystyrene Metal AC Power 110 127 220 240V 50 60 Hz Switchable Power Consumption Active 110 W Dimensions w x h x d 265 x 310 x 403 mm Weight without speakers 5 9 kg Specifications and external appearance are subject to change without notice Cleaning the Cabinet Use a soft cloth slightly moistened with a mild deterg...

Страница 22: ...versed Insert a disc Check if the disc is inserted upside down Wait until the moisture condensation at the lens has cleared Replace or clean the disc see Maintenance Use a finalized CD RW or a correct MP3 CD format disc Use a finalised CD RW or CD R If the signal is too weak adjust the antenna or connect an external antenna for better reception Increase the distance between the Mini HiFi System an...

Страница 23: ...on É Å í ë Reduce the distance between the remote control and the system Insert the batteries with their polarities signs aligned as indicated Replace the batteries Point the remote control directly towards the IR sensor Set the clock correctly Press TIMER ON OFF to switch on the timer Power has been interrupted or the power cord has been disconnected Reset the clock timer Troubleshooting ...

Страница 24: ...Português CLASS 1 LASER PRODUCT FWM396 PDCC ZYL 0815 Visite a Philips na Internet http www philips com ...

Отзывы: