


10
EN
3
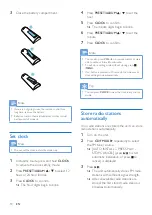
Close the battery compartment.
Note
•
If you are not going to use the remote control for a
long time, remove the battery.
•
Batteries contain chemical substances, so they should
be disposed of properly.
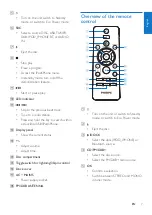
Set clock
Note
•
You can set the clock in standby mode only.
1
In standby mode, press and hold
CLOCK
to activate the clock setting mode.
2
Press
PRESET/ALBUM
/ to select 12
hour or 24 hour format.
3
Press
CLOCK
to confirm.
»
The hour digits begin to blink.
4
Press
PRESET/ALBUM
/ to set the
hour.
5
Press
CLOCK
to confirm.
»
The minute digits begin to blink.
6
Press
PRESET/ALBUM
/ to set the
minute.
7
Press
CLOCK
to confirm.
Note
•
You can also press
VOL -/+
on remote control or main
unit to set hour format/hour/minute.
•
To exit clock setting mode without storing, press
/
MENU
.
•
If no button is pressed in 90 seconds, the system exits
clock setting mode automatically.
Tip
•
You can press
CLOCK
to view the clock in any source
mode.
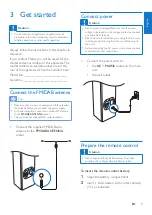
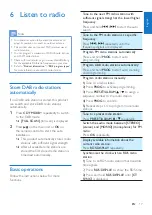
Store radio stations
automatically
If no radio stations are stored, the unit can store
radio stations automatically.
1
Turn on the unit.
2
Press
CD
/
FM
/
DAB+
repeatedly to select
the FM tuner source.
»
[AUTO INSTALL -- PRESS PLAY --
STOP CANCEL] (press
to start
automatic installation, or press to
cancel) is displayed.
3
Press
.
»
The unit automatically stores FM radio
stations with sufficient signal strength.
»
After all available radio stations are
stored, the first stored radio station is
broadcast automatically.


