background image

10

3

 Press 

SET TIME

 to confirm.


»

[24H] 

or 

[12H]

 begins to blink.

4

 Press 

 / 

 or 

 / 

 to select the 12/24 

hour format.

5

 Press 

SET TIME

 to confirm.

The hour digits begin to blink.


»

6

  Repeat steps 4-5 to set the hour, minute, 

year, month, and day. 

Note

If clock is not manually set, when iPod/iPhone/iPad 


is connected, the unit synchronizes time from the 
iPod/iPhone/iPad automatically.

Tip

The accuracy of the transmitted time depends on the 


DAB+ station or the docked iPod/iPhone/iPad that 
transmits the time signal.

Turn on

Press 

POWER

.

The unit switches to the last selected 


»

source.

Tip

To select a source, press 


SOURCE

 repeatedly or the 

source selection buttons on the remote control.

Switch to standby mode

Press 

POWER

 again to switch the unit to 

standby mode.

The time and date (if set) appear on 


»

the display panel.

Connect power

Caution

Risk of product damage! Ensure that the power 


voltage corresponds to the voltage printed on the 
back or underside of the unit.
Risk of electric shock! When you unplug the power 


adapter, always pull the plug from the socket. Never 
pull the cord.
Before connecting the power adapter, ensure that 


you have completed all other connections.
Use the supplied power adapter only.


Note

The type plate is located on the bottom of the main 


unit.

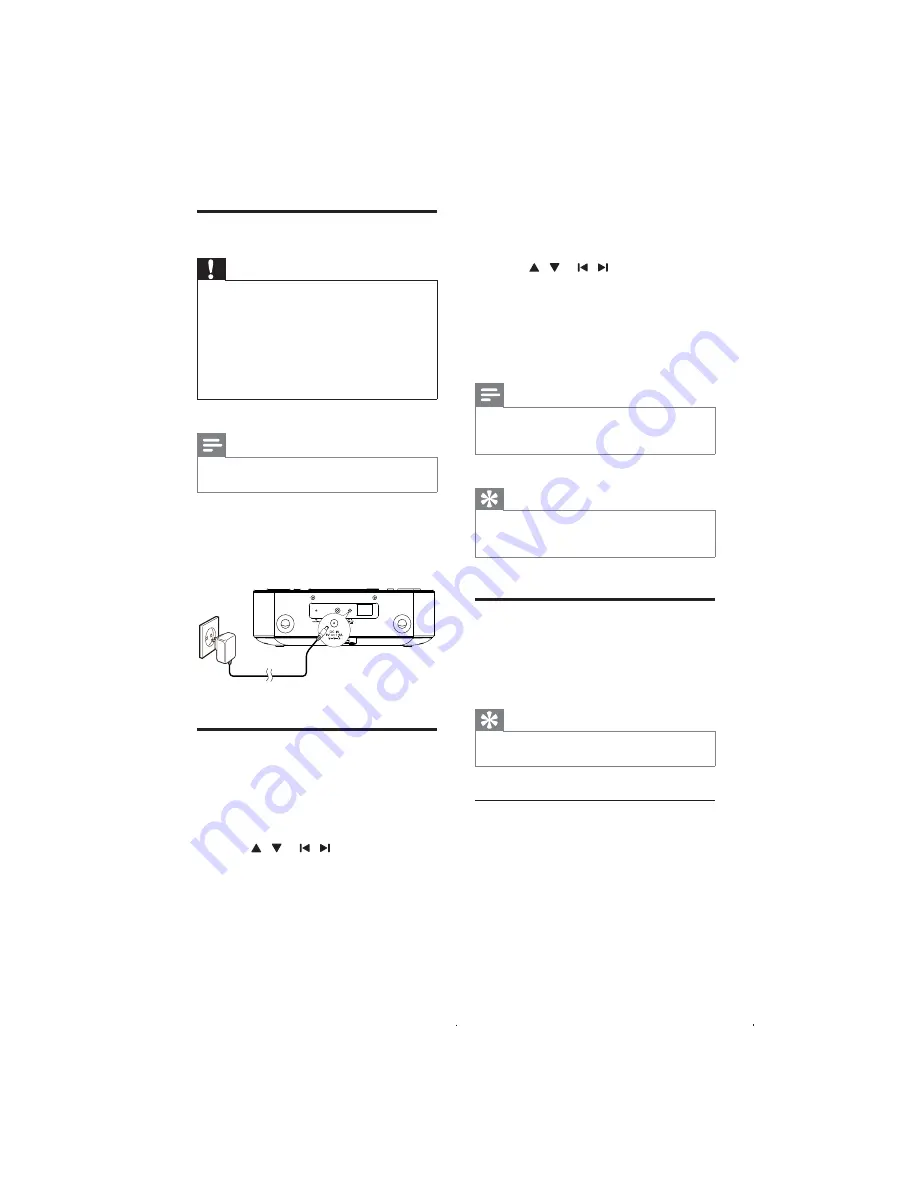
Connect the power adapter to:

the 

• 

DC IN

 socket at the back of the 

unit. 
the wall socket.

• 


Set time and date

1

  In standby mode, press and hold 

SET 

TIME

 for 2 seconds.


»

[SYNC ON] 

is displayed and 

[ON] 

begins to blink.

2

 Press  /   or   /   repeatedly to select 

ON

 or 

OFF

.


»

[ON]

: The unit synchronizes time 

from the DAB+ station.


»

[OFF]

: The time synchronization with 

DAB+ station is deactivated. 

EN

Содержание DCB291/12

Страница 1: ... get support at www philips com welcome DCB291 12 EN User manual 3 DA Brugervejledning 19 DE Benutzerhandbuch 35 ES Manual del usuario 53 FR Mode d emploi 69 IT Manuale utente 87 NL Gebruiksaanwijzing 105 SV Användarhandbok 121 ...

Страница 2: ......

Страница 3: ...o the main unit 9 Prepare the remote control 9 Connect power 10 Set time and date 10 Turn on 10 4 Play 11 Play from iPod iPhone iPad 11 Play from an external device 11 Adjust sound 12 5 Listen to radio 12 Listen to DAB radio 12 Listen to FM radio 14 6 Other features 15 Set the alarm timer 15 Set the sleep timer 15 Adjust display brightness 15 7 Product information 16 Specifications 16 8 Troubleshoo...

Страница 4: ... damaged in any way such as power supply cord or plug is damaged liquid has been spilled or objects have fallen into the apparatus the apparatus has been exposed to rain or moisture does not operate normally or has been dropped 1 Important Safety This bolt of lightning indicates uninsulated material within your unit may cause an electrical shock For the safety of everyone in your household please ...

Страница 5: ...arked on the unit Do not mix batteries old and new or carbon and alkaline etc Remove batteries when the unit is not used for a long time Batteries battery pack or batteries installed shall not be exposed to excessive heat such as sunshine fire or the like o Apparatus shall not be exposed to dripping or splashing p Do not place any sources of danger on the apparatus e g liquid filled objects lighted ...

Страница 6: ...wer b DOCK for iPod iPhone iPad Load an iPod iPhone iPad c PRESET Select a preset radio station Navigate through iPod iPhone iPad menu Adjust time d TUNING Tune to a radio station Skip to the previous next audio file Search within an audio file Adjust time FM ANTENNA P M 3 K N I L 9V 1 9A DC IN VOL VOL SOURCE SLEEP ALARM 1 ALARM 2 REPEAT ALARM B R I G H T N E S S C O N T R O L PRESET PRESET SET TIME...

Страница 7: ...ust time d c e a b f g i h j k n m l i ALARM 1 ALARM 2 Set alarm timer View alarm settings Activate deactivate alarm timer j Turn on the unit or switch to standby mode Deactivate sleep timer k SET TIME AUTO SCAN Set time and date Store radio stations automatically manually l SLEEP Set sleep timer m VOL VOL Adjust volume n MENU Access iPod iPhone iPad DAB menu o FM antenna Improve FM reception p MP...

Страница 8: ... tuner MP3 link or iPod iPhone iPad g SET TIME AUTO SCAN Set the time and date Store radio stations automatically manually h REP AL BRIGHTNESS Adjust display brightness Repeat alarm i DBB Turn on or off dynamic bass enhancement j DSC Select a preset sound setting k AL 1 AL 2 View alarm settings Set alarm timer Activate deactivate alarm timer l VOL Adjust time m INFO Show DAB RDS information n SLEE...

Страница 9: ...polarity as indicated 3 Insert the battery tray back into the slot Note Before you press any function button on the remote control first select the correct source with the remote control instead of the main unit 3 Get started Caution Use of controls or adjustments or performance of procedures other than herein may result in hazardous radiation exposure or other unsafe operation Always follow the in...

Страница 10: ...o switch the unit to standby mode The time and date if set appear on the display panel Connect power Caution Risk of product damage Ensure that the power voltage corresponds to the voltage printed on the back or underside of the unit Risk of electric shock When you unplug the power adapter always pull the plug from the socket Never pull the cord Before connecting the power adapter ensure that you ...

Страница 11: ...certain iPod models it may take up to a minute before the charging indication appears Play from an external device You can also listen to an external audio device through this unit 1 Press MP3 LINK to select the MP3 link source 2 Connect the supplied MP3 link cable to the MP3 LINK socket 3 5mm at the back of this unit the headphone socket of an external device 3 Start to play the device see the us...

Страница 12: ...en broadcasts the first available station If no DAB service is available NO SERV no service is displayed Store DAB radio stations automatically In DAB mode press and hold AUTO SCAN for 3 seconds The unit stores all the available DAB radio stations automatically and then broadcasts the first available station Store DAB radio stations manually 1 Tune to a DAB radio station 2 Press AUTO SCAN to activat...

Страница 13: ...d audio status Date 5 Repeat the above steps to store other DAB stations Note To remove a pre stored DAB radio station store another station in its place Listen to a preset DAB radio station 1 In DAB mode press repeatedly to select a DAB radio station 2 Press OK to confirm Note If no DAB radio station is available the steps mentioned above are invalid Use DAB menu 1 In DAB mode press and hold MENU ...

Страница 14: ...s NEWS news SPORT sport POP M pop music Listen to FM radio Tune to FM radio stations 1 Press FM DAB to select FM tuner 2 Press and hold TUNING for 2 seconds The unit tunes to an FM radio station with strong reception automatically 3 Repeat step 2 to tune to more FM stations To tune to a weak station press TUNING repeatedly until you find optimal reception Store FM radio stations automatically You c...

Страница 15: ...res Set the alarm timer You can set two alarms to ring at different time Note Ensure that you have set the clock correctly See Get started Set time and date 1 Press and hold ALARM 1 or ALARM 2 for 2 seconds AL1 AL2 and the hour digits begin to blink 2 Press or repeatedly to set the hour 3 Press ALARM 1 or ALARM 2 to confirm AL1 AL2 and the minute digits begin to blink 4 Repeat steps 2 3 to set the ...

Страница 16: ...1 kg 1 4 kg 7 Product information Note Product information is subject to change without prior notice Specifications Amplifier Rated Output Power 2 x 5 W RMS Frequency Response 20 20000 Hz 3dB Signal to Noise Ratio 67 dB Total Harmonic Distortion 1 Aux Input MP3 link 0 5 V RMS 20kohm Tuner FM Tuning range 87 5 108 MHz Tuning grid 50 KHz Sensitivity Mono 26dB S N Ratio Stereo 46dB S N Ratio 22 dBu 43 ...

Страница 17: ...odel number and serial number are available No power Ensure that the AC power plug of the unit is connected properly Ensure that there is power at the AC outlet Ensure that the batteries are inserted correctly No sound Adjust the volume No response from the unit Disconnect and reconnect the AC power plug then turn on the unit again Poor radio reception Increase the distance between the unit and yo...

Страница 18: ...s reserved Specifications are subject to change without notice Trademarks are the property of Koninklijke Philips Electronics N V or their respective owners Philips reserves the right to change products at any time without being obliged to adjust earlier supplies accordingly 9 Notice This product complies with the radio interference requirements of the European Community Any changes or modifications...

Страница 19: ......

Страница 20: ... 2011 Koninklijke Philips Electronics N V All rights reserved DCB291_12_UM_V1 0 ...

Отзывы: