


20
NEX
TV
IEW
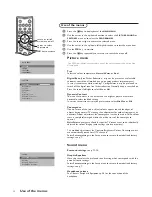
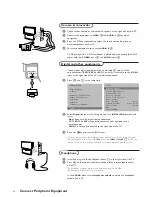
Basic functions
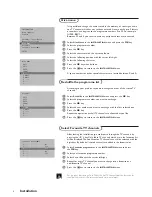
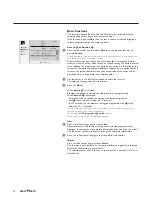
The functions Record, Remind, Info and Watch can be activated with the
corresponding colour keys on the remote control.
If the function is not available, then the text is shown at reduced brightness.
Select a programme with the cursor up/down.
Record
R
or Remind
!
&
Press the red colour key to activate
Record
or the green colour key to
activate
Remind
.
If the programme number of the broadcaster is not yet known, a message appears
with the request to input the right number.
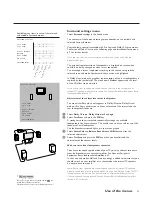
A small menu pops up in which you can choose the interval: once, daily or
weekly, or clear an earlier made record or remind setting.The default interval
is set to
Once
. If a programme is an episode of a series, it is identified by the
system and the options
daily
and
weekly
are replaced by the option
series
. In
this case the system identifies when the next episode of the series will be
broadcast.This is not possible in the Teletext guide.
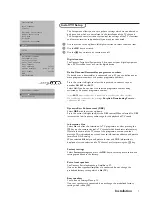
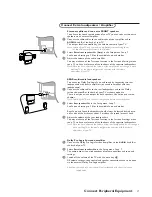
é
Use the cursor in the left/right direction to select the interval.
The colour of the tag refers to the interval.
“
Press the
OK
key.
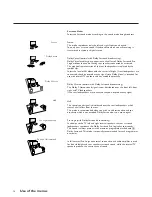
When
Record
R
is activated:
Storing
is displayed to indicate the video recorder is programmed.
When
Remind
!
is activated:
- a message will be displayed the moment the tagged programme
with
!
starts, when watching the TV later on.
- the TV switches on the moment the tagged programme with
!
starts,
when the TV is in standby.
Note: Recordings or reminders are not possible when the broadcaster does not
transmit date and time of the programmes.
The message
No TV programming possible
appears.
Make sure you are on the TV programming page.
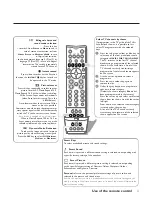
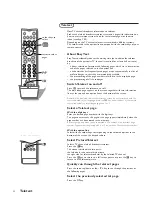
Info
&
Press the yellow colour key to activate
Info
.
Advertisements or information relating to the selected programme are
displayed. In some cases the complete information does not fit on the screen.
Use the cursor up/down to browse through the complete information.
é
Press the yellow colour key again to switch off the information.
Watch
Press the blue colour key to activate
Watch
.
This function is only available if a currently broadcast programme is selected.
Otherwise the function is not available.
The selection causes the TV to tune to the selected TV channel.
NEX
TV
IEW
is
switched off.
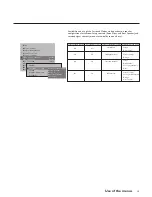
Record
Remind
Info
Watch
Info block
Date Time
Channel
CNN
BBC1
BBC2
BBC1
NEX
TV
IEW
11.03
Travel Guide
14.35
World news
17.50
Insight
R
!
p
Once
π
Daily
Weekly Clear


