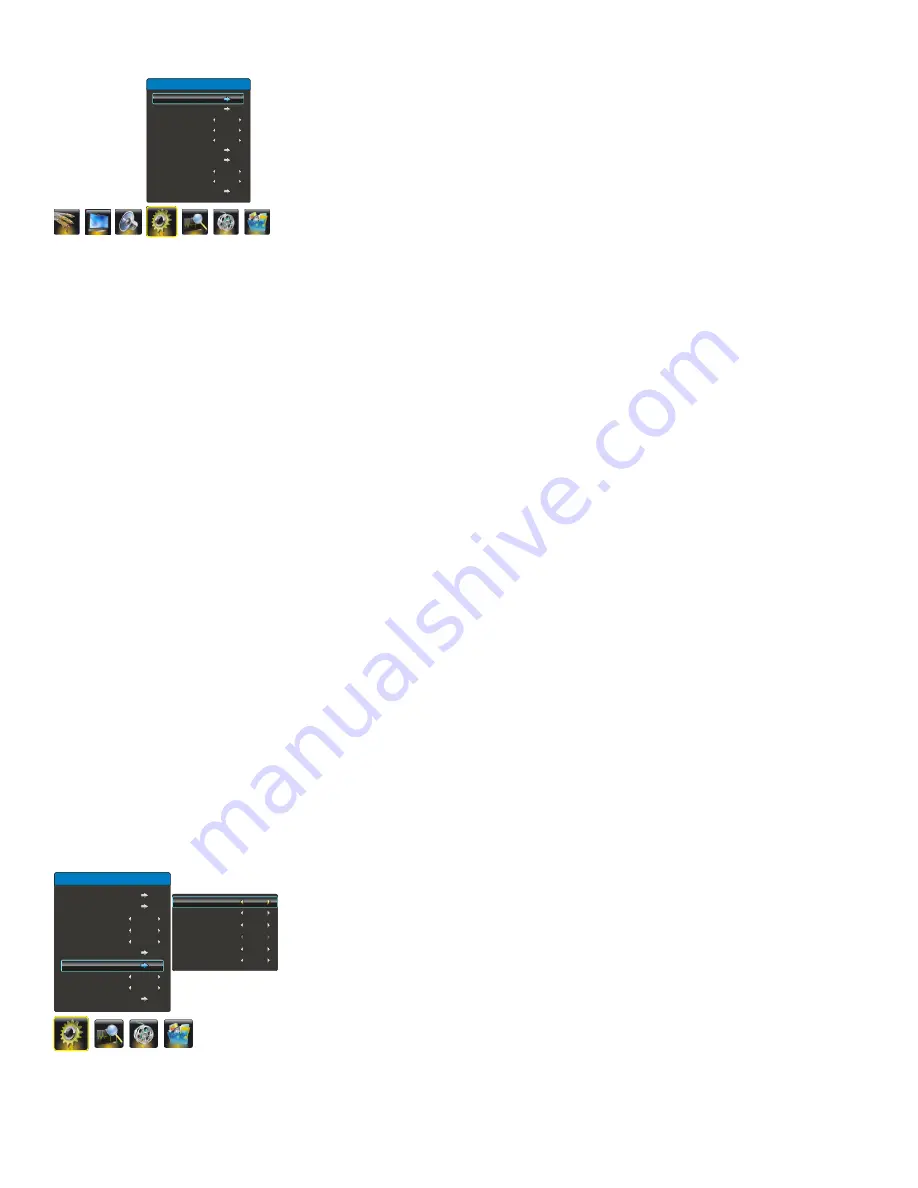
Philips 42PFL5505/V7 Скачать руководство пользователя страница 13

Function Settings

Display the menu by pressing the MENU button. Press the left or right direction button
to select the Setting icon and press the up or down direction or OK button to display
the Setting menu. The Setting options are as below: 
   

Note: Some options may be not available for certain signal sources.

Source Setting: 

press the right direction or OK button to display the selectable 

options, then


press the up or down direction button to select an option and press the 

right direction or OK button to enter.


Rename

: press the up or down direction button to select your desired option and 

    press the right direction or OK button to confirm the selection, then press up or 
    down direction button to select a new name for the source and press OK to confirm.


Smart Switch:

  press the left or right direction button to select a desired setting: 

    Switch, Display and Off.


Switch: if an equipment, e.g. a DVD player, has been connected to the sockets 

    on the TV set and turned on, e.g. AV1 sockets, the TV set will switch to that signal 
    source automatically (AV1 for this example). 

    Display: if an equipment, e.g. a DVD player, has been connected to the sockets 
    on the TV set and turned on, e.g. AV1 sockets, the TV set will display a prompt 
    message on the screen. You can select OK to switch to that signal source (AV1 for 
    this example) or EXIT to ignore the prompt.


Off:


disables the Smart Switch function.


When SMART SWITCH function is selected as Switch/Display,then front panel Source key 

   can not be work. 


Startup Setting: 

Sets the startup picture or music.


Open Picture: 

press the left or right button to select Off or captured 

    picture (max. to 4) as Open Picture.


Open Music: 

press the left or right button to select Off, Default or Personal as  Open Music. 


Note: The Personal item is only available when capturing a music segment and if 

    selecting Personal, the TV will automatically play the captured music when turning on.

Motion Enhance :

 reduces the flicker or standstill when camera lens horizontally move in film. 

Language:

 using the left or right direction button to select your desired menu language .


Note: The available languages might differ depending on the model.

Color System:

 use the right direction or OK button to display the selectable options, 

then press the up or down direction button to select your desired color system (Note: 

), and press OK to confirm. 


Child Lock: 

Use the number buttons to input the password (The default is 0000). 

Then press the left or right direction button to select the watch time. To cancel the limit, 
select Off.
And you can also change the password: press the up or down direction button to select
the PW Modify item and press the right direction or OK button to confirm, then enter 
a new password twice.
  

Note: If you forget the password, enter 7117 to override any existing codes.

Time Setting:

 Press the up or down direction button to select the Time Setting item, 

then press the right direction or OK button to enter.


Current Time: 

press the left, right, up, down direction button to set the current time.


Turn on Time: 

press the left, right, up, down direction button to set the turn on time.


Wake Up Source: 

press the left or right direction button to select  the wake up 

    signal source.


Wake Up Channel: 

press the left or right direction button to select a wake up 

    channel.
    

Note: Only when the wake up source is TV, this function can be available.


 Turn off Time: 

press the left, right, up, down direction button to set the turn off  time.


Sleep Timer:

 sets a period of time after which the TV set goes into standby mode. 


Use the left or right direction button to set the period (240 minutes maximum). 

    To disable this function, select Off. 

The 

available color system might differ depending on the model.

Note:Color system for India :PAL.

Setting

Source Setting

Startup Setting

Motion Enhance 

Language

Color System

Child Lock

Time Setting

Help Information

HDMI CEC

Restore to Default

On

English

AUTO

Off

Off

Current Time

Turn on Time

Wake Up Source

Wake Up Channel

Turn off Time

Sleep Timer

--:--

--:--

TV

1

--:--

Off

Setting

Source Setting

Startup Setting

Motion Enhance 

Language

Color System

Child Lock

Help Information

HDMI CEC

Restore to Default

Time Setting

On

English

AUTO

Off

Off

  12  EN

Содержание 42PFL5505/V7

Страница 1: ...46PFL5505 V7 42PFL5505 V7 32PFL5505 V7 Register your product and get at www philips com welcome support EN User manual ...

Страница 2: ...15 10 Adjusting the Sound Function Settings Selecting a Signal Source or 7 Other Information 16 Troubleshooting 16 17 17 8 17 17 Product information Supported display resolutions Multimedia Tuner Reception Transmission Remote control Power SupportedTV mounts 17 17 18 18 7 5 Side Panel Buttons Sockets Remote Control Functions Intelligent Channel Set up Setting the Sound System Programme Edit 10 14 ...

Страница 3: ... the display within common industry standards and is not a malfunction Warranty No components are user serviceable Do not open or remove covers to the inside of the product Repairs may only be done by Philips Service Centres and official repair shops Failure to do so shall void any warranty stated or implied Any operation expressly prohibited in this manual any adjustments or assembly procedures n...

Страница 4: ...the power outlet if the voltage is different Risk of injury or power cord damage Never place the TV or any objects on the power cord To disconnect the TV power cord easily from the power outlet ensure that you have full access to the power cord at all times 2 Important Read and understand all instructions before you use yourTV If damage is caused by failure to follow instructions the warranty does...

Страница 5: ...peratures below 5 until the TV temperature matches room temperature before connecting the TV to the power outlet Screen care Avoid stationary images as much as possible Stationary images are images that remain on screen for extended periods of time Examples include on screen menus black bars and time displays If you must use stationar y images reduce screen contrast and brightness to avoid screen ...

Страница 6: ...able on all models 2 4 3 1 5 CH VOL MENU SOURCE 1 CHANNEL UP DOWN button Scans up down through the channel list In the menu system They act like the up down direction buttons on the remote and adjust menu controls MENU button Brings up the menu system SOURCE button Brings up the input menu 5 POWER button Note The location of the power button on the TV may vary according to TV model Turns the TV on...

Страница 7: ...used to connect The VIDEO OUT socket provides Headphone socket output at the side This socket can be used to connect headphones or stereo earphones HDMI IN2 HDMI2 socket input at the back The HDMI can be used to connect a PC with a compatible video card installed certain DVD players or a high definition compatible digital satellite decoder This socket p High Definition Multimedia Interface socket ...

Страница 8: ...LEEP Sets a delay after which the TV switches off FREEZE Freezes the picture EXIT Exits the menu system up down left and right direction buttons Highlights different items in the menu system and adjusts the menu controls OK Confirms your selection BACK A CH Returns to a previous screen Toggles between the current channeland the last viewed channel INFO Displays the status information MUTE Reduces ...

Страница 9: ...begin with so as not to complicate the set up procedure with the additional steps involved Connect them when you have finished setting up the channels 4 Switch the TV on by pressing the power button The location of the power button on the TV may vary according to TV model If the TV set is in standby mode press the button on the remote control or the CH buttons on the remote control or at the side ...

Страница 10: ...el menu and p the Intelligent Tuning option 2 Press the direction or OK button to start intelligent tuning Note If you want to interrupt the process press the MENU button The channels already found will be stored left or right Manual Channel Set up Follow the below procedure if you find that some channels have not been stored after the automatic set up as well as the intelligent set up right left ...

Страница 11: ...direction button to select direction or OK button to swap Current Channel Target Cnannel Interchange Skip Sound Noise 1 1 No Mode1 Press MENU to return Press EXIT to exit Programme Edit Skipping a Channel You can use this function to swap two channels or skip a channel 1 Activate the Channel menu and p the Programme Edit option 2 Press the right direction or OK button to enter the Programme Edit m...

Страница 12: ... button to display the selectable options then press the up or down direction button to scroll Sound Sound Mode EQ Balance Smart Volume Scene Headphone Volume Stereo 0 Off DeskTop Mode 0 5 Use more of yourTV EN 11 Scene Use the direction or OK through right button to display the selectable options then press the up or down direction button to scroll the scene preset setting DeskTop Mode and HangUp...

Страница 13: ...ove in film Language using the left or right direction button to select your desired menu language Note The available languages might differ depending on the model Color System use the right direction or OK button to display the selectable options then press the up or down direction button to select your desired color system Note and press OK to confirm Child Lock Use the number buttons to input t...

Страница 14: ...DMI equipment is also enter in standby mode The short keys includes the up down left right direction OK and Standby buttons When connecting HDMI equipment pressing these button can control the equipment Note CEC function is available only when connecting a equipment with CEC function Restore to default restores all the settings to default settings in factory Press MENU to return or EXIT to close t...

Страница 15: ... OK button to pause or continue to play press EXIT to stop playing press the left or right direction button repeatedly to select the searching speed 2X 4X 8X and 16X backwards or forwards the sound will be muted Press the up or down button to select last or next film 5 Press INFO to display the information of playing video and press again to clear 6 Press the green button to display the subtitle i...

Страница 16: ...blems during operating or can not operate at all In this case please restart the device or unplug the device and plug it again and ensure that its power supply is normal 4 The system supports standard USB1 1 and USB2 0 devices such as standard U disks MP3 players mobile hard disks etc 5 For obtaining better audio and video quality suggests to use the external device which accords with USB2 0 stand...

Страница 17: ...nterference Blank screen in VGA mode Perhaps the TV can not recognize the resolution set by the PC Suggest to change to the best resolution or other standard resolutions of the Windows system Snowy dots and interference If the antenna is located in the fringe area of a television signal where the signal is weak the picture may be marred by dots When the signal is extremely weak it may be necessary...

Страница 18: ...mation go to www philips com support Supported display resolutions Computer formats HDMI Resolution refresh rate 800 x 600 60Hz 1024 x 768 60Hz 1280 x 960 60Hz 1280 x 1024 60Hz Computer formats VGA Resolution refresh rate 1280 x 768 60Hz 70Hz 72Hz 75Hz Video formats Resolution refresh rate 480i 60Hz 480p 60Hz 576i 50Hz 576p 50Hz 720p 50Hz 60Hz 1080i 50Hz 60Hz file EN 17 1360 x 768 60Hz 1600 x 1024...

Страница 19: ... of at least 2 2 inches or 5 5cm from the back of theTV TV screen size inches Required pitch mm Required mounting bolts Product specification Design and specifications are subject to change without notice 32PFL5505 V7 Without TV stand Dimension WxHxD 804 x 534 x 100 mm Weight 10 5 kg Without TV stand Dimension WxHxD 1124x 716 x 102 mm Weight 21 kg 32PFL5505 V7 42PFL5505 V7 46PFL5505 V7 400X400 4 x...

Страница 20: ...the event of the technician deciding that set requires attention at the service station kindly arrange to deliver the set to the service station designated by technician for further attention Home calls by the technician would however be restricted within the municipal limits of the city town in which the set has been registered Type no _ Serial No _ Date of Purchase _ Purchased By Name _ Address ...

Страница 21: ...abnormal voltage Acts of God or while in transit to purchaser s residence This TV receiver is covered under warranty against any defect arising out of faulty or defective material or workman ship for a period of 12 months from the date of purchase Should a defect develop in this set during the period of warranty PE Electronics Limited undertakes to get the set repaired free of charge either From w...

Страница 22: ......

Отзывы: