


23
Troubleshooting Tips
Glossary
DVI
(Digital Visual Interface) : A digital interface
standard created by the Digital Display Working Group
(DDWG) to convert analog signals into digital signals to
accommodate both analog and digital monitors.
RGB signals
: These are the three video signals,
Red Green Blue, which make up the picture. Using
these signals improves picture quality.
S-VHS signals
: These are 2 separate Y/C video
signals from the S-VHS and Hi-8 recording
standards. The luminance signals Y (black and
white) and chrominance signals C (colour) are
recorded separately on the tape. This provides
better picture quality than with standard video
(VHS and 8 mm) where the Y/C signals are
combined to provide only one video signal.
NICAM sound
: Process by which digital sound
can be transmitted.
16:9
: Refers to the ratio between the length and
height of the screen. Wide screen televisions have
a ratio of 16/9, conventional screen TV sets have a
ratio of 4/3.
HDMI
(High-Definition Multimedia Interface) : Provides
an uncompressed, all digital audio/video interface
between the TV and any HDMI-equipped audio/video
component, such as set-top box, DVD player and A/V
receiver. HDMI supports enhanced or high-definition
video plus two-channel digital audio.
System
: Television pictures are not broadcast in the
same way in all countries. There are different standards:
BG, DK, I, and LL’. The System setting (page 8) is used
to select these different standards. This is not to be
confused with PAL or SECAM colour coding. PAL is
used in most countries in Europe, SECAM in France,
Russia and most African countries. The United States
and Japan use a different system called NTSC.
HDCP
(High-bandwidth Digital-Content Protection):
HDCP encrypts the transmission of digital content
between the video source or transmitter such as a
computer, DVD player or set-top box and the digital
display or receiver such as a monitor, television or
projector.
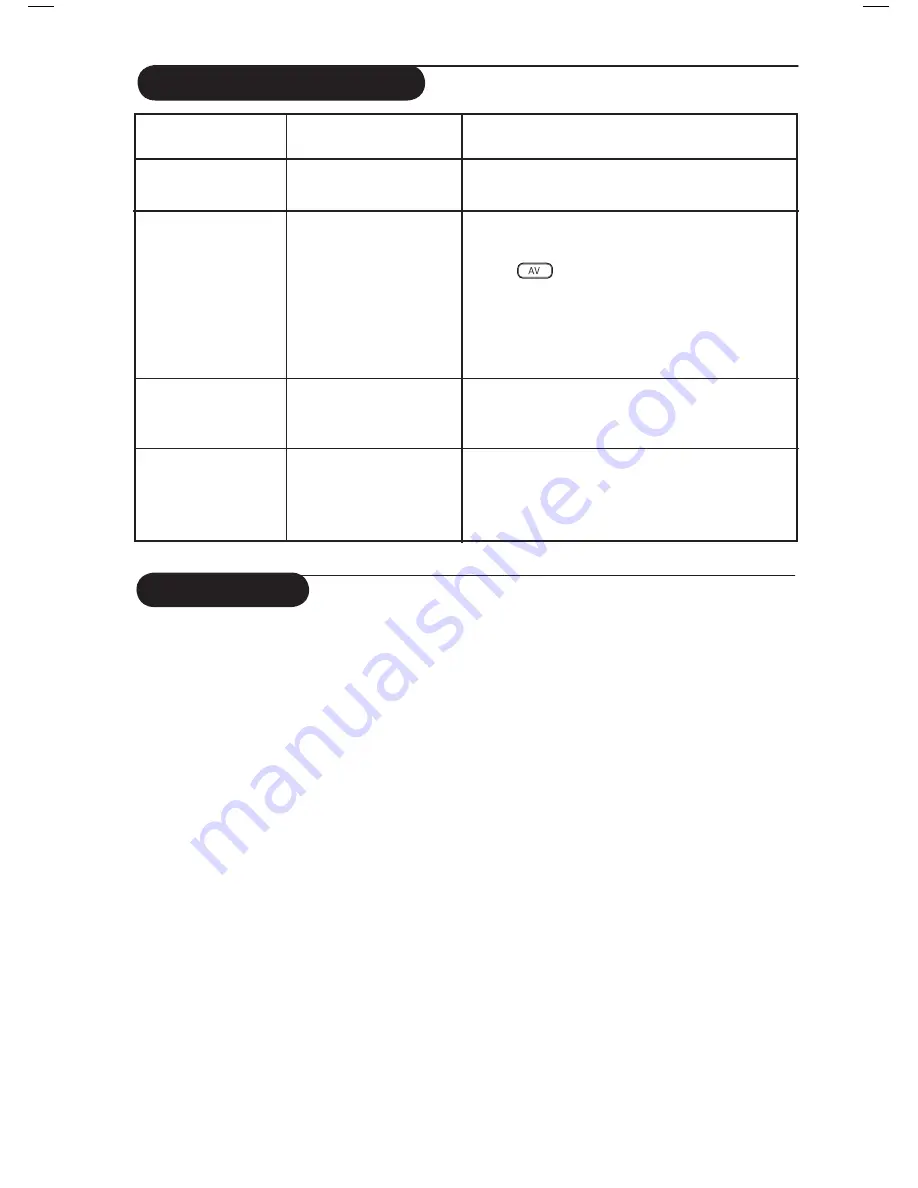
Symptom
Possible Causes
What you should do
Cannot access Install
• In AV, EXTERNAL or
• Press AV key and select TV mode. You can now
menu
HD mode
access the Install menu by using the Menu key.
PC modes do not
• Wrong connections
• Check whether connections are correct. (see
work
“Using your TV as PC Monitor” on page 16).
• Wrong source selected.
• Check whether the source is correctly selected.
Press
button to enter Source list and select
the correct source.
• Wrong display resolution
•
Check whether you have configured the computer on
a compatible display resolution (see
“Using your TV
as PC Monitor” on page 16
).
• Wrong setting of PC
• Check graphic card setting of PC.
graphic card
S-Video colour
• Wrong detection of
• Check whether power cord is properly connected
becomes faint
signal
• Press the
P +
key on the remote control to do a
channel up and then press the
P –
key to do a
channel down.
Black bar on top
• PC refresh rate too high
• Change PC refresh rate to 60 Hz.
and bottom of
screen
in PC mode
Содержание 26PFL3321S
Страница 1: ...26PFL3321S 32PFL3321S www philips com support EN USER MANUAL ...
Страница 2: ...4 1 2 3 ...
Страница 4: ......
Страница 29: ......
Страница 30: ... 2006 Koninklijke Philips N V All rights reserved Document order number ...


