OSD navigation
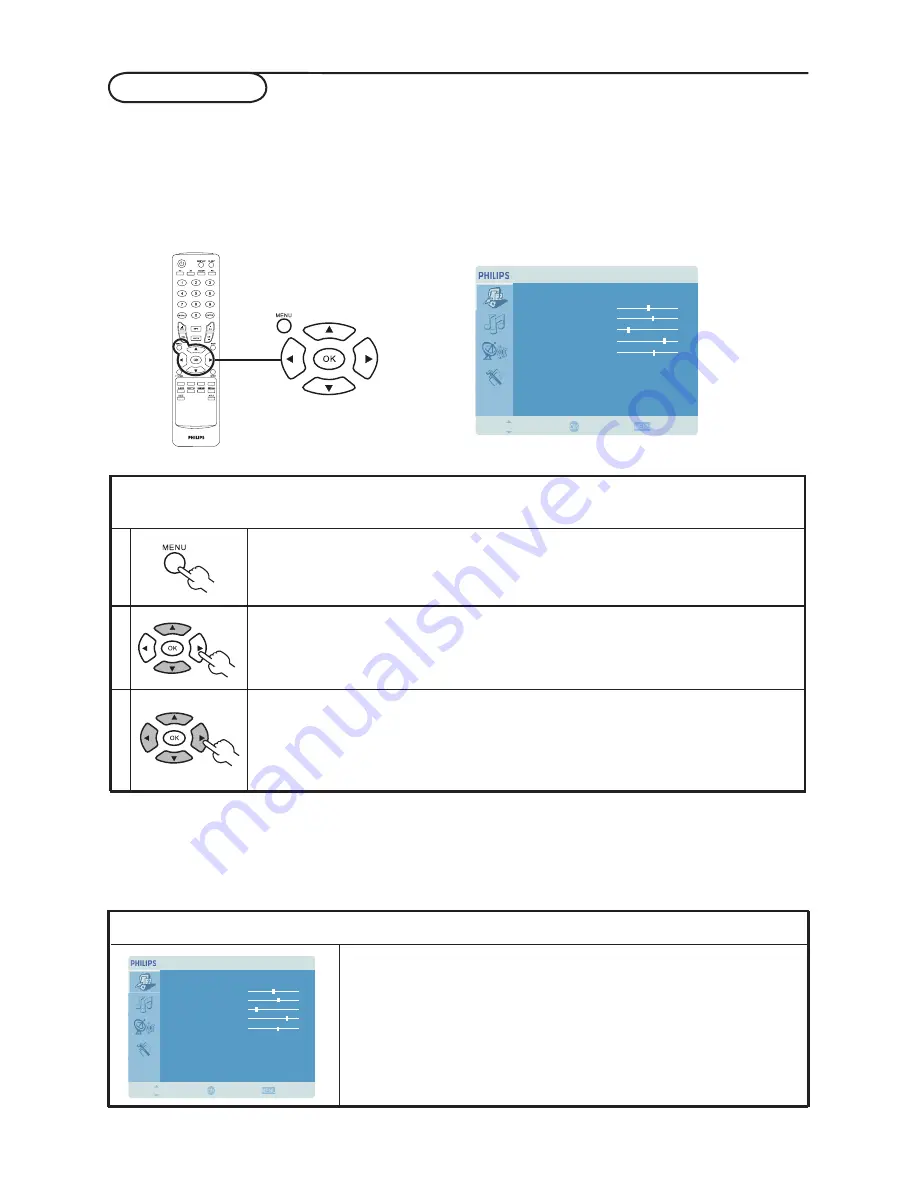
Many of the advanced settings and adjustments are available through using the OSD (onscreen display)
menus, as shown in the example screenshot below.
Basic operations required to navigate these menus (Picture, Audio, Channel management and Settings)
are described in this section.
Navigating the OSD with the remote control
There are four main OSD menus. These are: Picture, Audio, Channel management and Settings.
Use the following method to navigate these menus.
1
Press the
MENU button on the remote control or the MENU button on the
control panel.
2
Select your desired menu by using the up and down
directional keys to switch
between the four menus.
3
Use the
directional keys to interact with the menu. The up / down directions will
scroll through the menu options, while left/right will adjust the different settings (for
example, in the Picture menu, settings such as brightness, contrast, etc.). Press
MENU
to exit.
Adjusting the OSD settings
The OSD can be used for adjusting the settings of your TV Monitor.
Press the
MENU a key to open the OSD. You can use the OSD to adjust the picture quality, audio
settings,channel settings and general settings. For advanced settings, please refer to following page:
Adjusting the picture quality
1 Press the
MENU key to bring up the OSD.
2 Using the directional keys, select
Picture from the OSD. Then
navigate to the picture element you wish to adjust.
3 Use the left or right keys to adjust the sliding scales.
4 The
Picture menu can be used to adjust the brightness, contrast,
colour, sharpness and other image-related qualities.
Picture
Bri htness
g
Colour
Contrast
Noise Reduction
Sharpness
Colour Temp
Backli ht
g
50
60
30
80
70
Warm
Low
Move
Enter
Back
Picture
Bri htness
g
Colour
Contrast
Noise Reduction
Sharpness
Colour Temp
Backli ht
g
50
60
30
80
70
Warm
Low
Move
Enter
Back
9


