


沛瑞科技股份有限公司
TEL:886-2-2984-0000
Peregrine Technology CO., LTD.
FAX:886-2-2983-9999
29
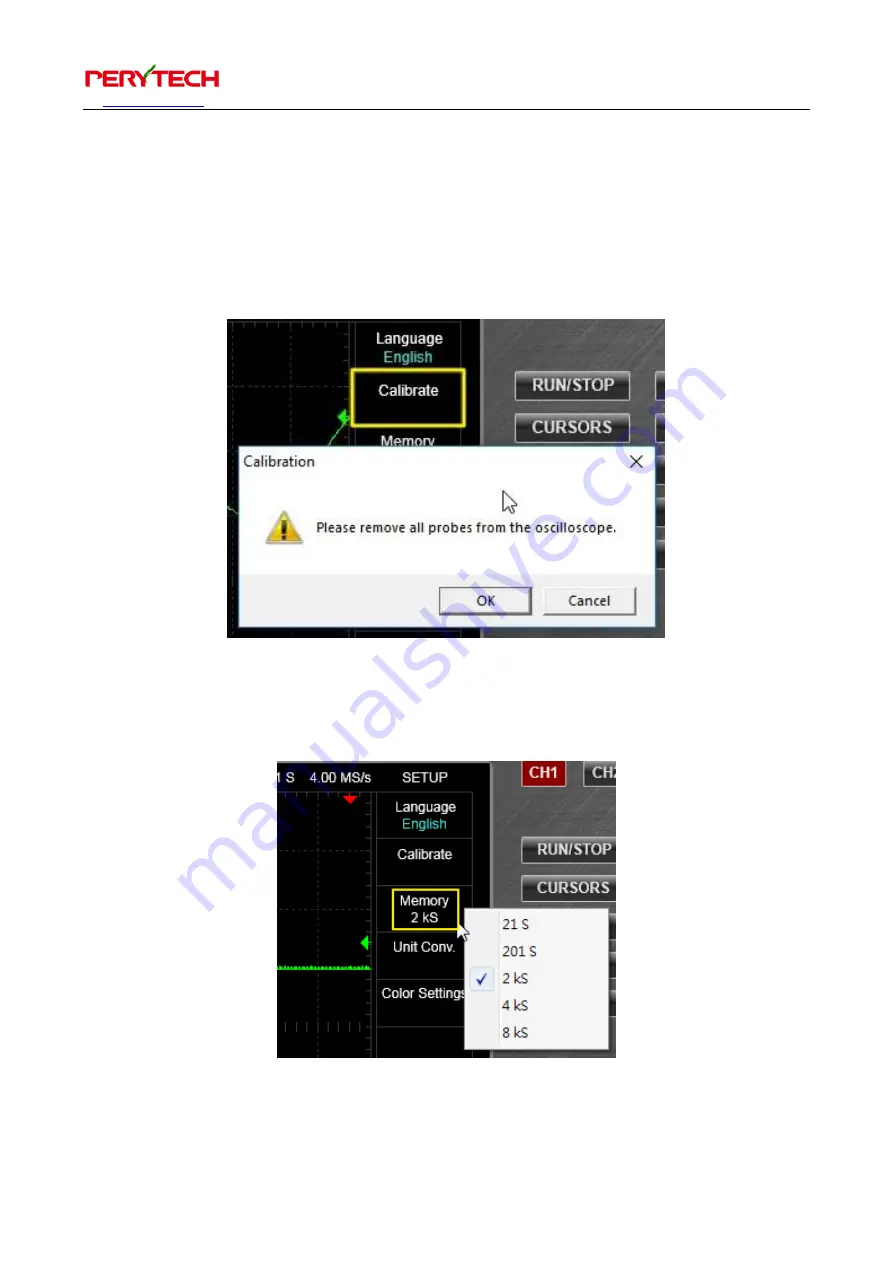
5.6.2.
Calibration function
Calibrate
menu is for the calibration function. After selection, a window will appear on
the screen. Please disconnect the probe of your oscilloscope. Press confirm and the
oscilloscope will begin calibration.
5.6.3.
Memory setting
Содержание DSO-2100
Страница 1: ...Peregrine Technology CO LTD USB Oscilloscope User Maunal...
Страница 19: ...TEL 886 2 2984 0000 www perytech com Peregrine Technology CO LTD FAX 886 2 2983 9999 18...
Страница 22: ...TEL 886 2 2984 0000 www perytech com Peregrine Technology CO LTD FAX 886 2 2983 9999 21...
Страница 43: ...TEL 886 2 2984 0000 www perytech com Peregrine Technology CO LTD FAX 886 2 2983 9999 42...


