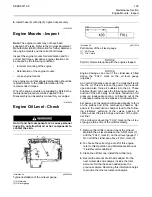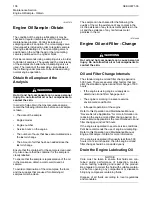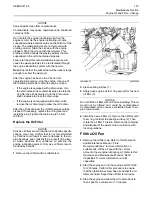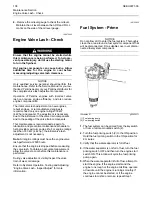
• Anticipated expansion and contraction of the
fittings
Replace the Hoses and the Clamps
Refer to the OEM information for further information
on removing and replacing fuel hoses (if equipped).
The following text describes a typical method of
replacing coolant hoses. Refer to the OEM
information for further information on the coolant
system and the hoses for the coolant system.
Pressurized System: Hot coolant can cause seri-
ous burns. To open the cooling system filler cap,
stop the engine and wait until the cooling system
components are cool. Loosen the cooling system
pressure cap slowly in order to relieve the
pressure.
1.
Stop the engine. Allow the engine to cool.
2.
Loosen the cooling system filler cap slowly in order
to relieve any pressure. Remove the cooling
system filler cap.
Note:
Drain the coolant into a suitable, clean
container. The coolant can be reused.
3.
Drain the coolant from the cooling system to a
level that is below the hose that is being replaced.
4.
Remove the hose clamps.
5.
Disconnect the old hose.
6.
Replace the old hose with a new hose.
7.
Install the hose clamps with a torque wrench.
Note:
For the correct coolant, see this Operation and
Maintenance Manual, “Fluid Recommendations”.
8.
Refill the cooling system. Refer to the OEM
information for further information on refilling the
cooling system.
9.
Clean the cooling system filler cap. Inspect the
cooling system filler caps seals. Replace the
cooling system filler cap if the seals are damaged.
Install the cooling system filler cap.
10.
Start the engine. Inspect the cooling system for
leaks.
Fuel System
The fuel system is split into two different sections,
high pressure, and low pressure. Ensure that the fuel
pressure has been purged before any parts are
removed loosened or replaced.
Check that connections and hoses are secure, check
for leaks. If parts are to be removed or tightened,
refer to the Disassembly and Assembly manual for
more information.
i05971077
Overhaul
Considerations
For
an
overhaul
solution,
contact
your
Perkins
distributor.
i03901481
Power
Take-Off
Clutch
-
Check
NOTICE
New power take-offs should have the clutch adjust-
ment checked before being placed into service. The
clutch adjustment should be checked again after the
first ten hours of operation. New clutch plates have a
“wear in” period, and the clutch may require several
adjustments until the new plates are “worn in”.
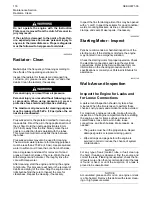
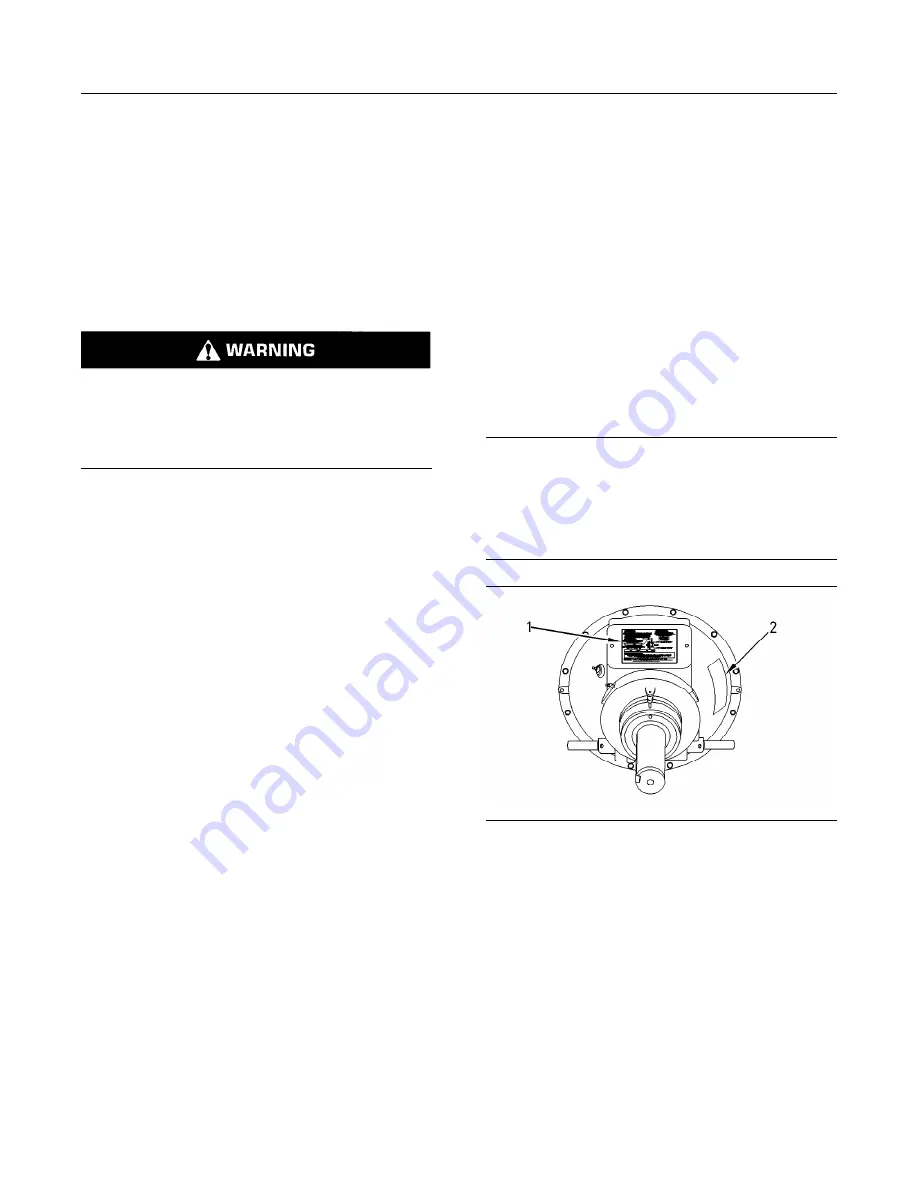
Illustration 95
g00781502
(1) Instruction plate
(2) Serial number plate
Check the clutch adjustment regularly after “wear in”.
Heavy-duty applications which have engagements
that are frequent and relatively long periods of clutch
slippage require more frequent adjustment than light-
duty applications. The operating torque should be
measured in order to determine if a clutch adjustment
is required.
Refer to the OEM information and instruction plate
(1) for instructions on lubrication, adjustment, and
other recommendations for service. Perform the
maintenance that is specified on the instruction plate.
SEBU9071-06
115
Содержание 2206F-E13TA
Страница 126: ......
Страница 128: ...SEBU9071 2020 Perkins Engines Company Limited All Rights Reserved 128 December 2020 ...

