background image

2.4 

Communication Ports


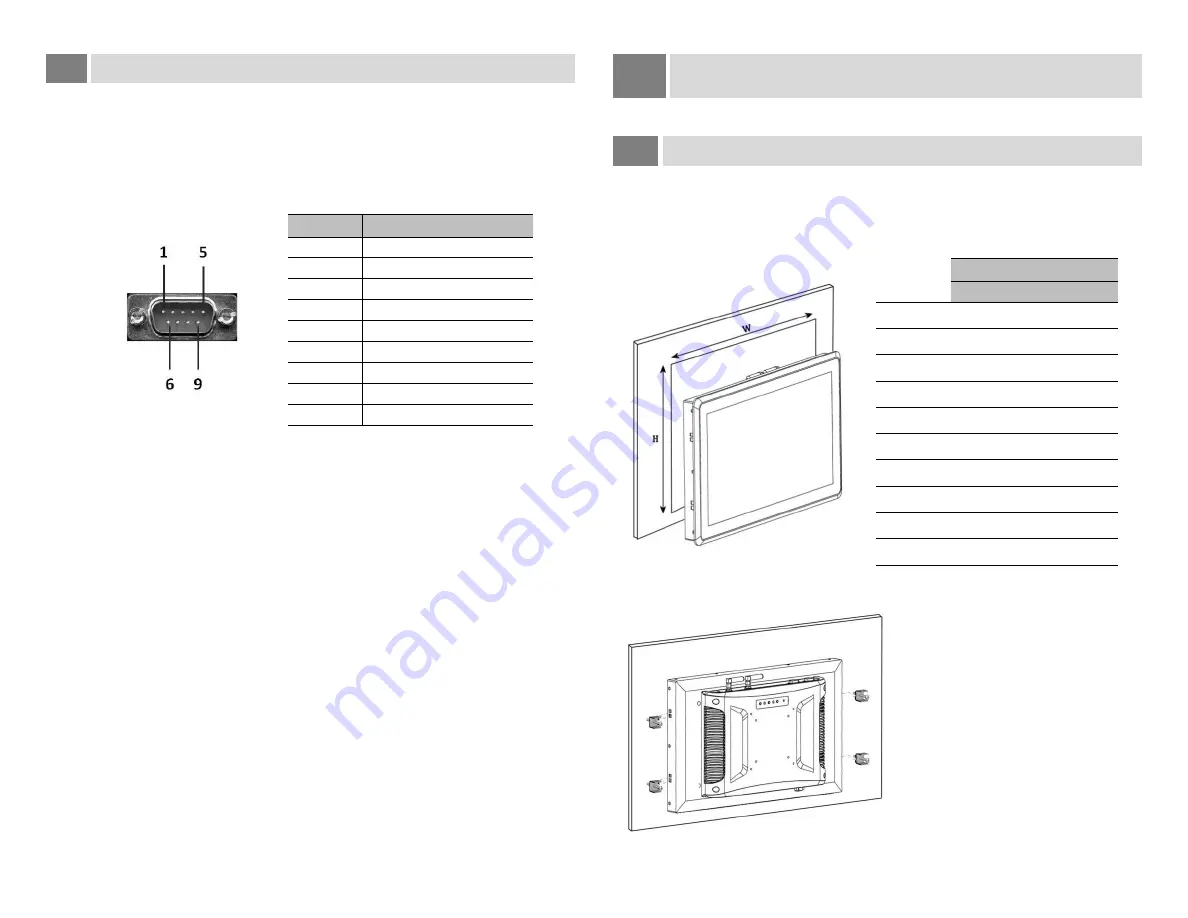
COM1 and COM2, 9-pin male connectors, are used to connect the device to 
a controller via RS232 

or RS485

.  


RS-232 DB-9 male connector 


PIN 

Assignment 


RxD 

TxD 


GND 


5V Out (≤ 0.25A) 


Installation 


3.1 

Mounting the Device 

 
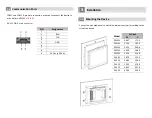
Cut out the mounted panel to match the dimensions (mm) according to the 
size of the device. 


Model


Cut-out 


PA10W 

269.7 

172.2 


PA11W 

314.3 

202.3 


PA15W 

391.3 

240.6 


PA17W 

435.0 

268.0 


PA22W 

523.4 

314.8 


PA10S 

267.9 

215.3 


PA12S 

298.3 

236.8 


PA15S 

352.1 

276.0 


PA17S 

385.2 

317.6 


PA19S 

424.6 

349.6 


Содержание PA10W-N1

Страница 1: ... variables associated with any particular installation the supplier cannot assume responsibility for actual use based on the figures The supplier neither guarantees that the device is suitable for your particular application nor assumes responsibility for your product design installation or operation 2 Product Specification 2 1 Product Specification Wide Screen Model Model PA10W N1 PA11W N1 PA15W ...

Страница 2: ... 5G and Bluetooth BT 4 0 GPS option Memory Card MicroSD Audio 1 x Audio Out 2 x Speaker Video Output 1 x HDMI 1080P 1 x HDMI 1080P 60fps or 4K 60Hz Power Input Consumption 12 24V Max 35 watts Weight TBD 2 8 Kgs 3 7 Kgs 4 2 Kgs 5 6 Kgs Operating Temp 10 60 Storage Temp 20 80 Moisture 10 80 40 C Construction Silver Aluminum front bezel and chassis IP Rating IP65 Front Mounting Panel mount VESA 75x75...

Страница 3: ... 1 2 RxD 3 TxD 4 5 GND 6 7 8 9 5V Out 0 25A 3 Installation 3 1 Mounting the Device Cut out the mounted panel to match the dimensions mm according to the size of the device Model Cut out W H PA10W 269 7 172 2 PA11W 314 3 202 3 PA15W 391 3 240 6 PA17W 435 0 268 0 PA22W 523 4 314 8 PA10S 267 9 215 3 PA12S 298 3 236 8 PA15S 352 1 276 0 PA17S 385 2 317 6 PA19S 424 6 349 6 ...

Страница 4: ...east 3 seconds 2 The Android logo screen will be displayed and the system will be started 3 Once Android system is ready the Android desktop will be displayed 4 6 Power off the device To power off the device press the Power Button on the back of the device or press the Power Off icon on the navigation of the screen 5 General Navigation of Android Device At the bottom of your device s screen you ll...

Отзывы: