background image

w w w . c l a s s i c

e x h i b i t s . c o m

866.652.2100

© 2014

WHEN DISASSEMBLING TIGHTEN ALL KNOBS TO PREVENT LOSS DURING SHIPPING

Order #XXXXX -  P10 - 

patent D599,121

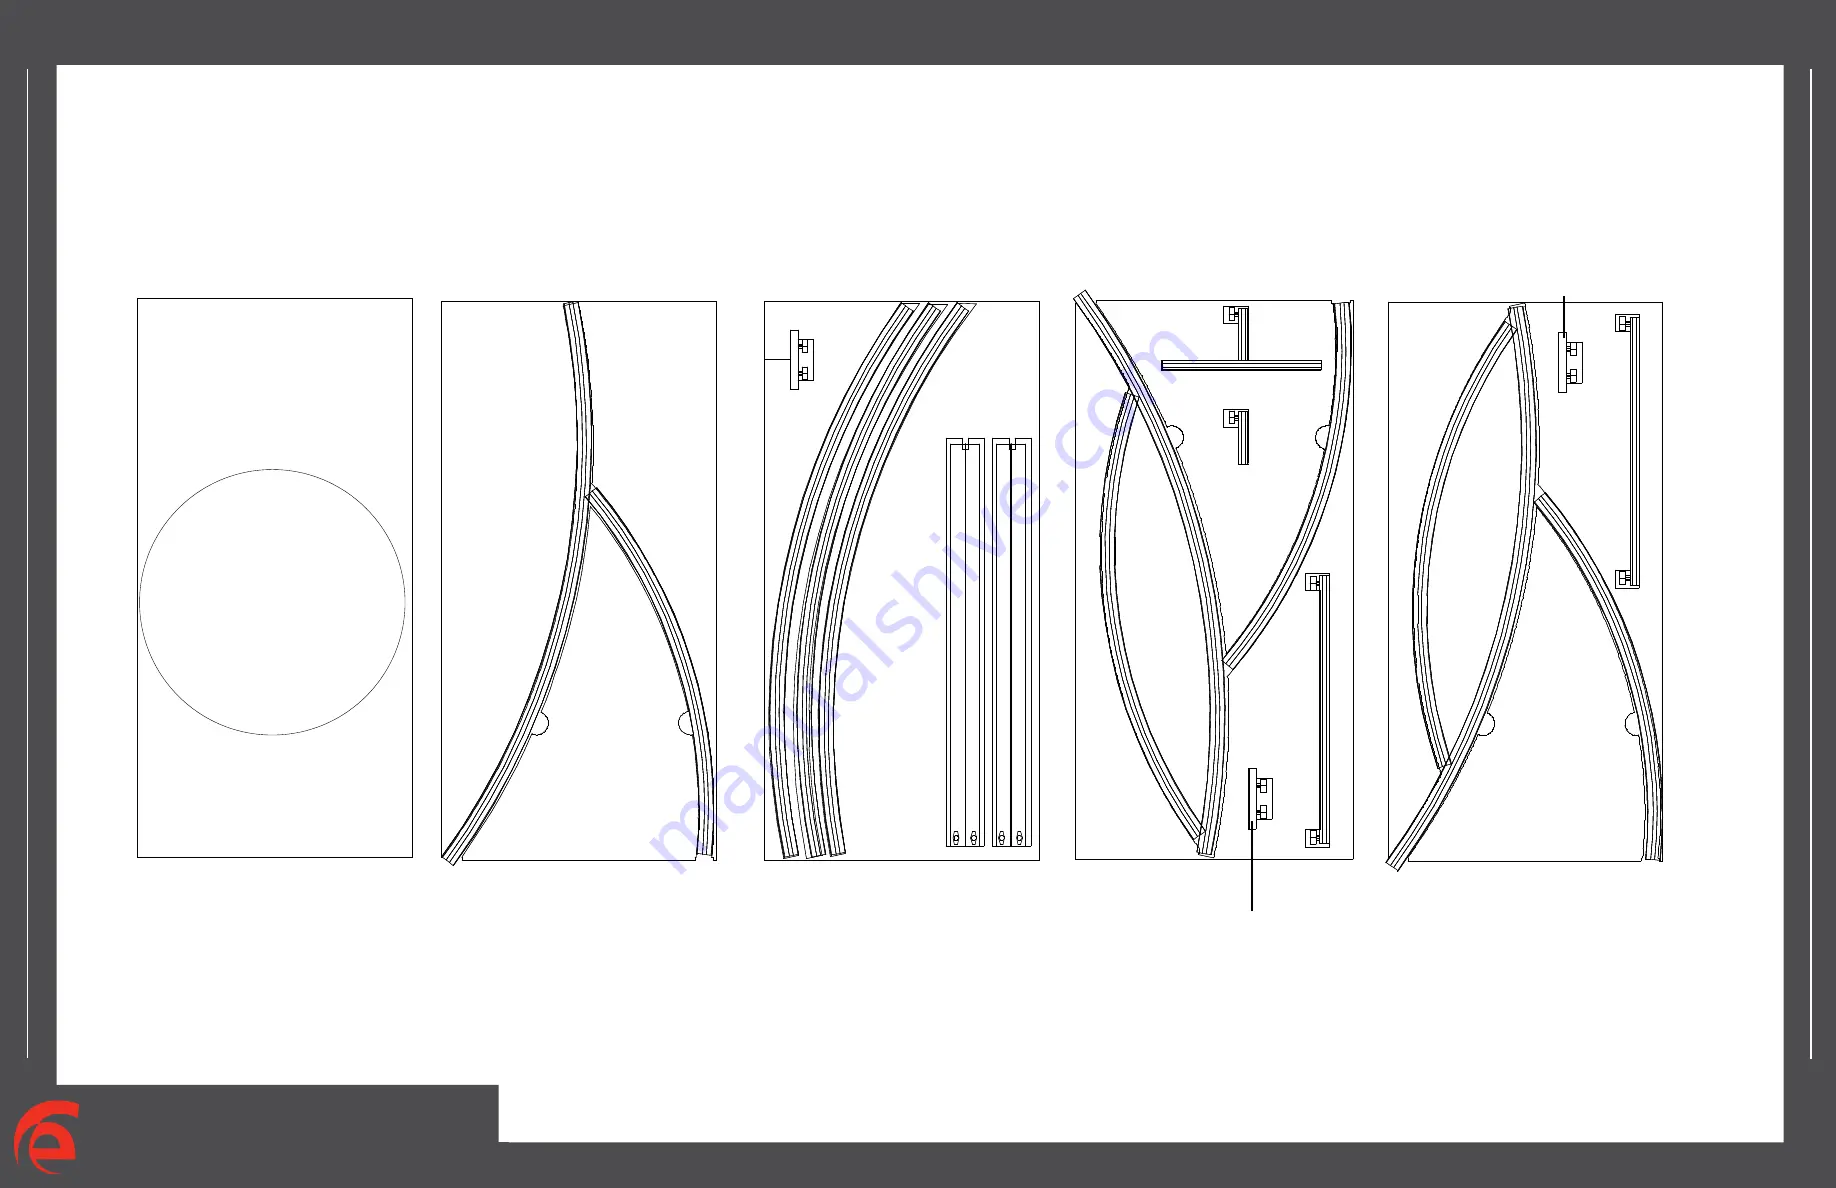
Case Packing - Case 1 of 3

Horizontal Extrusions 7 & 8

Vertical Connection Bar

Leg Assembly

5

Leg Assembly

1

Vertical Connection Bar

Horizontal Extrusion 4

Horizontal Extrusion 4

Header Supports

Level 1

Level 2

Level 3

Level 4

Level 5

Top View of Each Level

Leg Assembly

2

Vertical Connection Bar

Header

Additional Items:

- Setup Instructions

Содержание Quinton VK-1516

Страница 1: ... x h i b i t s c o m 866 652 2100 2014 WHEN DISASSEMBLING TIGHTEN ALL KNOBS TO PREVENT LOSS DURING SHIPPING Order XXXXX P10 Page 1 of 4 Step 1 patent D599 121 VK 1516 Quinton General Layout Plan View Perspective View 10 10 ...

Страница 2: ...etail Various Accessories Available Description Left Leg Assembly Middle Leg Assembly Upper Curved Vertical Upper Curved Vertical 23 w Horizontal Right Leg Assembly Upper Curved Vertical 69 w Horizontal 69 w Horizontal 1 2 5 3a 3 6 4 4 7 8 Start Assembly of Backwall face down on floor Then lift upright Black Knob Horizontal extrusion Turn Knob Clockwise to Tighten Lock STAR indicates location of k...

Страница 3: ...ins located on back left side Light Connection Attach lights to backwall where desired and tighten in place Header Attach back plate and tighten setscrew Attach top plate and tighten screws Attach back plate to connectors on vertical extrusion using screws Then attach top plate and tighten setscrews to secure Monitor Mount Attachment Cubby Attachment Slide onto back pin first When attaching counte...

Страница 4: ...rizontal extrusion w door stopper D between leg assemblies A and B and set flush with top of legs A and B Description Left Leg Assembly Right Leg Assembly Horizontal Extrusion Horiontal Extrusion w Door Stopper Black Knob Turn Knob Clockwise to Tighten Lock DOOR Laminated Infill A left B right C D w Door Stopper Knobs face INSIDE of workstation Knobs face INSIDE of workstation Knobs face FORWARD P...

Страница 5: ... pedestal and secure with velcro straps attached to underside of top 6 Attach shelves to assembled pedestal where indicated using A10 clamps Description Horizontal Extrusion Horizontal Extrusion E Laminated Infill Knobs facing FORWARD F Knobs face INSIDE of workstation Place internal shelf into workstation then place counter atop assembled workstation Internal Shelf Attach A10 atop stopper When de...

Страница 6: ...tent D599 121 Case Packing Case 1 of 3 Horizontal Extrusions 7 8 Vertical Connection Bar Leg Assembly 5 Leg Assembly 1 Vertical Connection Bar Horizontal Extrusion 4 Horizontal Extrusion 4 Header Supports Level 1 Level 2 Level 3 Level 4 Level 5 Top View of Each Level Leg Assembly 2 Vertical Connection Bar Header Additional Items Setup Instructions ...

Страница 7: ... o m 866 652 2100 2014 WHEN DISASSEMBLING TIGHTEN ALL KNOBS TO PREVENT LOSS DURING SHIPPING Order XXXXX P10 patent D599 121 Case Packing Case 2 of 3 Level 1 Top View of Each Level Backside Shelf Cubby Graphics Setup Hardware Halogen Lights ...

Страница 8: ...KNOBS TO PREVENT LOSS DURING SHIPPING Order XXXXX P10 patent D599 121 Case Packing Case 3 of 3 Level 1 Level 3 Top View of Each Level Level 2 Door Level 4 Leg Assembly B Horiz Extrusion F Horiz Extrusion D Level 5 Leg Assembly A Horiz Extrusion E Horiz Extrusion C Front Panel Shelf Top Shelf ...

Отзывы: