Step 9 (continued)
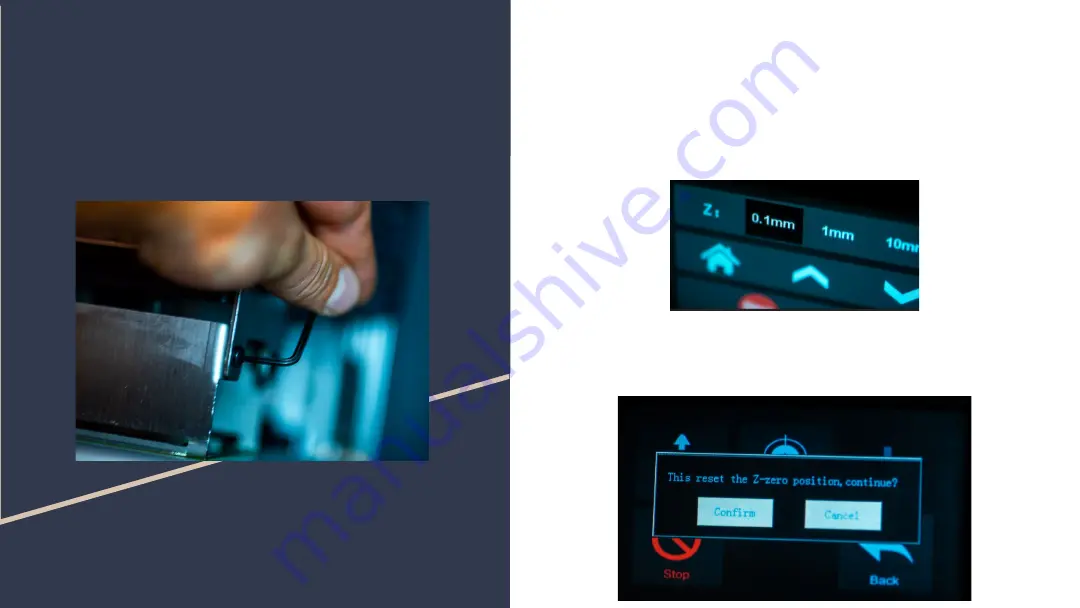
If it still does, then on the display screen, make sure 0.01 is
highlighted, this is the distance the Z axis will move, press the
down arrow and hte plate will descend. Check the gap again, if
there is still a gap, then repeat the process of lowering the Z axis
and checking till the paper can not slide under the plate. You
can keep moving down up to 0.6mm
Once the plate is level to the screen, press the back button and
then press the button that says Set Z=0 This will store the new
height as the default Z axis as 0 with the new height.
If the paper slides under the plate, then loosen
up the 4 bolts on top of the build plate so that
plate should descend slightly.
Recheck again to make sure the paper does not slide under the
plate. GENTLY press down the plate to make sure it is level to
the LCD and carefully re-tighten the bolts, again double
checking to make sure the paper does not slide between the
plate and LCD.


