background image

9

Storage/Winterizing:

Explosion hazard. Purging the system with compressed air can
cause components to explode, with risk of severe injury or

death to anyone nearby. Use only a low pressure (below 5 PSI), high vol-
ume blower when air purging the pump, filter, or piping.

To prevent damage to components from fumes, store spa chemi-

cals away from pump and spa. If possible, store chemicals in

another room.

NOTICE:

Allowing pump to freeze will damage pump and void warranty!

NOTICE: Do not

use anti-freeze solutions (except propylene glycol) in your

pool/spa system. Propylene glycol is non-toxic and will not damage plastic
system components; other anti-freezes are highly toxic and may damage
plastic components in the system. Propylene glycol is widely used as
antifreeze in recreational vehicles.

Drain all water from pump and piping when expecting freezing temperatures
or when storing pump for a long time (see instructions below).

Keep motor dry and covered during storage.

To avoid condensation/corrosion problems, 

do not

cover or wrap pump with

plastic.

For outdoor/unprotected installations:

1. Pump down water level below all inlets to pool.
2. Enclose entire system in a weatherproof enclosure.
3. To avoid condensation/corrosion damage, allow ventilation; 

do not

wrap system in plastic.

4. Use a 40% propylene glycol/60% water solution to protect pump to -

50°F.

5. Follow pool manufacturer’s directions for storage of pool.

Draining Pump:

To avoid dangerous or fatal electrical shock hazard, turn
OFF power to motor before draining pump.

1. Close all valves on suction and return piping.
2. Remove drain plug in bottom of volute. 
3. Drain all piping and storage tanks exposed to freezing temperatures.
4. Be sure no airlocks are holding water in the system.
5. To prevent pump from freezing, remove trap cover and drain the tank

body through the drain plug (Key No. 14, Page 12). Use a lid wrench to
remove trap covers that have been overtightened or have taken a set
and cannot be removed by hand. Clean pump thoroughly. Replace trap
cover.

6. Before restarting, replace all plugs and make sure all pipe connections

are tightly sealed.

Startup For Winterized Equipment:

1. Remove any temporary weather protection placed around system for

shutdown.

2. Follow filter manufacturer’s instructions for reactivation of the filter.
3. Inspect all electrical wiring for damage or deterioration over the shut-

down period. Have a qualified serviceman repair wiring as needed.

4. Inspect and tighten all watertight connections.
5. Open all valves in suction and return piping.
6. Remove any winterizing plugs in piping system.
7. Drain all antifreeze from system.
8. Close all drain valves and replace all drain plugs in piping system.
9. Prime pump according to instructions on Page 8.
10. Refill pool to proper water level.

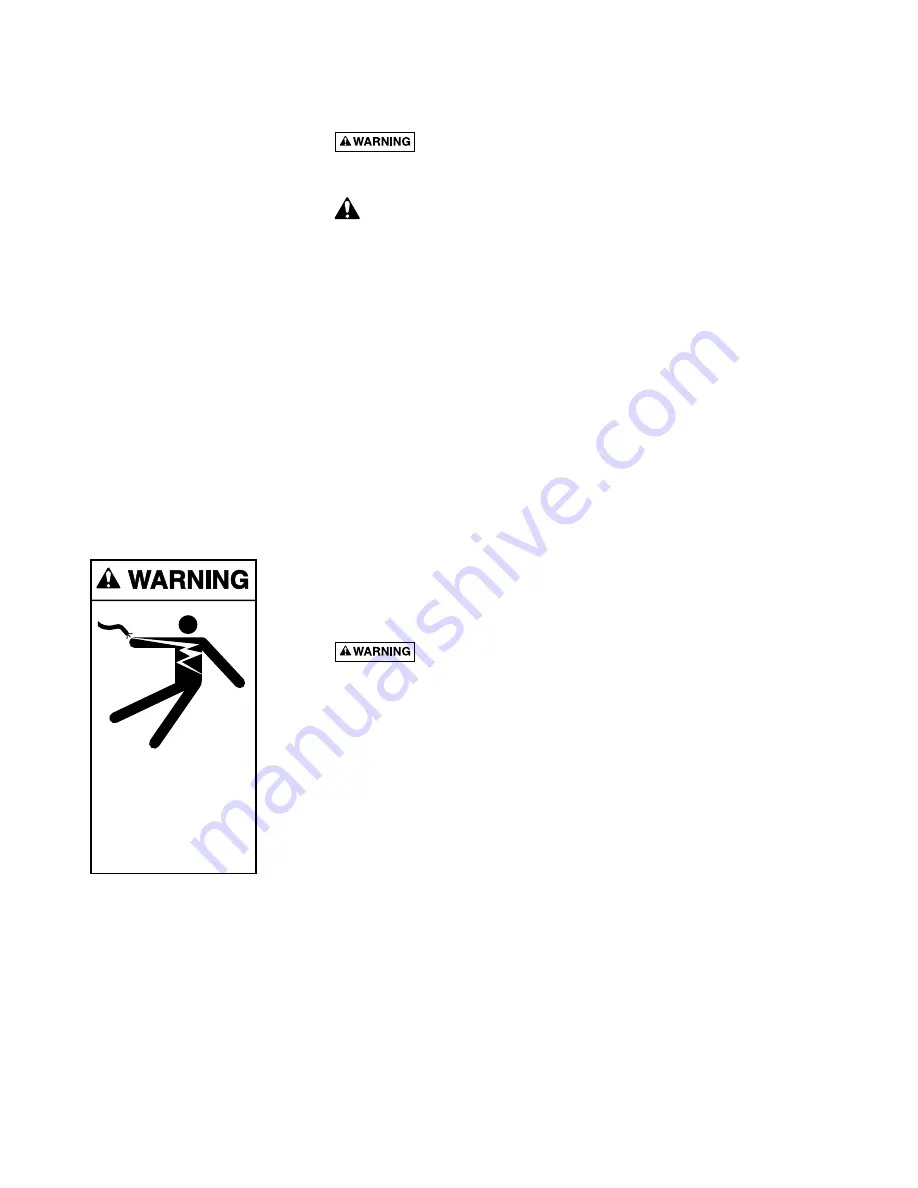
Hazardous voltage.
Can shock, burn,
or cause death.

Disconnect power
before working
on pump or motor.

Содержание JWP SERIES

Страница 1: ...05 553 5000 The Pentair Water Pool and Spa logo is a trademark of Pentair Water Pool and Spa Inc Other trademarks and trade names may be used in this document to refer to either the entities claiming the marks and names or their products Pentair Water Pool and Spa Inc disclaims proprietary interest in marks and names of others Printed in U S A 06 22 2007 S302 Rev C 1922 0895A IMPORTANT SAFETY INST...

Страница 2: ... When you see this symbol on your system or in this manual look for one of the following signal words and be alert to the potential for personal injury warns about hazards that will cause death serious personal injury or major property damage if ignored warns about hazards that can cause death serious personal injury or major property damage if ignored warns about hazards that will or can cause mi...

Страница 3: ...equipment consult manufacturer Motor normally operates at high temperature and will be too hot to touch It is protected from heat damage during operation by an auto matic internal cutoff switch Before handling pump or motor stop motor and allow it to cool for 20 minutes INSTALLATION Installation and wiring of pump should only be done by qualified licensed personnel For self priming pumps locate th...

Страница 4: ...ipe with 5 127mm trap Increase size if a long run is needed To avoid strains on the pump support both suction and discharge pipes independently Place these supports near the pump To avoid a strain left by a gap at the last connection start all piping at the pump and run pipe away from the pump Never use a suction pipe smaller than pump suction connection To avoid airlocking slope suction pipe slig...

Страница 5: ...ng overload tripping and reduced component life If voltage is less than 90 or more than 110 of rated voltage when motor is running at full load consult power company Grounding Bonding Install ground bond and wire motor according to local or National Electrical Code requirements Permanently ground motor use size and type wire required by code Ground connection must be made to green grounding termin...

Страница 6: ...instruction In case of power outage check GFCI for tripping which will prevent nor mal pump operation Reset if necessary NOTICE If you do not use conduit when wiring motor be sure to seal wire opening on end of motor to prevent dirt bugs etc from entering 6 BONDING LUG MOTOR NAMEPLATE GREEN GROUND SCREW MOTOR CANOPY THROUGH BOLTS White 230 Volt Lines A B L2 L1 Blue SINGLE VOLTAGE MOTORS DUAL VOLTA...

Страница 7: ...NG AND WIRING DATA Dist In Ft m Serv To Motor Motor Nameplate Full Load Amps Branch Circuit Volts Hz Phase 0 100 0 30 101 200 31 60 201 300 61 90 Temp Rating C 12 0 or Less 15A 115 60 1 14 2 12 3 10 5 5 75 12 1 16 0 20A 115 60 1 10 5 5 8 8 4 6 14 75 16 1 20 0 25A 115 60 1 10 5 5 8 8 4 6 14 75 12 0 or Less 15A 230 60 1 14 2 12 3 10 5 5 75 Notice Values given are for Pump motor only Do not put any o...

Страница 8: ...y need to apply a silicone based lubricant Clean and inspect O Ring reinstall on trap cover Replace trap cover on trap turn clockwise to tighten cover NOTICE Tighten trap cover by hand only no wrenches Use a wrench only if necessary to remove lid Pump should prime now Priming time will depend on vertical length of suc tion lift and horizontal length of suction piping If pump does not prime within ...

Страница 9: ...ct pump to 50 F 5 Follow pool manufacturer s directions for storage of pool Draining Pump To avoid dangerous or fatal electrical shock hazard turn OFF power to motor before draining pump 1 Close all valves on suction and return piping 2 Remove drain plug in bottom of volute 3 Drain all piping and storage tanks exposed to freezing temperatures 4 Be sure no airlocks are holding water in the system 5...

Страница 10: ... spring Figure 3 Do not damage impeller surface where drive ring seats and seals 6 Carefully remove four motor throughbolts from seal plate Figure 4 remove seal plate and use a screwdriver to tap ceramic seat out from the rear Figure 5 Do not damage seal cavity in seal plate 7 Clean cavity from which seal was removed and clean motor shaft Installing New Seal 1 Ceramic seat must be clean and free o...

Страница 11: ...ilter 6 Check for clogged pipe trap impeller 7 Consult dealer installer or service representative Circuit Breaker In Home Panel Trips Repeatedly 1 Breaker must be of adequate capacity 2 For GFCI breaker test according to GFCI manu facturer s instructions 3 Be sure no other lights and appliances are on cir cuit 4 Consult dealer installer or service representative 5 Voltage too high or too low See V...

Страница 12: ...U43 11SS U43 11SS 21 Washer 5 16 Flat 4 U43 41SS U43 41SS Cord Assembly Straight Plug A2 2A2 1 U117 1117 Cord Assembly Straight Plug 6A2 1 U117 1117 U117 1117 Cord Assembly Twist Lok Plug 2A1 1 31953 0101 Cord Assembly Twist Lok Plug 6A1 1 155234 155234 Cord Assembly 6 Non UL 2A4 1 31953 0116 Cord Assembly 2A8 1 31953 0019 31953 0019 12 Not llustrated Models JWPXYD A2 and JWPXYDL A2 do not include...

Страница 13: ... 920P U178 920P 17 Bolt Hx Head 1 4 20 x 1 3 4 6 30387 0005 30387 0005 18 Gasket Suction 1 C20 123 C20 123 19 Capscrew 5 16 18x1 1 4 4 U30 64SS U30 64SS 20 Lockwasher 5 16 4 U43 11SS U43 11SS 21 Washer 5 16 Flat 4 U43 41SS U43 41SS Cord Assembly Straight Plug A2 230A2 2A2 1 U117 1117 U117 1117 Cord Assembly Straight Plug 6A2 1 U117 1117 U117 1117 Cord Assembly Twist Lok Plug A1 2A1 1 31953 0101 31...

Страница 14: ...14 NOTES ...

Страница 15: ...15 NOTES ...

Страница 16: ......

Отзывы: