5
VT101-to-PC Connection
VT101 application program comes with the installation disk
(CD), to allow you delivery of VT101 images to your PC via
USB port, or from your PC to VT101. This application
program is compatible with Windows 2K, XP, and Vista.
Installation procedure:
Step 1: Do not connect VT-101 to PC.
Step 2: Put VT-101 CD into CD player.
Step 3: The installation screen will start automatically. If the
installation screen does not appear, please enter the
root directory of CD and execute “
VT101Setup.exe
”
for program installation.
Step 4: Install USB driver first, then install the application.
After completion, remove the CD.
Step 5: Whenever loading pictures to, or from, your
microscope, it needs to be connected it to your PC via
USB cable. Click the VT-101icon on the desktop
to execute.
mini-
screen
* VT-101 uses a CP2102 USB to UART bridge chip for
communications with PC. For more information please
refer to the website www.siliabs.com. CP2102 is a product
of SILICON LABS, Inc.
** You may use the “add/remove programs” on the
control panel to remove the application program and USB
driver.
VT101 Application Program Instructions
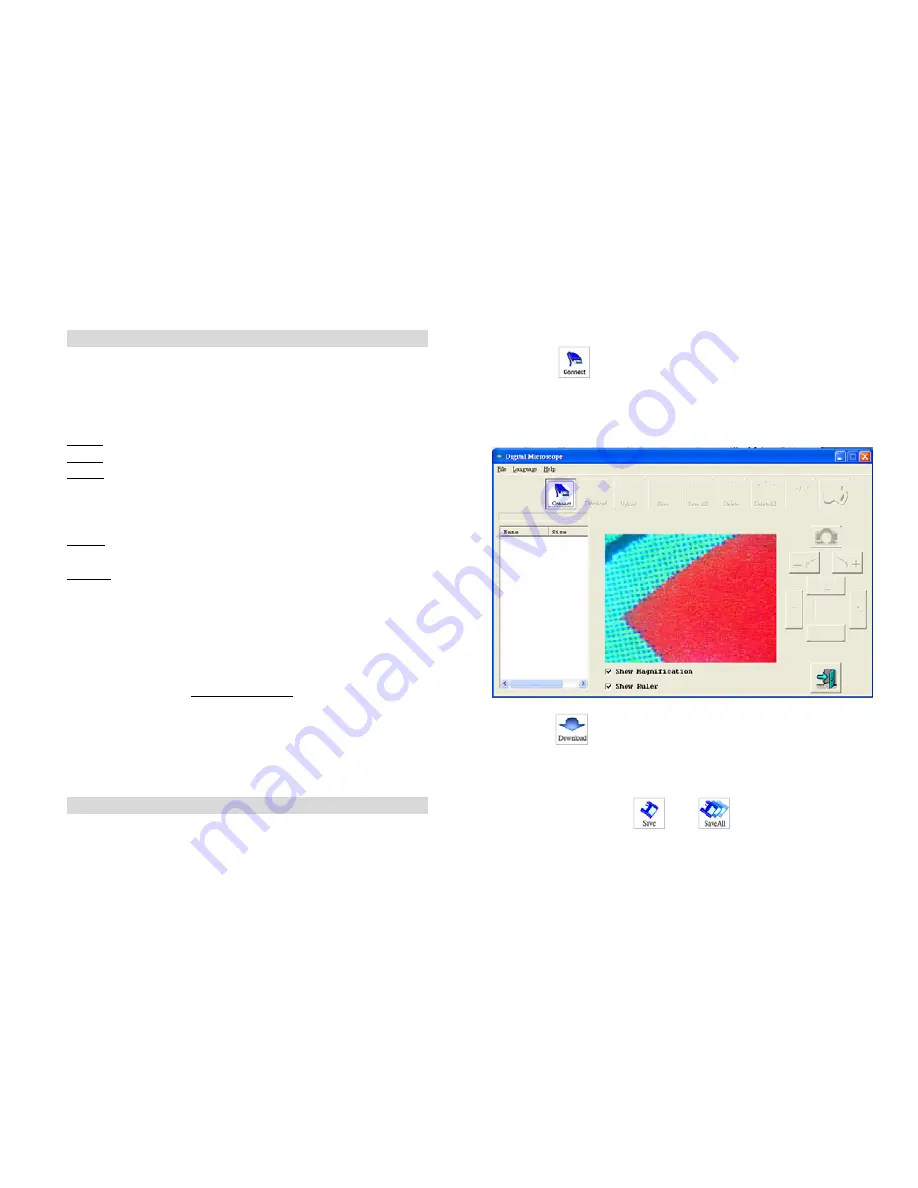
When starting the VT101 application program (as shown in
figure 1), click the “
Language
” to select preference, then
click the
icon. A “
VT-101 Found
” dialog will
appear on the screen, then click “
OK
” to continue.
When VT-101 is connected to PC (as shown in figure 2), all
functions and keys on VT-101 are suspended from use, except
variable magnification & LED brightness control.
Figure 1.
Click the
icon and the image inside VT-101 will be
copied to RAM memory on your PC. Also, the file name and
size will be indicated in the window. You can preview images
in the mid-side of the window, or you can save to permanent
memory by clicking the
or the
icon. The download
Содержание VT101
Страница 1: ......
Страница 8: ...Figure 3 Click the icon will disconnect the VT101 to the PC Click the icon will leave the program 7...
Страница 10: ......


