


www.123send.net
123 - axept S900 User Guide v1.7
41
12.2
Supervisor
The supervisor sub-menu contains settings and features that should only be accessed by staff with sufficient
privileges as changes to items here could affect the operating of
axept®
S800 (e.g. Ethernet configuration).
axept®
S800 will have been configured to connect to the chosen network(s) during the installation. However, should
these details need to be updated (e.g. Network updated) this can be reconfigured
within the ‘
Network Settings
’ menu.
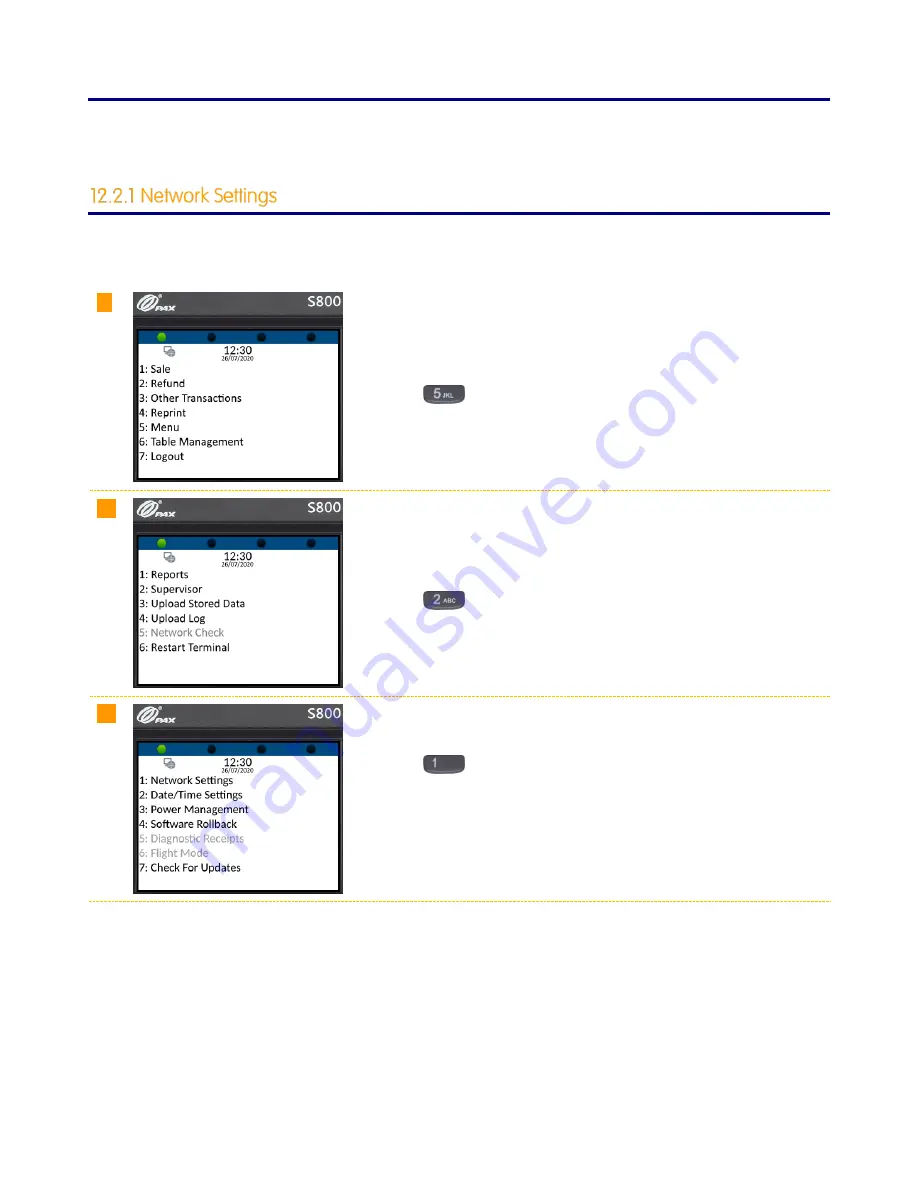
01
From the main menu, select option 5: Menu
(Press the
key on the keypad).
02
To display the Supervisor menu, select option 2: Supervisor
(Press the
key on the keypad).
03
To enter the network settings, select option 1: Network Settings
(Press the
key on the keypad).
The procedure to set the network settings using DHCP are the same as
those described in section 1.5 of this guide. Section 12.2.1.1 describes
configuring the network settings manually.


