PAX A50 Скачать руководство пользователя страница 3

1. Charging the device

Before using the unit for the first time, it should be 

fully charged. To do this you can charge the terminal 
directly via the USB cable supplied. Use the the 
USB-C port on the left side of the unit (7). 

2. Switching the device on / off

Press and hold the Power on/off button (4) for  

2 seconds. To switch the unit off again, press the 

same button until you see a button until you see  
a selection menu with four options (Flight mode,  
Silent mode, Restart, Power off) and select the  
option „Power off“. 

3. Set up Wi-Fi

®

 / WLAN

Once your device is fully charged and switched on, 

you must first set up your Wi-Fi

®

 connection before 

you can you can enter the activation code (step 4).  


– Select the settings icon   in the upper left corner


– Select „Device settings“   and enter your 

 merchant password if necessary


Select „Configuration WiFi“ 


– Select your Wi-Fi

®

 / WLAN network, enter the 

 password of your of your network and confirm


– Once you are connected to your WLAN, return to 

the start screen and return to the home screen  
and continue with the activation of your account 
(step 4).

4. Activate account

As soon as you have a WIFI connection (or mobile 
data connection), you can activate your account. 
 Return to the the start screen and enter the activa-
tion code that you will receive from PostFinance. You 

will find this code in your „Space“ in the checkout 
back-office-tool under „Terminals“. The current 
 configuration will  automatically be loaded onto the 

device. Please do not interrupt this process until you 
see the start screen again. If you have any questions 
our support team will be happy to help you.

Perfect!

You have completed the initial setup of your PAX 
A50 and can now start using your terminal to accept 
modern payment methods.

The initial setup and installation of your new PAX A50 is very simple.  
In just a few steps, your device is ready to handle your payment transactions. If you have any questions during 
setup, our support team will be happy to help.
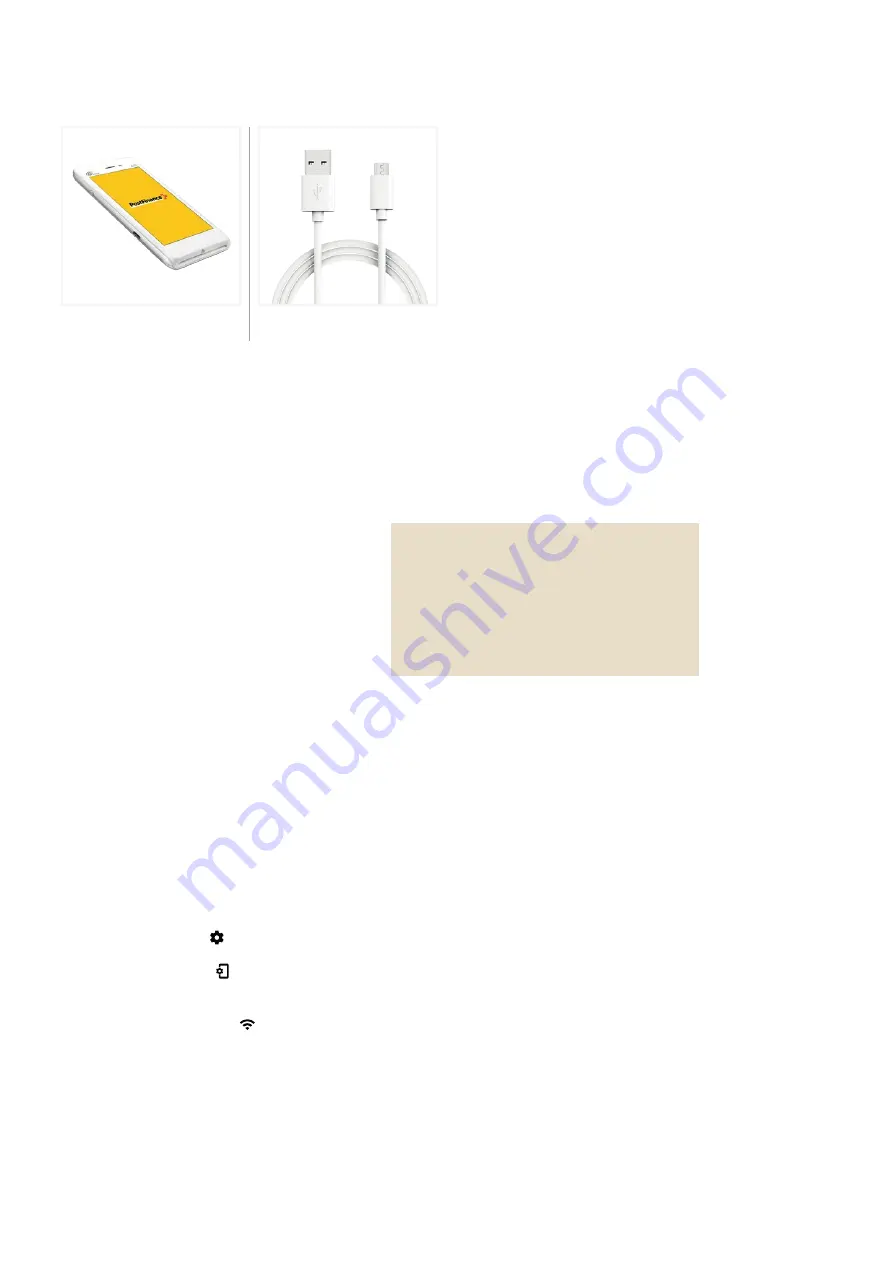
Delivery contents

Setup

Device 
PAX A50

A cable 
USB-C / USB 

4G data connection

All PAX A50 are equipped with a SIM card, 
 already installed in advance and thus ready for 
use immediately when switching on. Therefore, 
you can also use the mobile data connection for 
activation. 

Содержание A50

Страница 1: ...PAX A50 User Manual User manual for the basic functions of the PAX A50 Contents Overview of the device Delivery contents Setup Accepting payments Further settings ...

Страница 2: ... choice for accepting modern payment methods in your business Overview of the device Serial number of your machine 15 Rear camera with LED flash 12 Reader for contactless payment methods 13 Slot for SIM card and microSD card 14 Pogo Pin Connector 16 Speaker 1 Loudspeaker 11 Front camera 2 Quick Scan Button 5 Volume control 6 Volume down Volume up Light sensor 3 Power on off Button 4 Touch screen 8...

Страница 3: ...d continue with the activation of your account step 4 4 Activate account As soon as you have a WIFI connection or mobile data connection you can activate your account Return to the the start screen and enter the activa tion code that you will receive from PostFinance You will find this code in your Space in the checkout back office tool under Terminals The current configuration will automatically ...

Страница 4: ...merchant password select the menu item Credit and confirm again with your merchant password if necessary Select Manual entry You can then enter the card details of the card to which you want to refund card number security code CVV validity Finally the total amount will be will be displayed and you will be asked to confirm The functionality for manual entry is not available for all payment methods ...

Страница 5: ...ing payment reservation Select the menu icon Now select the area Reservations and then Booking Reservation Enter the Acquirer Id Acq Id and the Transaction Reference Number Trx Ref No of the original reservation and confirm Cancelation of a payment reservation Pre auth cancelation 1 To delete an existing payment reservation Select the menu icon Now select the area Reservations and then Cancelation...

Страница 6: ...erchant password via the checkout back office tool However to change the merchant password directly via the terminal proceed as follows Select the settings icon Now select the area Change password and confirm with your current merchant password Now enter a new password and confirm by pres sing confirm with Enter the green button Further Settings Change language settings Language settings can be ch...

Отзывы: