


RO
- 232 -
supraînc
ă
lzire
ş
i deteriorarea celulelor. Nu înc
ă
rca
ţ
i
ş
i nu lucra
ţ
i
niciodat
ă
cu acumulatoare care au fost supraînc
ă
lzite - înlocui
ţ
i-le
imediat.
7.
Depozitarea acumulatoarelor, înc
ă
rc
ă
toarelor
ş
i aparatului
cu acumulator.
Depozita
ţ
i înc
ă
rc
ă
torul
ş
i aparatul cu acumulator
numai în înc
ă
peri uscate cu o temperatur
ă
a mediului de 10-40°C.
Depozita
ţ
i acumulatorul litiu-ion într-un loc r
ă
coros
ş
i uscat la
10-20°C. Feri
ţ
i acumulatorul de umiditate
ş
i expunerea direct
ă
la
raze solare! Depozita
ţ
i acumulatoarele numai în stare înc
ă
rcat
ă
(înc
ă
rcate cel pu
ţ
in 40%).
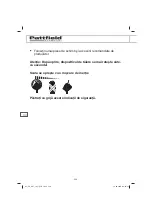
8. Evita
ţ
i înghe
ţ
area acumulatorului litiu-ion. Acumulatoarele care au
fost depozitate mai mult de 60 minute sub temperatura de 0°C tre-
buie îndep
ă
rtate.
9.
Ţ
ine
ţ
i cont la manipularea acumulatoarelor de înc
ă
rcarea
electrostatic
ă
: desc
ă
rc
ă
rile electrostatice duc la deteriorarea
sistemului electronic de protec
ţ
ie
ş
i a celulelor acumulatorului!
Din acest motiv, evita
ţ
i înc
ă
rcarea electrostatic
ă
ş
i nu atinge
ţ
i
niciodat
ă
polii acumulatorului!
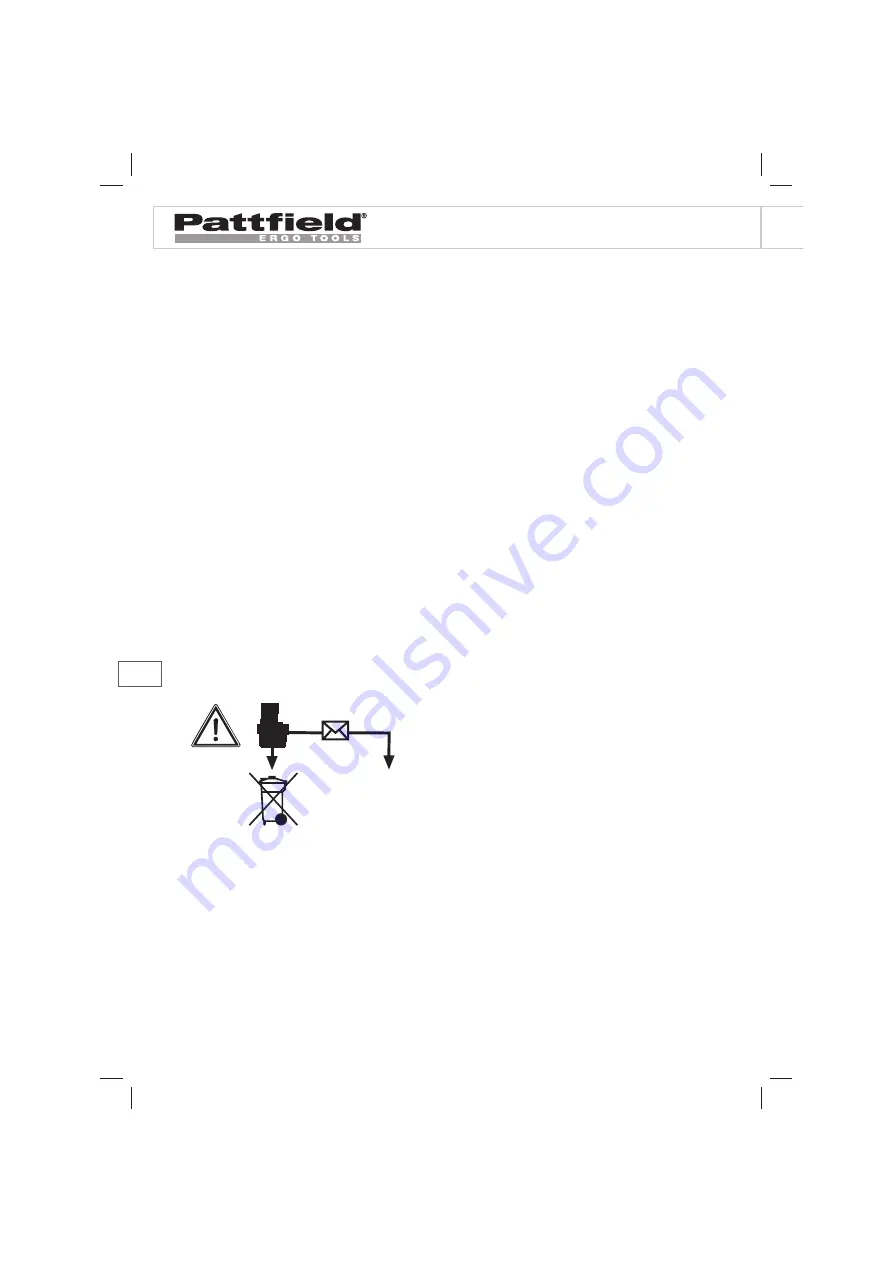
Hornbach
Baumarkt AG
Acumulatorii
ş
i aparatele electrice cu acumulator con
ţ
in materiale
d
ă
un
ă
toare mediului înconjur
ă
tor. Nu arunca
ţ
i acumulatorii în gunoiul
menajer. Dup
ă
defectarea sau uzura aparatelor, scoate
ţ
i acumula-
torul din aparat
ş
i duce
ţ
i-l la magazinul dvs. de specialitate Hornbach.
Dac
ă
acesta nu poate
fi
scos, duce
ţ
i aparatul cu acumulator complet.
Numai acolo este garantat
ă
o eliminare corespunz
ă
toare de c
ă
tre
produc
ă
tor.
Anl_PE_ART_18_Li_SPK7.indb 232
Anl_PE_ART_18_Li_SPK7.indb 232
19.09.2016 09:38:32
19.09.2016 09:38:32
Содержание PE-ART 18 Li
Страница 282: ...282 Anl_PE_ART_18_Li_SPK7 indb 282 Anl_PE_ART_18_Li_SPK7 indb 282 19 09 2016 09 38 36 19 09 2016 09 38 36...
Страница 283: ...283 Anl_PE_ART_18_Li_SPK7 indb 283 Anl_PE_ART_18_Li_SPK7 indb 283 19 09 2016 09 38 36 19 09 2016 09 38 36...
Страница 284: ...284 Anl_PE_ART_18_Li_SPK7 indb 284 Anl_PE_ART_18_Li_SPK7 indb 284 19 09 2016 09 38 36 19 09 2016 09 38 36...
Страница 285: ...285 Anl_PE_ART_18_Li_SPK7 indb 285 Anl_PE_ART_18_Li_SPK7 indb 285 19 09 2016 09 38 36 19 09 2016 09 38 36...


