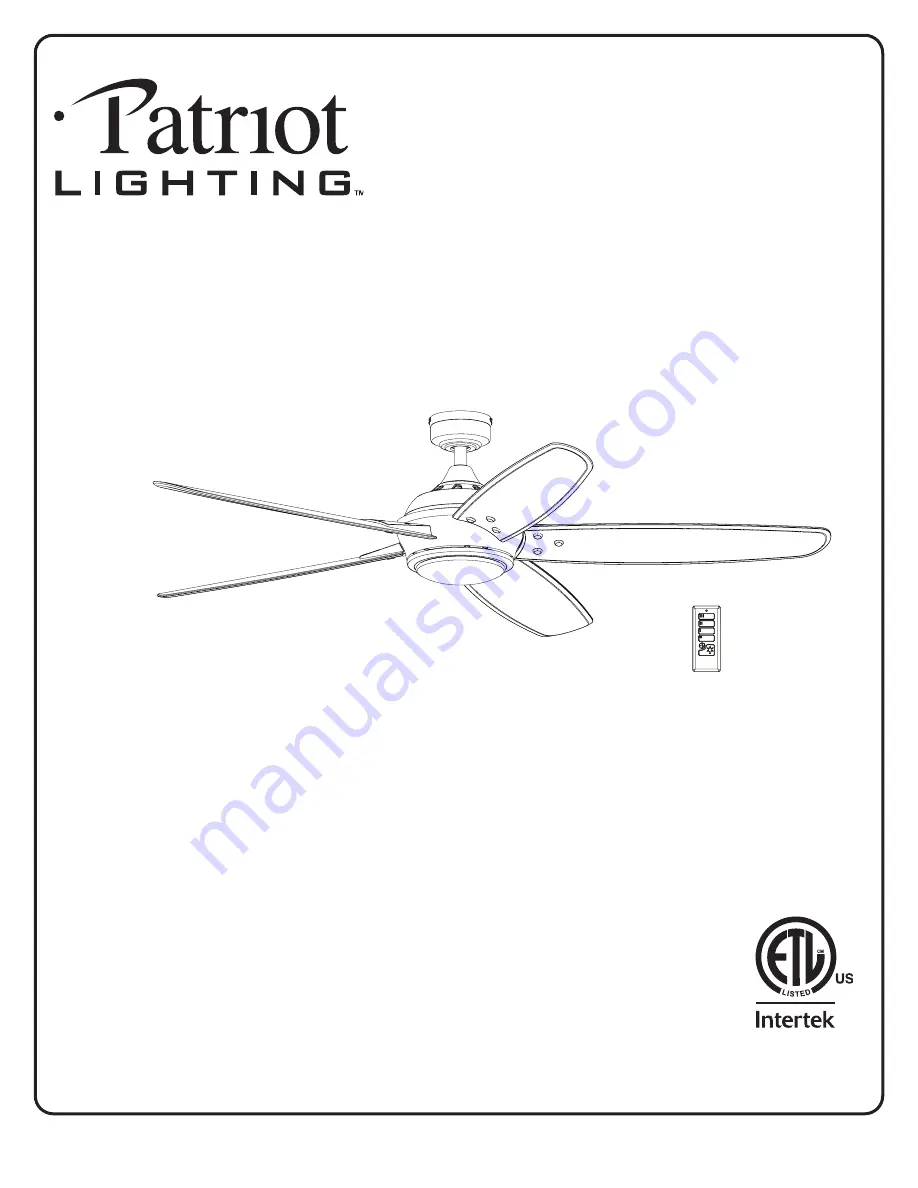
manualshive.com logo in svg
background image

9493 • 112421

62” HUBBARD

CEILING FAN

Owner’s Manual

Model #20691 

SKU #355-0705

1

If a problem cannot be remedied or you are experiencing difficulty in installation, please contact the 

Service Department: 1-877-459-3267, 8 a.m. - 5 p.m. Central Time, Monday - Friday.

Содержание HUBBARD

Страница 1: ...LING FAN Owner s Manual Model 20691 SKU 355 0705 1 If a problem cannot be remedied or you are experiencing difficulty in installation please contact the Service Department 1 877 459 3267 8 a m 5 p m C...

Страница 2: ...e Connector x3 BB Blade Screw x15 LL Screw Cap x15 Unpack your fan and check the contents You should have the following items PACKAGE CONTENTS HARDWARE CONTENTS BB AA LL Note Some extra hardware has b...

Страница 3: ...ing mounting options Downrod Mount is best suited for ceilings 8 ft or higher For taller ceilings you may want to use a longer downrod not included Angled Ceiling Mount is best suited for angled or va...

Страница 4: ...ons may cause harmful interference to radio communications However there is no guarantee that interference will not occur in a particular installation If this equipment does cause harmful interference...

Страница 5: ...personal injury mount to the outlet box marked acceptable for fan support and use the mounting screws and washers provided with the outlet box 3 Discard the orange packing material from the yoke at th...

Страница 6: ...ounting bracket is seated in the slot in the downrod ball WARNING The fan and or downrod should not rotate in the mounting bracket if installed correctly Failure to align the slot in the downrod ball...

Страница 7: ...arm using blade screw and screw cap Repeat for each blade 10 9 11 Attach the glass bowl to the light kit by twisting the glass bowl firmly in a clockwise direction until it is secure CAUTION Avoid cro...

Страница 8: ...compartment positive to positive and negative to negative Replace the battery cover and press the HIGH SPEED button on the remote to ensure the remote turns on the fan Note If the remote does not tur...

Страница 9: ...light after one minute Tap the Light Control button to exit Light Delay mode Light Control Tap the Light Control button to turn the light off and on Press and hold Light Control button to dim or brigh...

Страница 10: ...all blades are screwed firmly into blade arms 3 Ensure all blade arms are tightened securely to motor 4 Switch one blade with a blade from the opposite side Or balance the fan using the blade balanci...

Страница 11: ...void This warranty and any implied warranty including but not limited to any implied warranty of merchantability or fitness for a particular purpose do not cover glass globes light bulbs or finish on...

Отзывы: