13
14
Step 7
Range Test
You will need two people to perform the range test: one
to hold the plane and the other to give the transmitter
input.
WARNING:
The person holding the plane should hold
it in such a way that the propeller does not come into
contact with any part of their clothing or body.
To place the transmitter in range check mode, turn the
transmitter on. Face the model with the transmitter in
your normal flying position. Pull and hold the trainer
switch while toggling the HI/LO Rate Switch four times.
The LEDs will flash and the alarm will sound indicating
the system is in range check mode.
1. One person holds the transmitter while the other
person walks 30 paces away with the airplane.
2. Be sure the throttle is in the full down/idle position.
3. Plug the blue EC3 connector on the flight battery
into the blue EC3 device connector installed on the
speed control.
4. The propeller should spin quickly as soon as the
throttle stick is advanced.
5. As the first person moves the transmitter controls,
the other person watches to be sure the airplane’s
motor and tail controls operate smoothly.
6. Once the range check has been completed, simply
release the trainer switch and the transmitter will
exit range check mode.
Step 6
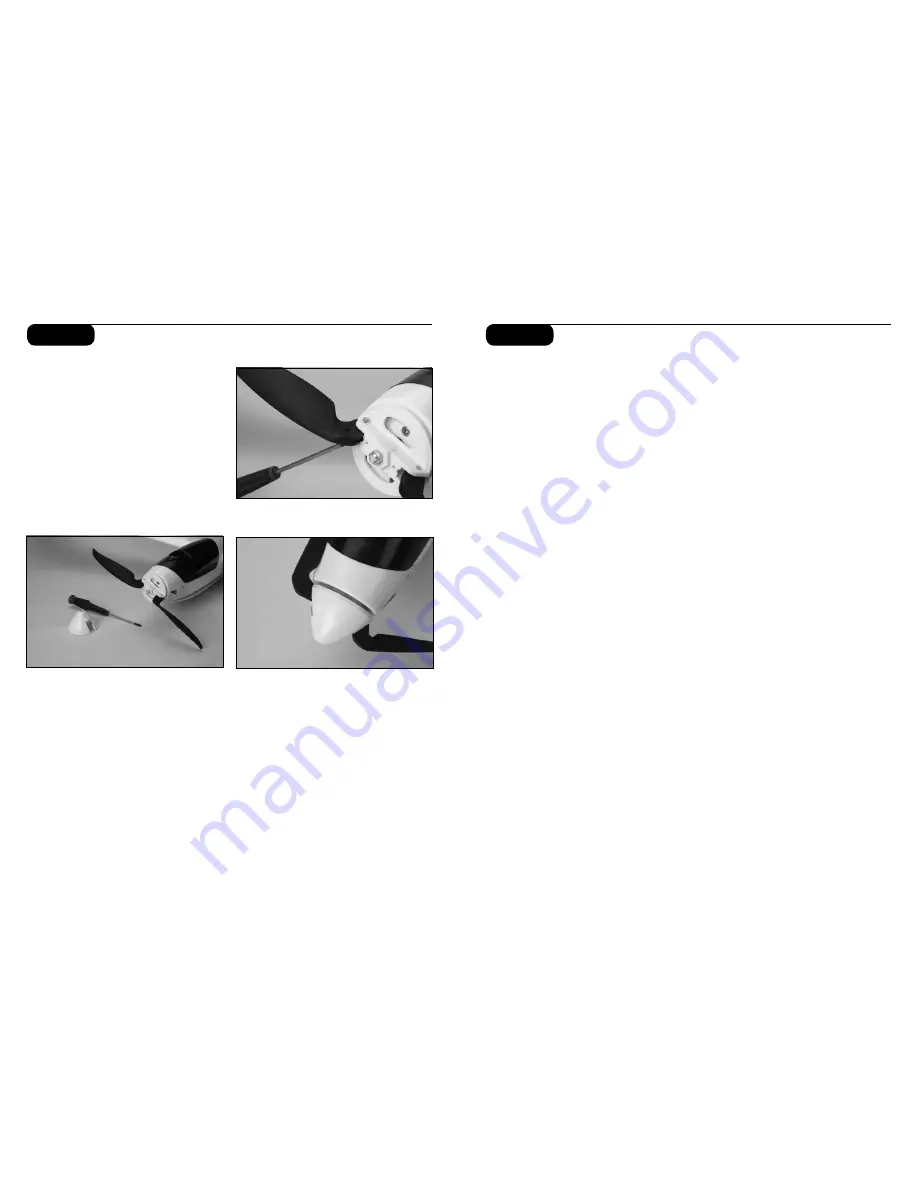
Replacing the Propeller
1. Using a #0 screwdriver, remove the two screws
installed in the front of the spinner. Remove the
spinner cone and place it aside so it does
not get lost.
2. Remove the pins installed in the prop blades. Set
them aside with the spinner cone so they do not
become lost.
3. Replace the prop blades and reinstall the pins.
Make sure the pins are flush when installed,
otherwise the spinner cone will not install.
4. Reinstall the spinner and confirm it is properly
seated. Reinstall the screws in the front of the
spinner.


