


O. REMOVAL OF SPARK GENERATOR
1.
Pull appliance forward and disconnect from the gas
supply.
2.
Pull off all the connections from the spark
generator.
3.
Remove the two screws and remove the generator.
4.
Reassemble in reverse order. Rewire as wiring
diagram.
P. REMOVAL OF HOTPLATE
ELECTRODE
1.
Remove hotplate tray (see Section B).
2.
Disconnect H.T. lead from electrode.
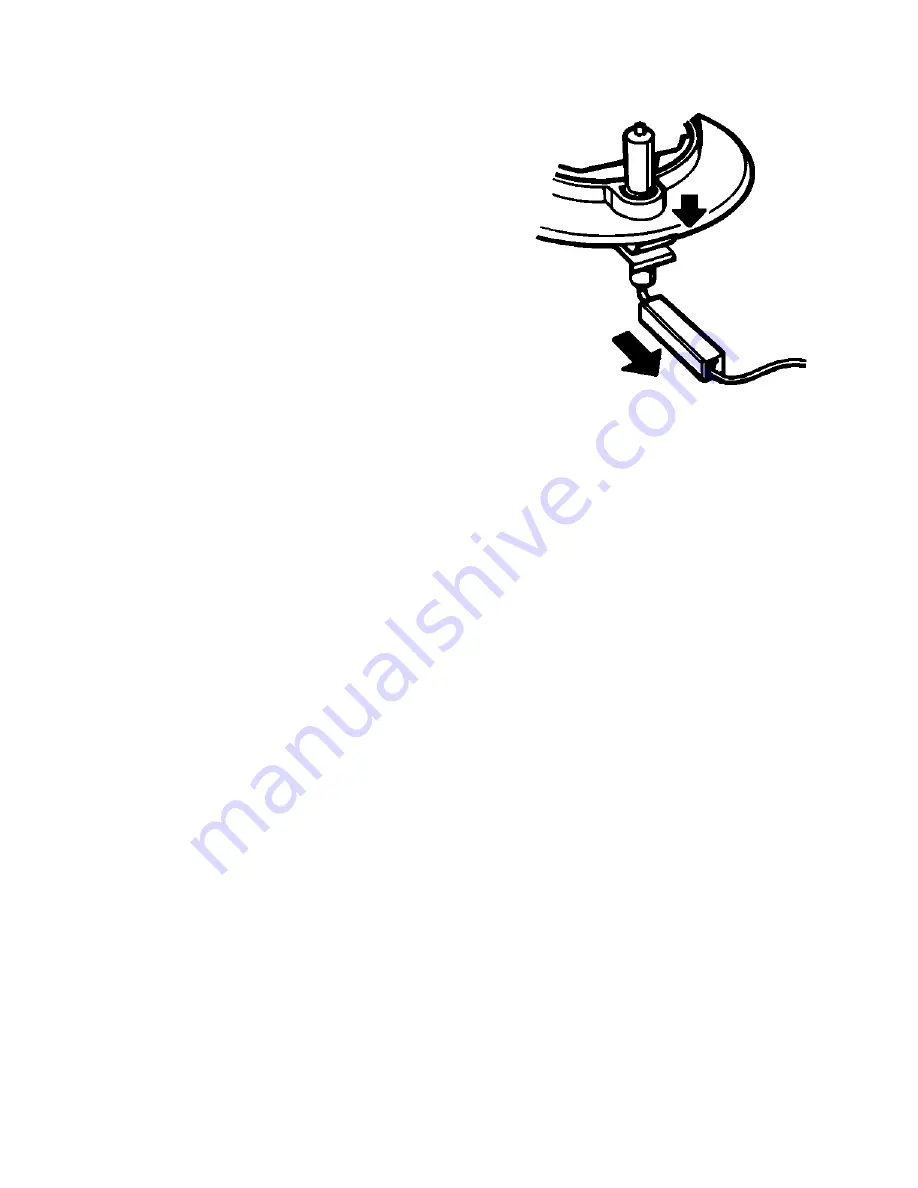
3.
Insert an electrical screwdriver down beneath the
underside of the burner body and the electrode
securing clip, push the screwdriver down to close
the clip and withdraw. Then remove the electrode
(see Fig.18).
4.
Reassemble in reverse order ensuring electrode is
correctly positioned and is secure.
Q. REMOVAL OF OVEN BURNER ELECTRODE
1.
Remove the oven furniture.
2.
Remove oven burner box retaining clips (one spring clip from each side) and remove the box front
cover. Replace one clip back into the right hand side of the burner box..
3.
From inside the oven remove the oven electrode fixing screw and pull off the H.T. wire. Take care that
the H.T. lead is retained, otherwise it may become inaccessible.
4
Reassemble in reverse order.
R. REMOVAL OF GRILL ELECTRODE
1.
Remove grill pan and shelf.
2.
Unscrew the electrode fixing screw and pull off H.T. wire.
3.
Reassemble in reverse order.
15
Fig.18
Содержание Lyric 50 GX
Страница 1: ......
Страница 41: ...41 N O T E S ...
Страница 42: ...42 N O T E S LYRIC 50GX 311206011 ...
Страница 52: ...FUNCTIONAL FLOW DIAGRAM COLOUR CODES b blue br brown w white 8 ...
Страница 54: ...1 0 ...
Страница 55: ......


