background image

8

November 1996

3980-A2-GZ41-10

Select Factory Configuration
Options

After the modem passes the power-up self-test,

configure it for operation using one of the factory preset
configurations.

The 3811Plus modem has several factory preset

templates that contain the proper configuration options
(straps) for different environments. Modems are shipped
from the factory with the Async Dial default configuration
options stored in memory. To prepare the modem for Sync
Dial, Sync Leased, UNIX Dial, Cellular (Mobile), or
Cellular (PSTN), you must change the factory setting,
using either the SDCP or the AT command &Fn, as
described in the following sections.

Configuring a Modem Using the SDCP

To change a factory template from the Async Dial

preset configuration using the SDCP, perform the
following steps.

Procedure

1. Press the 

Select

 key on the SDCP. Use the

function keys to enter the carrier number and slot
number of the modem to be configured. Press the

Select

 key again. The Front Panel LED of the

selected modem lights up.

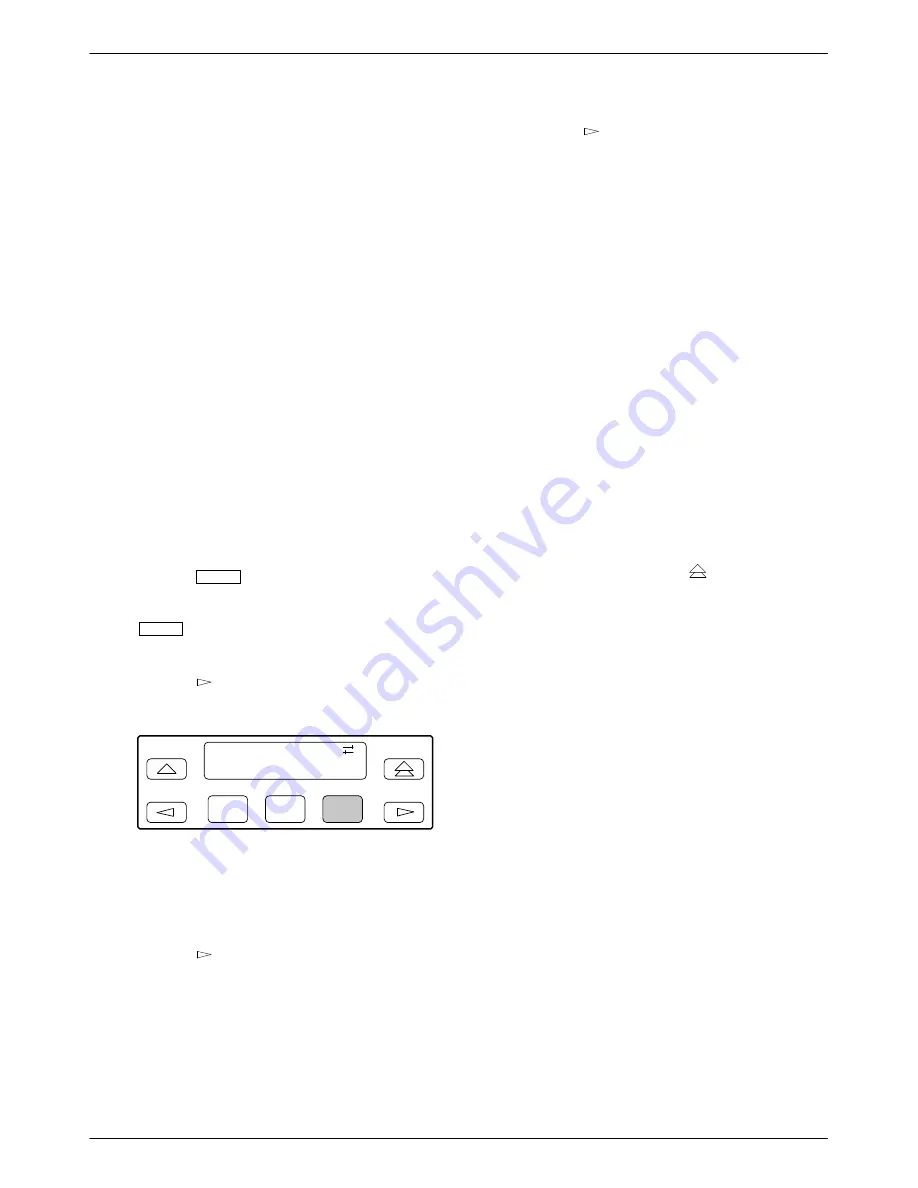
2. Press the  

  key until Configure comes into

view.

F1

Idle : 28.8
Test             Configure

F2

F3

3. Press the function key below Configure to select

the Configure branch.

The LCD now displays Ld EditArea frm.

4. Press the  

  key until Factory comes into view,

then press the F1 key to display the factory preset
configurations.

5. Press the  

  key until the appropriate factory

preset appears on the LCD, and press the
corresponding function key to select your choice.

If you select Sync Leased, a new prompt asks you
to select Answer Mode (F1) or Originate Mode
(F3). Press the appropriate key.

6. Choose Function now appears and displays the

Edit and Save functions.

7. Press the F3 key (Save).

The LCD displays Sav EditArea to.

8. The Active (Saved), Customer 1, and Customer 2

configuration areas are nonvolatile memory
locations. Active (Saved) contains the most
recently saved changes to any configuration
options. In the event of power loss, the modem
retrieves these configuration options.

Press the F1 key to select Active (Saved). The
LCD displays Command Complete.

9. The modem is now configured with the selected

factory template. Press the  

  key to return to

the Top-Level menu.

Configuring a Modem Using AT Commands

When using AT commands, the following criteria must

be met:

Make sure the asynchronous DTE’s communication
software is configured for 10-bit character format
(including the start bit); for example, 8 data bits, no
parity, and 1 stop bit.

Make sure the DTE (RS-232D) cable is attached to
the DTE connector on the rear of the
COMSPHERE 3000 Series Carrier, and the correct
serial communications port on the asynchronous
DTE.

On initial power-up, the modem is in Command
mode. To verify that the modem is connected and
functioning properly, enter the following:

TYPE: AT

PRESS: Return (Enter)

The screen displays OK.

Содержание COMSPHERE 3811Plus

Страница 1: ...CHANGE Please note that the area code for Paradyne Corporation in Largo Florida has changed from 813 to 727 For any Paradyne telephone number that appears in this manual with an 813 area code dial 72...

Страница 2: ...e equipment is to be used with telecommunications circuits take the following precautions Never install telephone wiring during a lightning storm Never install telephone jacks in wet locations unless...

Страница 3: ...age or on the first page of the transmission the date and time it is sent and an identification of the business or other entity or other individual sending the message and the telephone number of such...

Страница 4: ...nd circuit and ii cable or wiring complying with a code of practice for the installation of equipment covered by this part of BS 6328 or such other requirements as may be applicable This modem is suit...

Страница 5: ...e U S A call 1 800 870 2221 International call 813 530 2340 Installation Customer Supplied Equipment The 3811Plus modem see Figure 1 is designed for installation in a COMSPHERE 3000 Series Carrier whi...

Страница 6: ...LSD 103 104 105 106 107 108 109 Pwr Alrm Test Dial RI Busy Serv SQ Status Front Panel 3811Plus 142 125 Spkr Faceplate EIA232 V 24 Edge Card Connector EIA232 V 24 Connector Unused V 35 3600 3500 RS366...

Страница 7: ...slot position as that intended for the modem 496 14906 V 35 3600 3500 RS366A V 25 3800 EIA232 V 24 25 Pin DTE Connectors P21 Loosely fasten the plate This allows for slight adjustments later when inst...

Страница 8: ...odem Perform the following steps Select SDU 1 2 3 4 5 6 7 8 9 10 11 12 13 14 15 16 COMSPHERE 3000 Select Key Status Indicators Carrier Slots 1 16 F1 F2 F3 OK Alarm BckUp Test EC Keypad LCD Display 496...

Страница 9: ...tory preset configurations 5 Press the key until the appropriate factory preset appears on the LCD and press the corresponding function key to select your choice If you select Sync Leased a new prompt...

Страница 10: ...fferent factory preset configuration Menu Structure The menu tree accessible from the SDCP contains the following branches Call Setup Used to dial disconnect and answer telephone calls as well as stor...

Страница 11: ...ler Type DialTone Detect Blind Dial Paus BusyTone Detect Pause Time NoAnswer Timout Fast Disconnect Long Space Disc No Carrier Disc No Data Disc NoDataDiscTrig Auto Make Busy MakeBusyViaDTR DTR Auto R...

Страница 12: ...S_Call_Msgs NMS DTR Alarm NetworkPosition CellulrRJ11Adpt Security EntryWait_Time VF_Prompt_Type DTE_PW_Tries DTE_PW_TermChar DTE_PW_BkSpChar Get_User_ID NMS_Reporting Answer_Secur Originate_Secur 496...

Страница 13: ...im data blckd ExitRem appears instead of Remote when using Remote Mode Does not appear in Remote Mode Rem_Digital_Loop Loc_Digital_Loop and Pattern appear if the secondary channel is used Security Set...

Отзывы: