

step 4:
Front Plate installation
quick start guide
1
2
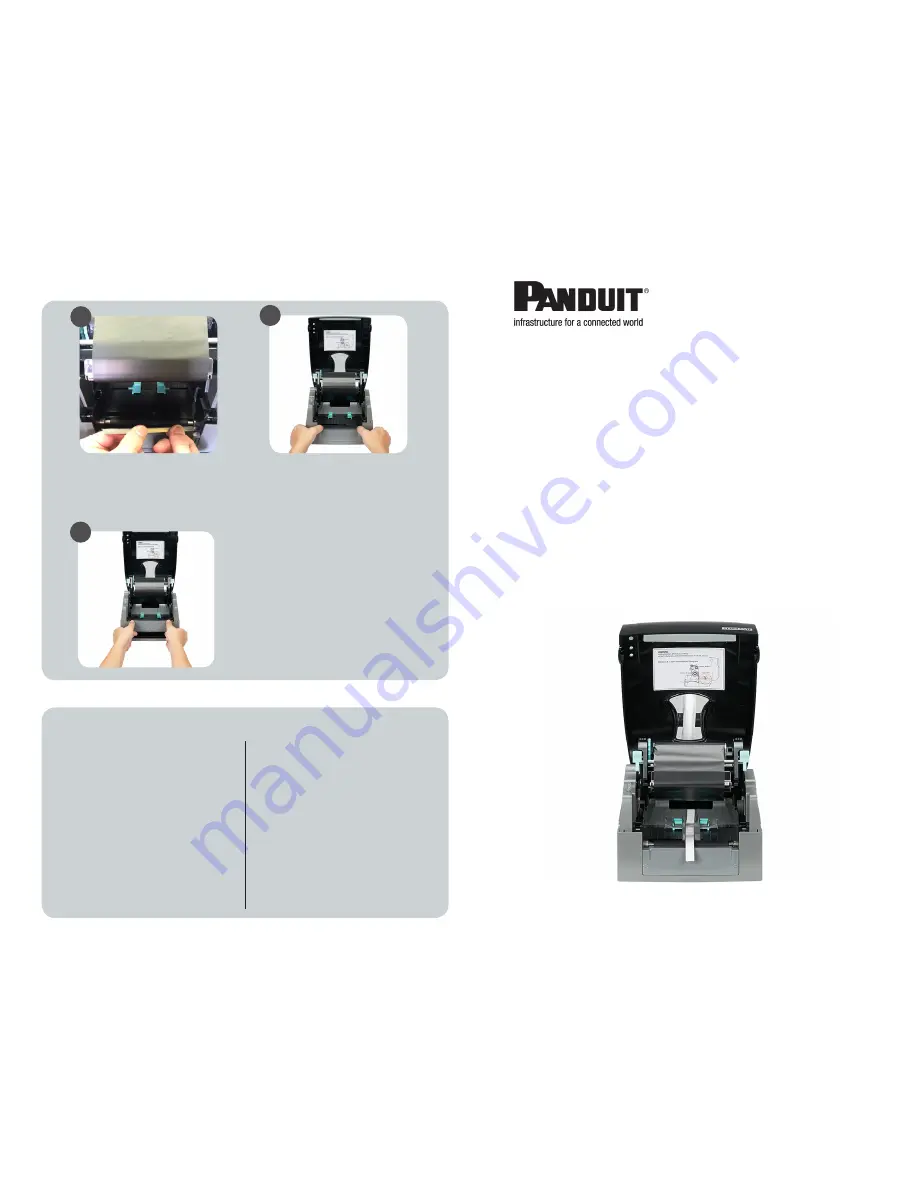
3
Remove metal tear bar from front of
printer by firmly pulling upwards. Bar
will snap out of the tabs by which it is
attached.
Remove the existing plate from
the front of printer by pressing
releasable tabs on sides and pulling
plate out.
Install new front plate by sliding plate
downward from above the front of the
printer. Press down until the front plate
sits completely flush. If it does not sit
completely flush, ensure metal bar has
been removed.
Final Assembly Example
for
terminal block markers
Contact Panduit Identification Technical Support with any questions.
[email protected] | 866-871-4571
step 5:
format settings and printer driver
Two final settings must be altered prior to successfully printing terminal block markers.
Print Driver Stop Position
• Before opening Easy-Mark
TM
Plus, click
on start, “Devices and Printers”
• Right click on the desired TDP43ME
printer and click “Printing Preferences”
• Click “Advanced Setup” tab
• Click “Other” button
• Change “Stop Position” to 0.00
• Close, click “Apply”, and click “OK”
• Open Easy-Mark
TM
Plus Labeling Software
Easy-Mark
TM
Plus Print Offset
• In Easy-Mark
TM
Plus, open a terminal
block marker format.
• Click “Print”, “Print Document”
• Select desired TDP43ME printer
• Click on “Features” button
• Change “Top Offset” to 1.5mm (0.059in)
if using TB05X12, TB06X12, & TB08X12.
• Change “Top Offset” to 2.49mm (0.098in)
if using TB05X08 & TB06X08.
• Check box for “Save Offsets”
B21006 Rev. 1


