


© Panduit Corp. 2017
FS132C
Page 3 of 7
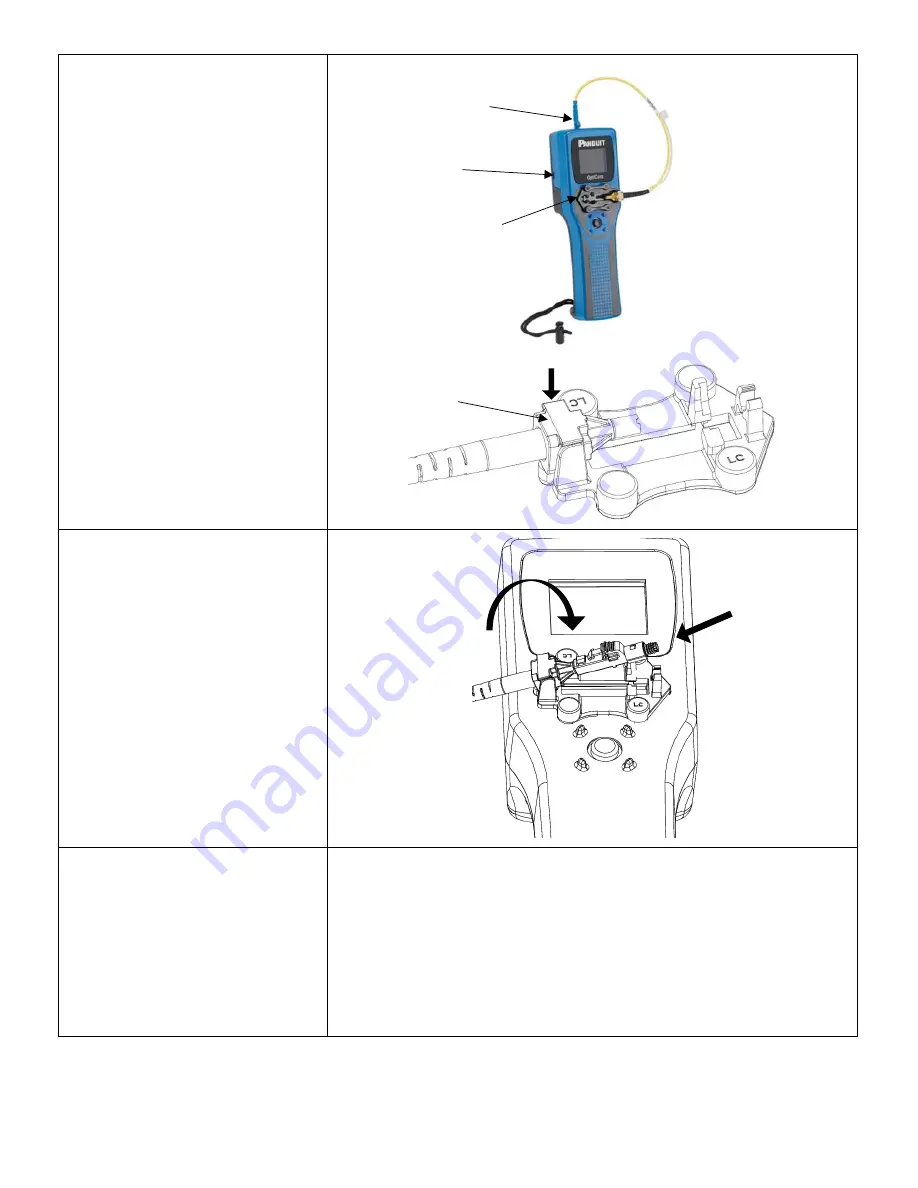
Step 3
Install the correct OptiCam 2 launch cord
and OptiCam 2 cradle. An LC connector
on the launch cord attaches to a port at
the top of the tool and the unique
adapter attaches it to the cradle. The
cradle attaches to the tool (singlemode
LC launch cord, and LC Cradle are shown)
with either a left or right orientation.
Step 4
A) Insert a connector while the launch
cord is tilted up to receive the connector.
B) Tilt the connector down, ensure the
connector backbone snaps in to the
cradle.
Note: Each connector has slightly
different cradle operation. Refer to the
individual connectors’ specific
instructions in the OptiCam 2
Installation Instructions FS133.
Step 5
REFER TO FIBER PREP STEPS
IN USER INSTALLATION
INSTRUCTIONS
Have fiber prepped and cleaved to 7mm
before starting the next termination
steps.
See the following Installation instructions for fiber prep steps:
FS133
LC Connector port
Left orientation for
cradle shown
Launch cord
snaps into
the cradle
Data Port
A
B


