Installation Guide
AT-VGW-HW-3 and AT-VGW-HW-10
5
3
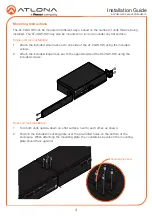
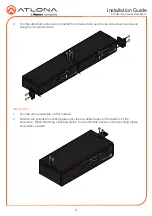
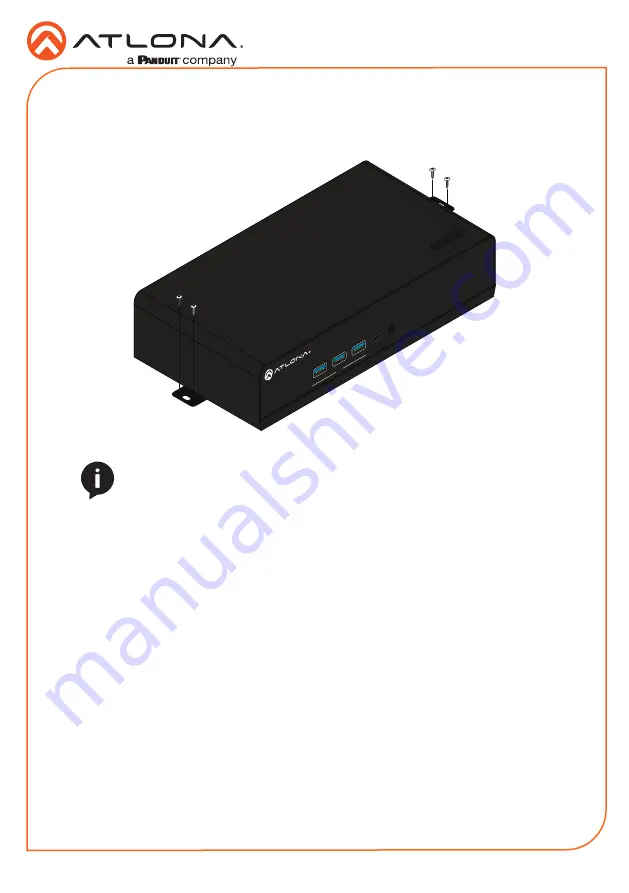
Mount the unit using the circular holes, on each mounting plate. If using a drywall surface,
a #6 drywall screw is recommended. Mounting screws are not included.
NOTE:
The unit can also be mounted under a flat surface, such as a table, by
turning the unit upside down.
USB
USB
USB
GA
TEW
AY
USB
USB-C
AUDIO OUT
TM
V
ELOCITY
1
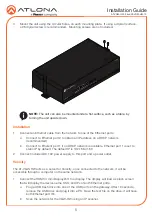
Connect an Ethernet cable from the network to one of the Ethernet ports.
a
Connect to Ethernet port 2 to obtain an IP address on a DHCP network
(recommended)
b
Connect to Etherent port 1 if no DHCP network is available. Ethernet port 1 is set to
static IP by default. The default IP is 192.168.41.68
2
Connect included DC 19V power supply to this port and a power outlet.
Installation
Velocity
The AT-VGW-HW acts as a server for Velocity, once connected to the network, it will be
accessible through a computer on the same network.
1
Connect the HDMI or mini DisplayPort to a display. The display will load a splash screen
that will display the device name, SKU, and IPs of both Ethernet ports.
a
Plug a USB flash drive into one of the USB ports on the gateway. After 10 seconds,
remove the USB drive and plug it into a PC. Open the text file on the drive, it will have
both Ethernet port IPs.
b
Scan the network for the VGW-HW using an IP scanner.


