


7
Scan Settings
Color or Black & White Mode
You can choose to scan in full color or black & white by pressing the
Color BW
.
Scan Resolution
The scan resolution is measured in DPI (dots per inch); the higher the DPI, the more detail on
the original is captured by the scanner, producing a higher quality scanned image. However, a
higher DPI also results in a larger image size and occupies more storage space.
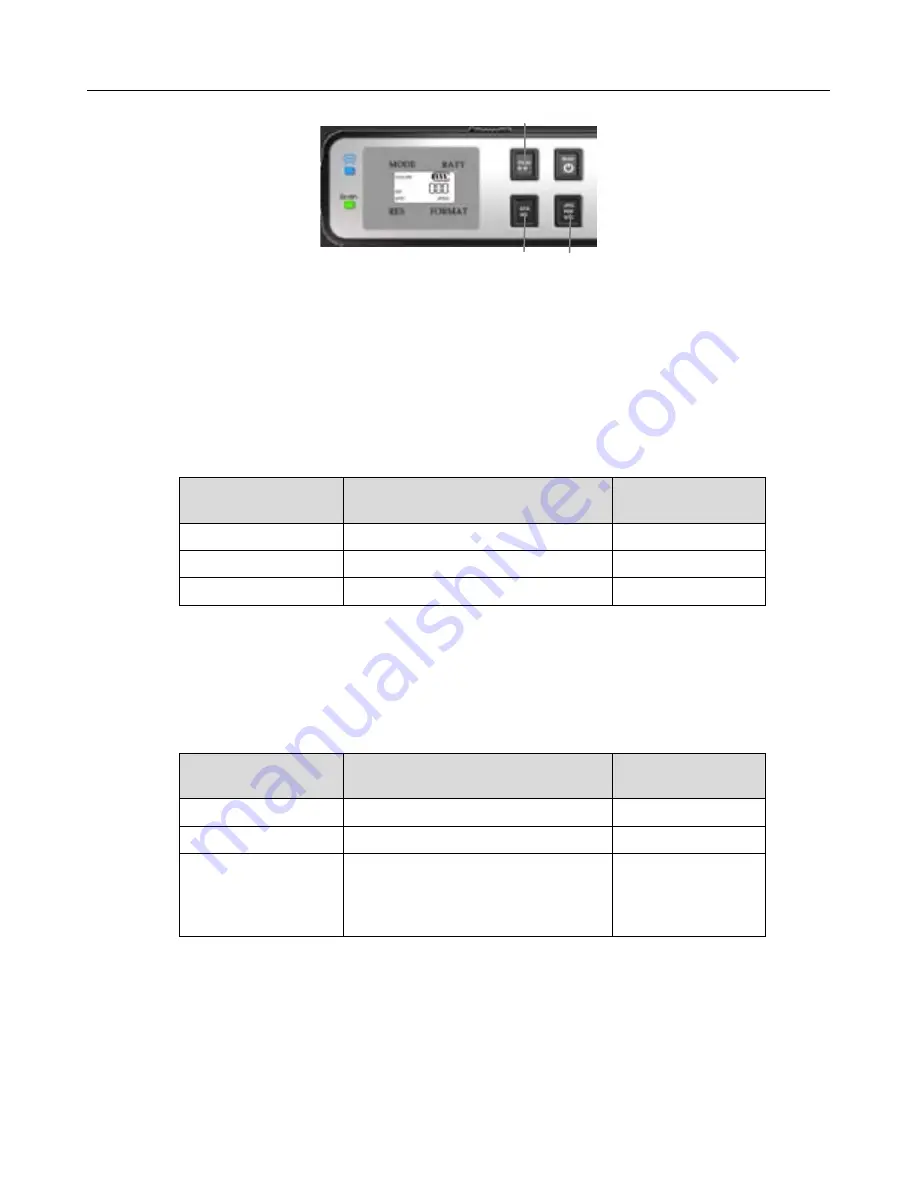
The scanner offers three resolution modes, indicated by the color of the STD, HQ, STD HQ
indicator LED light.
Setting displayed
on LCD screen
Resolution
Scan light color
while scanning
STD
300 dpi – Normal
(default)
Green
HQ
600 dpi – Fine
Orange
STD HQ*
1200 dpi – Best
Red
To switch the scan resolution between Normal and Fine, press the
STDHQ
button.
*To change to the Best resolution, press & hold the
STDHQ
button for 2 seconds.
Scan Save Format
The scanner offers three file formats for scanned images.
Format
Common Use
Displayed on
LCD Screen
JPG
To scan photos
JPG
To scan data or text originals
STC*
Stitching up to 6 consecutive
scanned photos into a single
panoramic file (using Presto!
PageManager)
SC0 – SC6
To switch the save format between JPG and PDF, press the
JPG PDF STC
button.
*To change to the stitching mode (STC), press & hold the
JPG PDF STC
button for 2 seconds.
SC0 will be displayed on the LCD screen, and then the number increments from 0-6 as you
scan.
For photo stitching instructions, refer to the Photo Stitching section on page 28.