12
Step 11 After temporarily connecting the camera and PC to a
network and installing the camera viewer software on the
PC, perform the IR LED settings from the camera setup
menu.
Connect the camera and computer to the same network by using a hub, or connect them directly
by using of a crossover cable, turn on the camera, and setup the IR LED.
z
Insert the CD-ROM provided with the camera into the CD-ROM drive of your PC.
• The License Agreement will be displayed. Read the Agreement and choose “I accept the
term in the license agreement”, and click [OK].
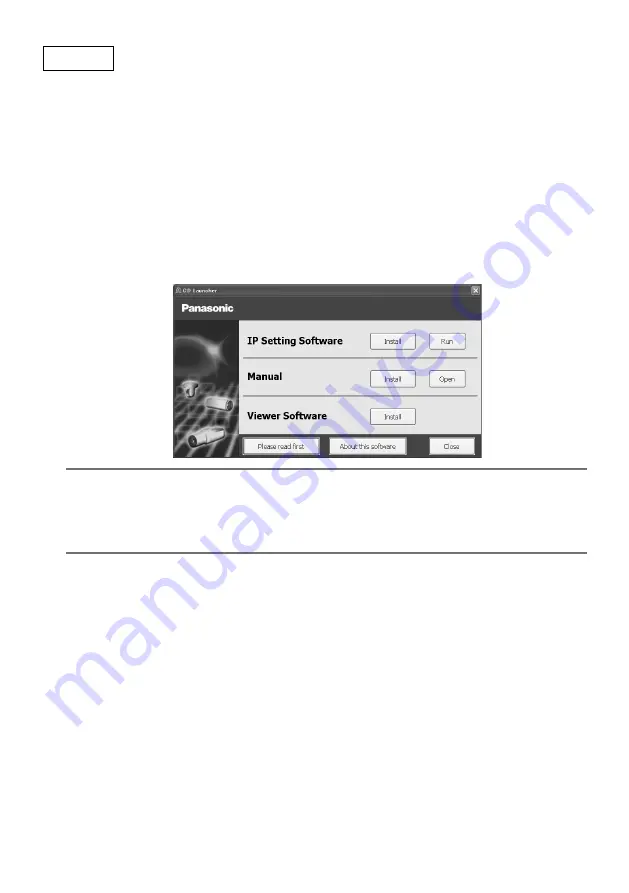
• The launcher window will be displayed. If the launcher window is not displayed, double click
the “CDLauncher.exe” file on the CD-ROM provided with the camera.
Note:
• Refer to “Using the CD-ROM” in the Operating Instructions on the CD-ROM provided with
the camera for further information about CDLauncher.
• For more information about the System requirements for a PC in order to connect with the
camera, please refer to the "System requirements for a PC" in the Important Information.
x
Click the [Run] button next to [IP Setting Software].
[Panasonic IP Setting Software] screen will be displayed. After detecting the camera, the MAC
address/IP address will be appeared.
* The displayed camera information is not automatically updated. Click the [Search] button to
update the information.


