21
• The IP addresses of the camera registered in the recorder and in the
camera are not the same.
Configure as follows.
q
Delete a camera icon
.
w
Click the [Set] button after selecting the camera icon
to turn
the icon to the edited icon
.
e
Select the recorder icon and click the [Manual Registration] button.
• Display the network settings of the camera and click the [Set] button
without changing the settings.
The newly detected icon will turn to the edited icon (
) and the set-
tings will be registered in the recorder.
Tips to configure the settings
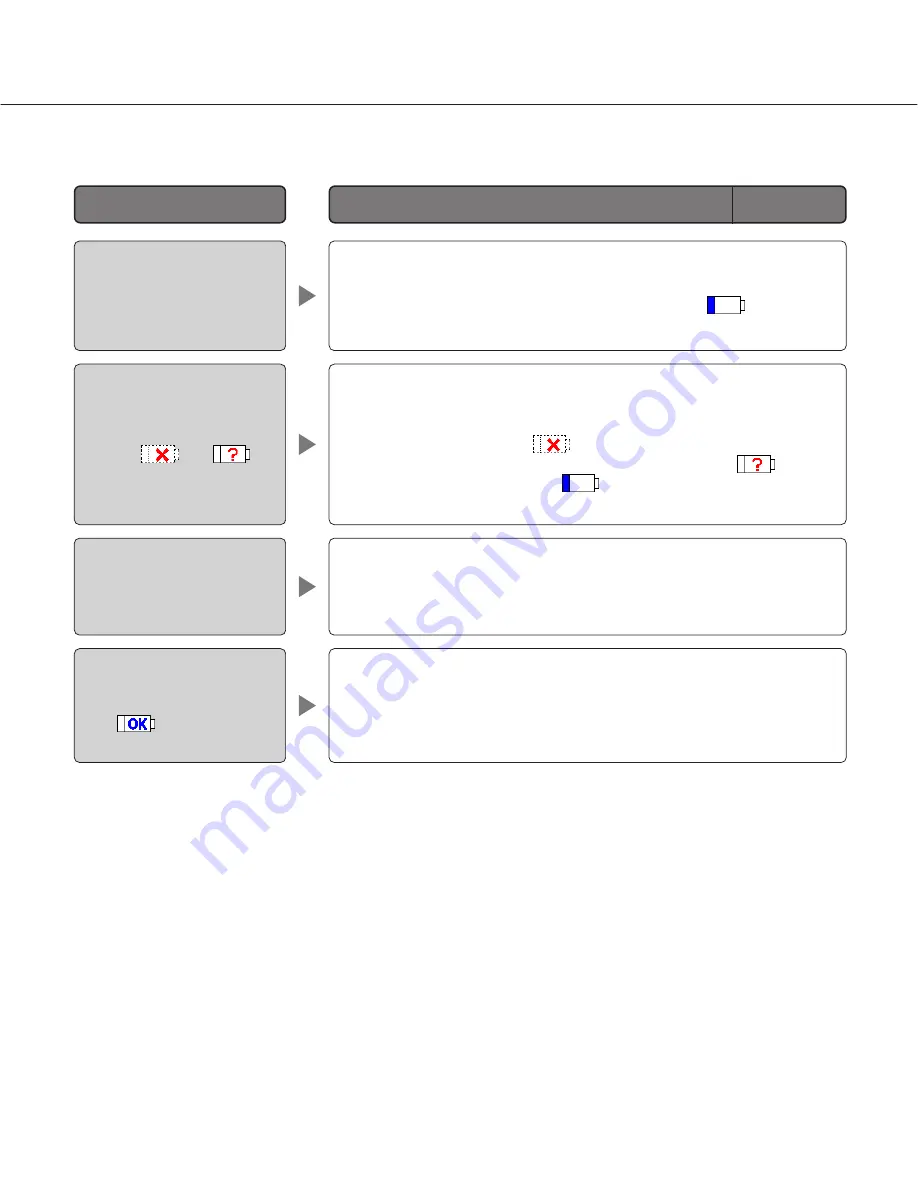
When having a problem to configure the settings with this software, check and try the solution described below.
Need to register the network
settings of the newly detect-
ed camera without chang-
ing.
The cameras with the same
MAC address are displayed
with the
and
icons.
IP address is not displayed
when registered after select-
ing "ON" for the DHCP func-
tion of the camera.
No live image is displayed
even though the camera
icon is
displayed.
Reference
pages
Tip
Problem
• It may take time for the camera to obtain the IP address. Wait for a
while and display IP address by executing search.
Registration of the camera (registration of IP address, etc.) in the
recorder is necessary after displaying the IP address.
• When the camera is already registered, the model number of the cam-
era or the HTTP port number may be incorrect. When the user authen-
tication of the camera is "ON", it is necessary to register the user
name/password on the "Camera" page of the recorder. Check and edit
the settings.


