60
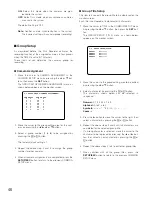
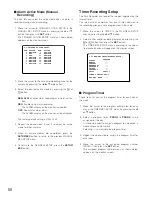
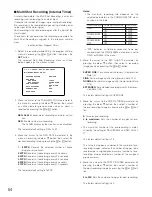
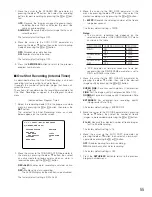
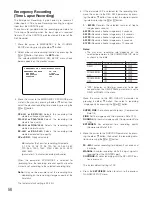
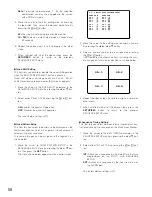
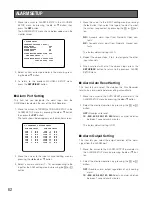
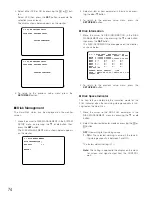
6. Repeat the above steps 2 to 5 to set up the other steps.
7. When satisfied with all of the above steps, press the
SETUP/ESC
button to return to the previous
SEQUENCE SETUP menu.
●
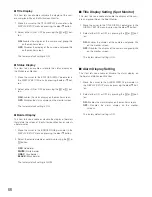
Sequence Timing Setting
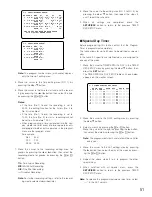
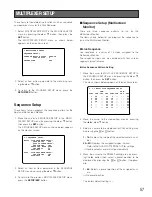
This item lets you select between internal and external con-
trol for advancing the sequence on the Spot Monitor.
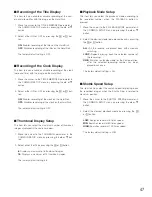
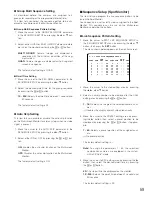
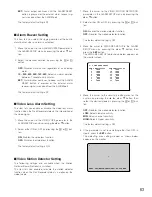
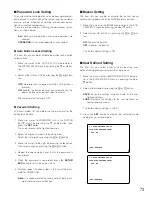
1. Move the cursor to the SEQ TIMING parameter in the
SEQUENCE SETUP menu by pressing the
D
or
C
but-
ton.
2. Select either INT or EXT by pressing the
+
or
-
but-
ton.
INT:
Advances a sequence by the Dwell Time that was
programmed on the SPOT LIVE SEQUENCE
SETUP.
EXT:
Advances a sequence by the input from pin 5 of
the ALARM port.
The factory default setting is INT.
●
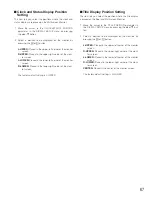
Auto Skip Setting
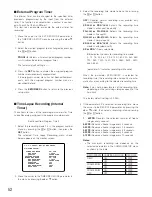
This item lets you enable or disable the auto skip function
on the Spot Monitor to skip any steps when no video signal
is present.
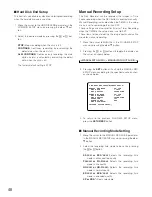
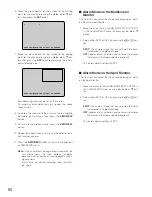
1. Move the cursor to the AUTO SKIP parameter in the
SEQUENCE SETUP by pressing the
D
or
C
button.
2. Select either ON or OFF by pressing the
+
or
-
but-
ton.
ON:
Enables the auto skip function on the Spot Monitor.
OFF:
Disables the auto skip function on the Spot
Monitor.
The factory default setting is ON.
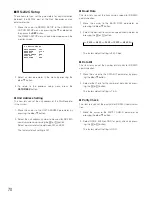
Power on Status Setup
The items let you select a pattern on the monitor screen
when the Disk Recorder’s power is turned on.
■
Power on Setting (Multiscreen
Monitor)
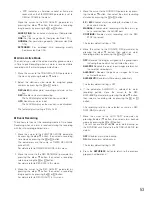
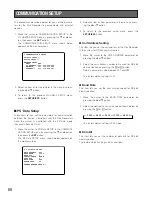
This item lets you select a display pattern on the
Multiscreen Monitor when the Disk Recorder’s power is
turned on.
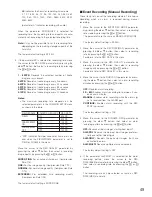
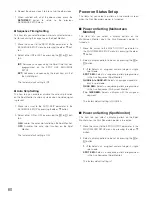
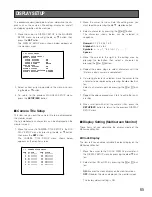
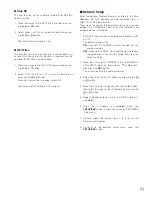
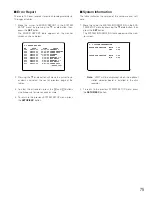
1. Move the cursor to the MULTI OUTPUT parameter in
the MULTIPLEXER SETUP menu by pressing the
D
or
C
button.
2. Select a display pattern to be set by pressing the
+
or
-
button.
1 - 16:
Selects an assigned camera image in single
spot mode.
SPOT SEQ:
Selects a sequence pattern programmed
in the Live Sequence (Spot Monitor).
QUAD-4A to QUAD-4D:
Selects an assigned quad dis-
play in spot mode.
QUAD SEQ:
Selects a sequence pattern programmed
in the Live Sequence (Multiscreen Monitor).
7 to 16SCREEN:
Selects a display with the assigned
segment.
The factory default setting is QUAD-4A.
■
Power on Setting (Spot Monitor)
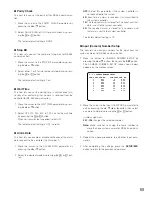
This item lets you select a display pattern on the Spot
Monitor when the Disk Recorder’s power is turned on.
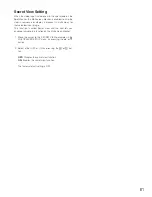
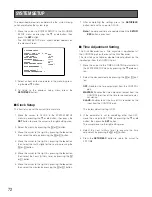
1. Move the cursor to the SPOT OUTPUT parameter in the
MULTIPLEXER SETUP menu by pressing the
D
or
C
button.
2. Select a display pattern to be set by pressing the
+
or
-
button.
1 - 16:
Selects an assigned camera image in single
spot mode.
SPOT SEQ:
Selects a sequence pattern programmed
in the Live Sequence (Spot Monitor).
The factory default setting is 1.
Содержание WJ-HD500B
Страница 26: ...26 ...
Страница 27: ...27 PREPARATIONS ...
Страница 40: ...40 ...
Страница 41: ...41 SETUP PROCEDURES ...
Страница 78: ...78 ...
Страница 79: ...79 OPERATING PROCEDURES ...

