Using Common Interface
●
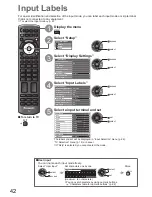
Input Labels
●
Advanced
TV
EXIT
MENU
INPUT
TV
43
Using Common Interface
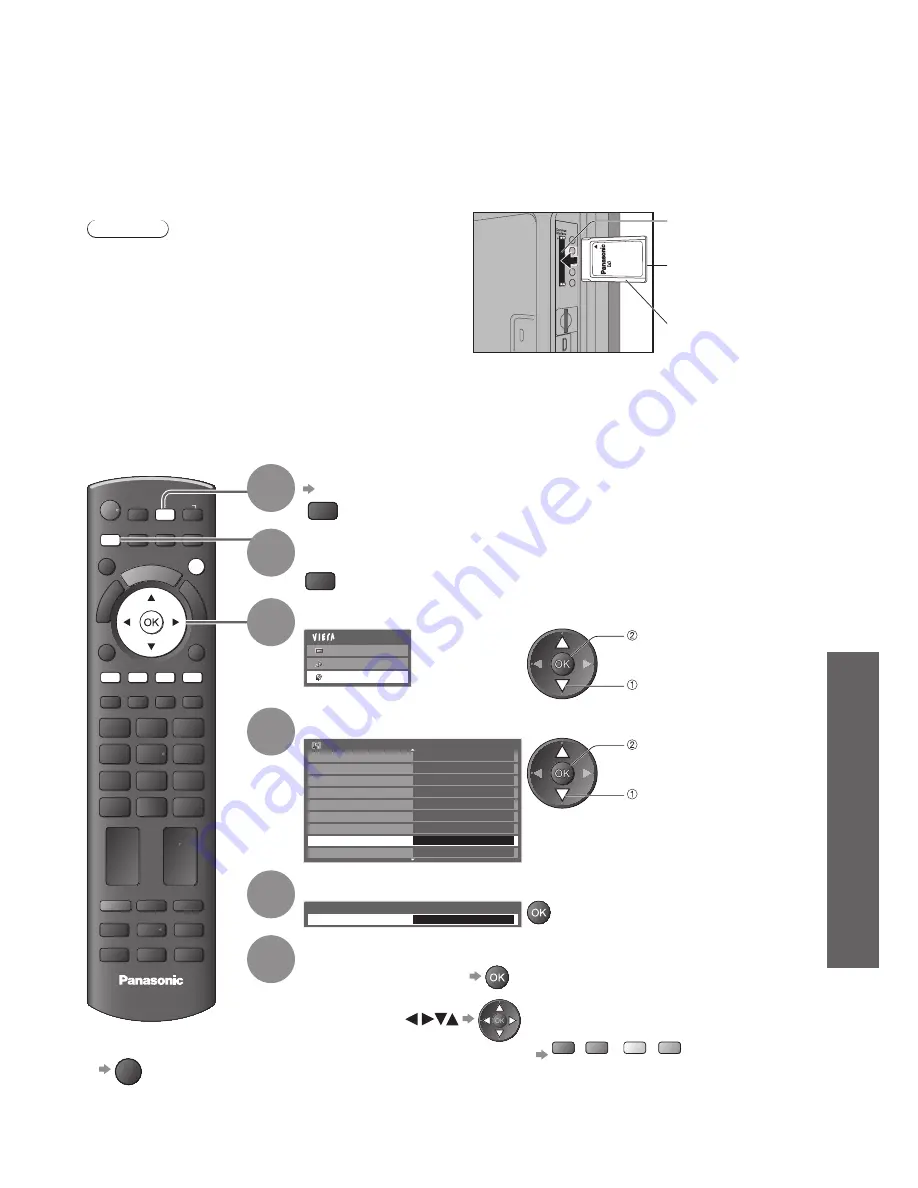
1
Select DVB-C or DVB-T
p. 14
TV
2
Display the menu
MENU
3
Select “Setup”
Main Menu
Picture
Sound
Setup
access
select
4
Select “Common Interface”
Setup Menu
1/2
Off Timer
Off
Access
Link Settings
Child Lock
DVB-C Tuning Menu
Language
Display Settings
Common Interface
System Menu
Timer Programming
access
select
5
Access Common Interface
Common Interface
Slot 1:
Module inserted
6
Follow the on screen operation guide
For example: select, go
Coloured characters
red
green
yellow
blue
On screen operation guide may not correspond to the remote control
●
buttons.
The Common Interface Module menu provides access to software contained on Common Interface (CI)
Modules.
This function may not be available in some countries or regions.
●
Although CI module may enable you to view some services, this TV does not guarantee all services
(e.g. pay-TV).
Please use only the approved CI module by the broadcaster.
Consult your local Panasonic dealer or broadcasters for more information and conditions of the services.
Caution
Turn Off Mains power On / Off switch whenever inserting
●
or removing the CI module.
If a view card and a card reader come as a set, first insert
●
the card reader, then insert the view card into the card
reader.
Insert the module in the correct direction.
●
Insert or remove
straightly and completely
CI module
Side of the TV
CI slot
Remove the cover before
●
using CI slot.
Insert the CI module (optional)
The features that appear on screen are dependent on the contents of the selected CI module.
●
Normally pay-TV channels will appear. Follow the on screen operation guide.
●
If pay-TV channel does not appear, perform below.
For more details, see the manual of the CI module, or check with the broadcaster.
●
To return to TV
■
EXIT


