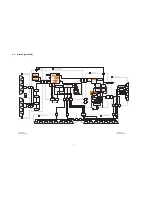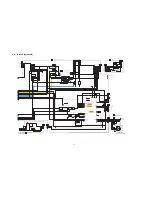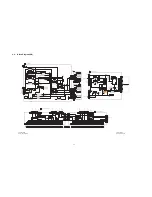
23
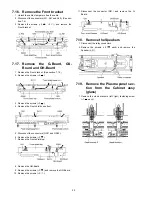
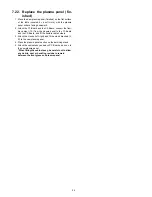
2. Remove the cabinet assy and the plasma panel fastening
screws (
×
4 ,
×
6 ).
3. For leaving the plasma panel from the front frame, pull the
bottom of the cabinet assy forward, lift, and remove.
4. Remove the spacers and spacer rings (
×
6 ).
7.20. Remove the S-Board
1. Remove the Cabinet assy. (See section 7.19.)
2. Disconnect the connector (S2).
3. Remove the screws (
×
2
) and remove the S-Board
metal frame.
4. Remove the screws (
×
2
) and remove the S-Board.
7.21. Remove the K-Board
1. Remove the Cabinet assy. (See section 7.19.)
2. Remove the S-Board. (See section 7.20.)
3. Remove the screws (
×
2 ).
4. Disconnect the connector (K1) and Remove the K-Board.
Содержание TH42PZ80UA - 42" PLASMA TV
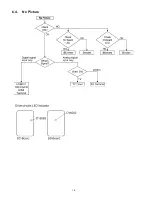
Страница 16: ...16 6 4 No Picture ...
Страница 27: ...27 8 1 4 Adjustment Volume Location 8 1 5 Test Point Location ...
Страница 29: ...29 ...
Страница 30: ...30 ...
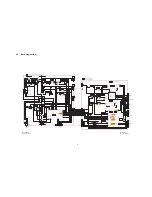
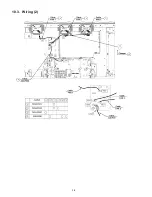
Страница 38: ...38 10 3 Wiring 2 ...
Страница 39: ...39 10 4 Wiring 3 ...
Страница 40: ...40 10 5 Wiring 4 ...
Страница 41: ...41 10 6 Wiring 5 ...
Страница 42: ...42 ...
Страница 43: ...43 11 Schematic Diagram 11 1 Schematic Diagram Note ...
Страница 98: ...98 13 1 2 Fan part location ...
Страница 99: ...99 13 1 3 Accessories ...
Страница 100: ...100 13 1 4 Mechanical Replacement Parts List ...
Страница 103: ...103 13 2 Electrical Replacement Parts List 13 2 1 Replacement Parts List Notes ...

