


2/2
Setup
MULTI DISPLAY Setup
MULTI PIP Setup
Portrait Setup
Set up TIMER
Network Setup
PRESENT TIME Setup
Display orientation
Landscape
40
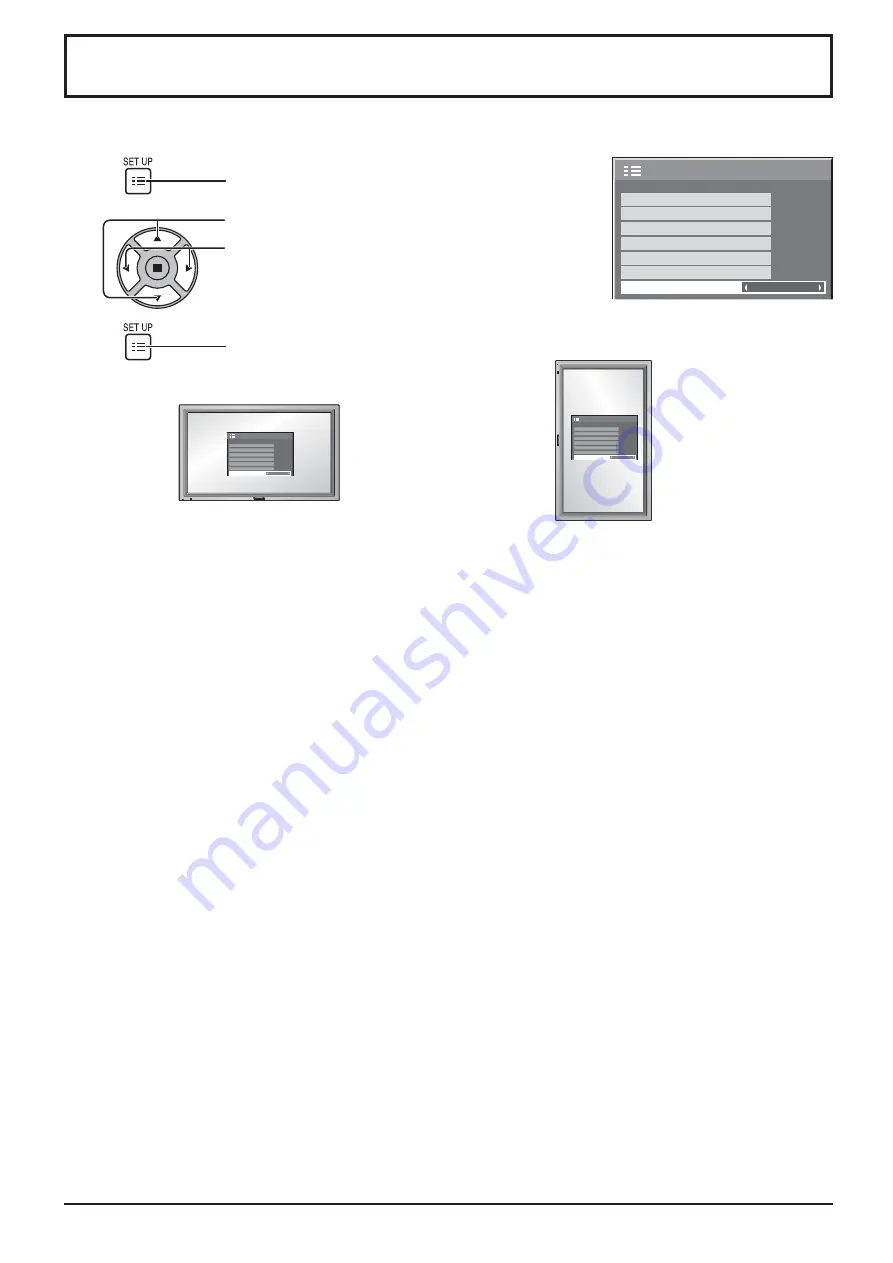
Display orientation
Sets the fan control and the display style of on-screen menu for vertical installation.
Press to display the Setup menu.
Press to select Display orientation.
Press to select “Landscape” or “Portrait”.
Press to exit from adjust mode
1
2
3
Notes:
• Turn up the power switch for the upward direction when you set Display vertically.
• Fan control will be switched when turning on the unit next time.
Landscape
Portrait
Fan control for horizontal installation.
Fan control for vertical installation. On-screen
menu will be rotated 90 degrees counterclockwise
to be suitable for the setting.


