


6
Safety Precautions
Touch panel
Carefully observe the following instructions as the display has an optical touch panel.
Do not expose the display to direct sunlight or strong light source during use.
• Otherwise malfunction may occur since the optical touch panel of the display uses infrared rays.
After turning on the power of the display, do not touch the IR transmission part
and the screen until any image is displayed.
• Otherwise the touched part may be detected as defective elements, resulting in
abnormal operation. If this occurred, turn the display off and then on.
Always use a nger or the supplied pen to operate the touch panel. Do not use a hard or sharp tip such as
nail, ball-point pen, and pencil.
When using any other infrared device, keep a distance to prevent erroneous operation.
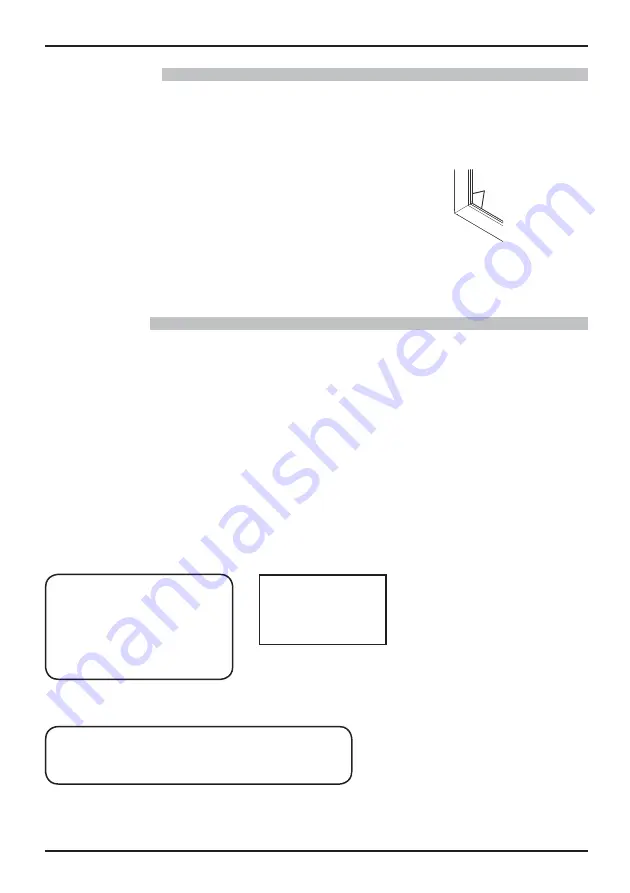
IR transmission part
Wired LAN
When setting up the Display at a place, where electric statistic occurs often, take a suf cient anti-static
measure before start using.
• When the Display is used at a location, where static electricity occurs often, such as on a carpet, communications
of the DIGITAL LINK and the wired LAN are disconnected more often. In that case, remove static electricity and
the noise source that may cause problems with an antistatic mat, and re-connect the DIGITAL LINK and the wired
LAN.
• In rare cases, the LAN connection is disabled due to static electricity or noise. In that case, turn off the power of
the Display and the connected devices once and then re-turn on the power. Connect the DIGITAL LINK and the
LAN.
The Display may not work properly due to strong radiowave from the broadcast station or the radio.
• If there is any facility or equipment, which outputs strong radiowave, near the installation location, set up the
Display at a location suf ciently far from the source of the radiowave. Or, wrap the LAN cable connected to the
DIGITAL LINK terminal by using a piece of metal foil or a metal pipe, of which is grounded at both ends.
UAE
UAE-TRA
REGISTERED No:
ER0081229/12
DEALER No:
DA0052708/10
Thailand
Singapore
Complies with
IDA Standards
DB01017
“
!. . 1012-2551
”


