


English (UK)
Deutsch
Français
Italiano
Español
ENGLISH (US)
Русский
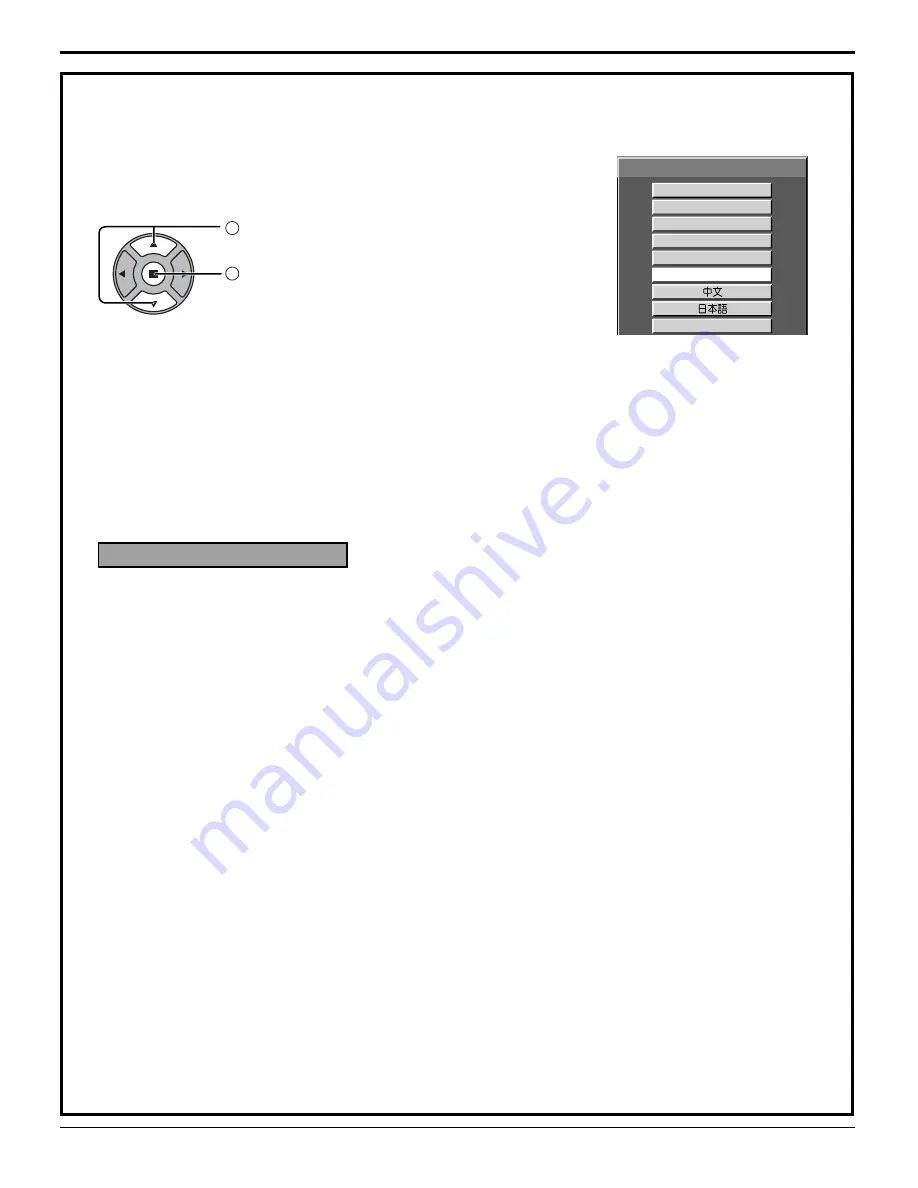
OSD LANGUAGE
15
When
fi
rst switching on the unit
Following screen will be displayed when the unit is turned on for the
fi
rst time.
Select the item with the remote control. Unit buttons are invalid.
OSD LANGUAGE
1
Select the language.
2
Set.
Notes:
• Once the item is set, the screen won't be displayed when switching on the unit next time.
• After the setting, the items can be changed in the following menu.
OSD LANGUAGE (see page 32)
Power ON / OFF
Power ON warning message
The following message may be displayed when turning the unit power ON:
No activity power off Precautions
’NO ACTIVITY POWER OFF’ IS ENABLED.
If “NO ACTIVITY POWER OFF” in SET UP menu is set to “ENABLE”, a warning message is displayed every
time the power is turned ON. (see page 29)
This message display can be set with the following menu: Options menu
Power On Message (see page 40)


