15
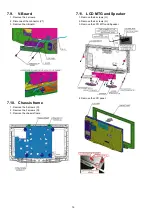
7.5.
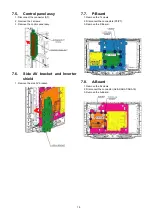
Control panel assy
1. Disconnect the connector (A7).
2. Remove the 2 screws.
3. Remove the control panel assy.
7.6.
Side AV bracket and Inverter
shield
1. Remove the side AV bracket.
7.7.
P-Board
1. Remove the 7 screws.
2. Disconnect the connectors (P3/P7).
3. Remove the P-Board.
7.8.
A-Board
1. Remove the 9 screws.
2. Disconnect the connector (A2/A3/A5/A7/A9/A16).
3. Remove the A-Board.
Содержание TC32LX85N - 32" LCD TV
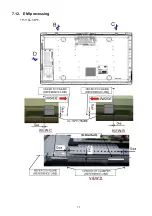
Страница 17: ...17 7 12 EMI processing ...
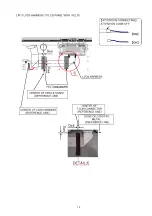
Страница 18: ...18 ...
Страница 19: ...19 ...
Страница 20: ...20 ...
Страница 26: ...26 ...
Страница 28: ...28 10 2 Wiring ...
Страница 29: ...29 11 Schematic Diagram 11 1 Schematic Diagram Notes ...
Страница 44: ...44 ...
Страница 46: ...46 13 1 2 Mechanical Replacement Parts List ...
Страница 48: ...48 13 2 Electrical Replacement Parts List 13 2 1 Replacement Parts List Notes ...


