background image

4

Cabling Re-Cap

Configure the Camera - 1

• Remove the camera from the mounting 

base to access DIP Switches.

Содержание RS-485

Страница 1: ...1 Panasonic Unitized Dome Camera RS 485 Configuration Configure the DVR Configure DIP Switches ...

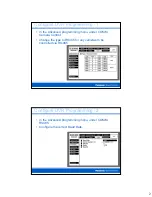
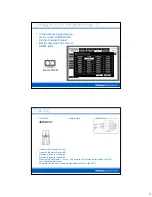
Страница 2: ...the Advanced programming menu under COMM Camera Control Change the type to RS485 for any cameras to be controlled via RS 485 Configure DVR Programming 2 In the Advanced programming menu under COMM RS485 Configure the correct Baud Rate ...

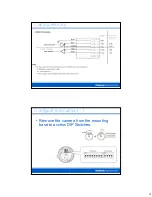
Страница 3: ... RS485 ports Rear of DVR Cabling DVR Side Camera Side Transmit A goes to Receive A Transmit B goes to Receive B Receive A goes to Transmit A Receive B goes to Transmit A When using Half Duplex 2 wire The camera only receives information the DVR only transmits information The pigtail on the camera can be plugged directly in to the DVR ...

Страница 4: ...4 Cabling Re Cap Configure the Camera 1 Remove the camera from the mounting base to access DIP Switches ...

Страница 5: ...igure the Camera 2 Configure DIP Switch 2 Set Duplex Set Termination Configure the Camera 3 Configure DIP Switch 1 for the correct Baud rate Power the camera on and wait until the self check routine finishes ...

Страница 6: ...f using Pelco P protocol Switch 6 8 See page 13 If using AD Manchester protocol swap Switch 7 8 See page 14 Wireless and other transmission media It is recommended that you configure the system wired directly to the DVR Once you have the system up and running then proceed to introduce the wireless fiber etc Don t forget any other transmission media is just emulating a straight through cable ...

Страница 7: ...7 AD Protocol Pelco P Protocol ...

Отзывы: