


Basic O
p
eration
Remote control operation
E
NGLISH - 25
Q
Saving a log setting as a profile
Return to the
COLOR MANAGEMENT
menu and
save the stored log as a profile. Make sure that the
PICTURE MODE
is not switched.
1. Select the
PROFILE SAVE
menu and press
ENTER
The
PROFILE SAVE
menu is displayed. You can
save the profile as
USER1
,
USER2
and
USER3
.
2. Press
ENTER
to save the profile
The confirmation screen is displayed. Press
ENTER
again to save.
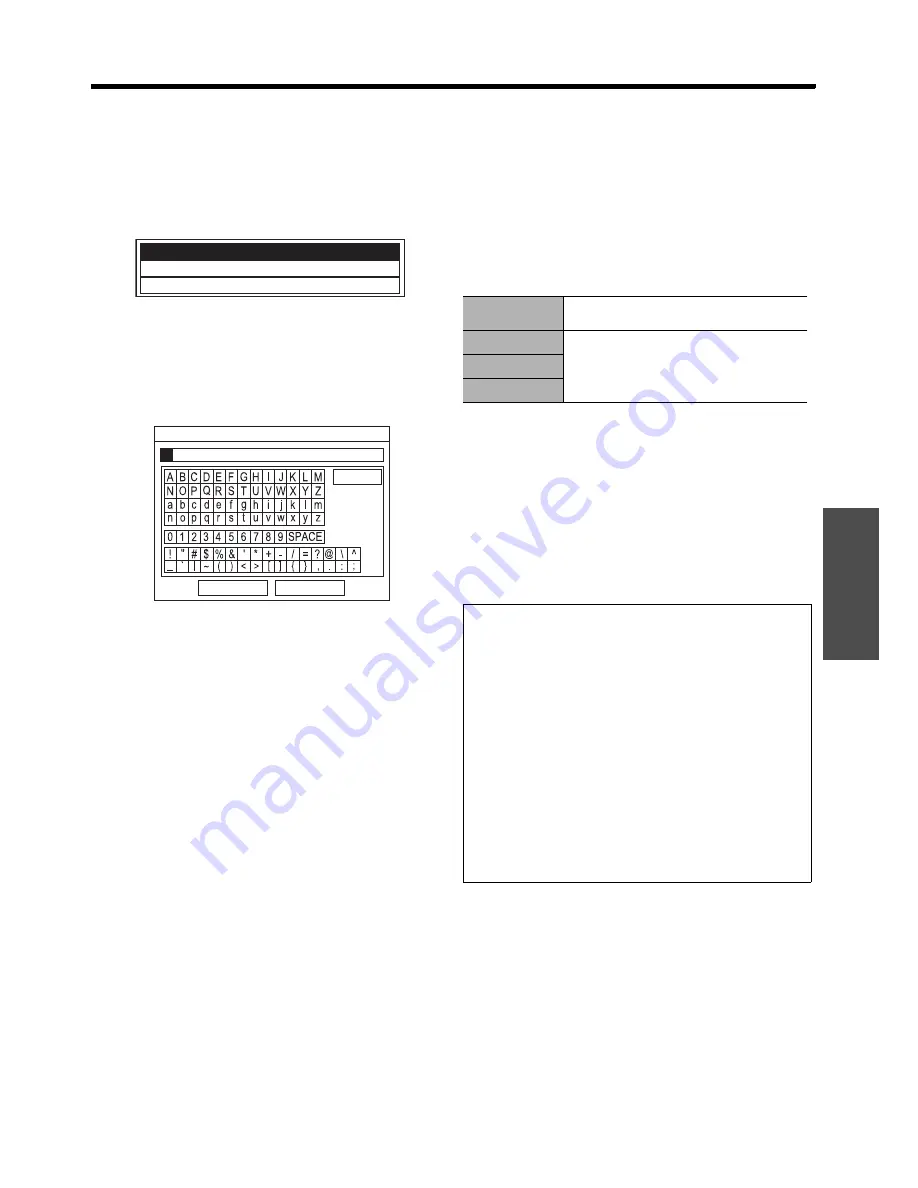
3. Use
F
G
I
H
to specify the location of the
required character to enter and press the
ENTER
button.
You can enter up to 14 characters.
4. Repeat step 3 until you finish the text line.
Move the cursor to
DEL ALL
and press the
ENTER
button to delete all the entered text line.
Press the
DEFAULT
button to delete the last entered
character or indicated with cursor in the text box.
To insert a character in the entered text line, move
the cursor to the text box to select the required place
and press
G
then perform step 4.
5. Select
OK
and press the
ENTER
button to set the
entered text as a name.
Press the
ENTER
without entering any text to keep
the default name.
Q
Changing the profile names
You can change the name of the profiles from the
PROFILE NAME CHANGE
menu.
1. Select
PROFILE NAME CHANGE
and press the
ENTER
button.
2. Select the required profile and press the
ENTER
button.
3. Use
F
G
I
H
to specify the location of the
required character to enter and press the
ENTER
button.
4. Select
OK
and press the
ENTER
button to set the
entered text as a name.
Q
Loading saved profiles
When profiles are loaded under the
PICTURE
MODE
setting, you can keep them as you defined
until the
PROFILE
is set to
NORMAL
.
1. Select the required
PICTURE MODE
and press
ENTER
.
2. Press the
COLOR MANAGEMENT
button and
select the
PROFILE
menu.
The profile settings of the selected
PICTURE MODE
will be displayed.
3. Select the required profile and press
ENTER
.
Q
Deleting the saved profiles
You can delete the profiles from
PROFILE
DELETE
menu.
1. Select
PROFILE DELETE
and press the
ENTER
button.
2. Select the required profile or
ALL DELETE
and
press the
ENTER
button.
The confirmation screen will be displayed and select
OK
.
3. Press the
ENTER
button.
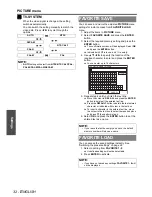
USER3
USER2
USER1
OK
CANCEL
ALL DELETE
PROFILE NAME INPUT
NORMAL
Return to the default setting of the
PICTURE MODE
menu.
USER1
Defined profile settings.
USER2
USER3
NOTE:
•
LOG
and
PROFILE SAVE
are not displayed before
you apply
COLOR MANAGEMENT
.
• If you load a profile with a different attribute mode of
the profile, the
CURSOR
and
PROFILE SAVE
menus will not be displayed.
• The approximate colors will be adjusted at the same
time. If you adjust the exact same color differently,
both colors will affect each other and you might get
unexpected results.
• White, Black and Gray are not adjustable.
• If you escape the
COLOR MANAGEMENT
menu or
attempt to perform another menu action before you
save the adjusted profile, the confirmation screen will
be displayed.
• If you switch the input signal before you save the
profile, the setting will be cancelled without notice.


