


ENGLISH -
63
Settings
ADVANCED MENU
See “Navigating through the menu”
z
(
Æ
page 49).
See “MAIN MENU” and “SUB MENU”
z
(
Æ
page 50).
DIGITAL CINEMA REALITY
Increase the vertical resolution when the PAL (or
SECAM) 576i signal input or the NTSC 480i, 1 080/50i
and 1 080/60i signal input is applied.
Press ▲▼ to select [DIGITAL CINEMA
1 )
REALITY].
Press ◄► or <ENTER> button.
2 )
The [DIGITAL CINEMA REALITY] individual
z
adjustment screen will be displayed.
Press ◄► to select [DIGITAL CINEMA
3 )
REALITY].
The setting will change as follows each time
z
◄► is pressed.
AUTO
OFF
25p FIXED
: When 576i or 1 080/50i signals are input
30p FIXED
: When 480i or 1 080/60i signals are input
AUTO
Performs automatic detection and
cinema processing. (factory default)
OFF
Unforced cinema processing.
25p FIXED
Forced cinema processing (2 : 2
pulldown) is performed when a 576i
or 1 080/50i signal is input.
30p FIXED
Forced cinema processing (2 : 2
pulldown) is performed when a 480i
or 1 080/60i signal is input.
Note
In [DIGITAL CINEMA REALITY] mode, the image quality
z
will be deteriorated if [30p FIXED] or [25p FIXED] is
selected when the signal is not a 2 : 2 pulldown signal.
BLANKING
Blanking adjustment fine-tunes the images projected
by the video deck or other devices when the noise
appears on the edges of the screen or if a part of the
image lies slightly offscreen.
Press ▲▼ to select [BLANKING].
1 )
Press <ENTER> button.
2 )
The [BLANKING] screen will be displayed.
z
Press ▲▼ to select the desired item
3 )
for adjustment.
Press ◄► to adjust blanking.
4 )
The adjustment value for the PT-DZ8700U can
z
be changed within a range of 0 to 599 vertically
and 0 to 959 horizontally.
The adjustment value for the PT-DS8500U can
z
be changed within a range of 0 to 524 vertically
and 0 to 699 horizontally.
The adjustment value for the PT-DW8300U can
z
be changed within a range of 0 to 383 vertically
and 0 to 682 horizontally.
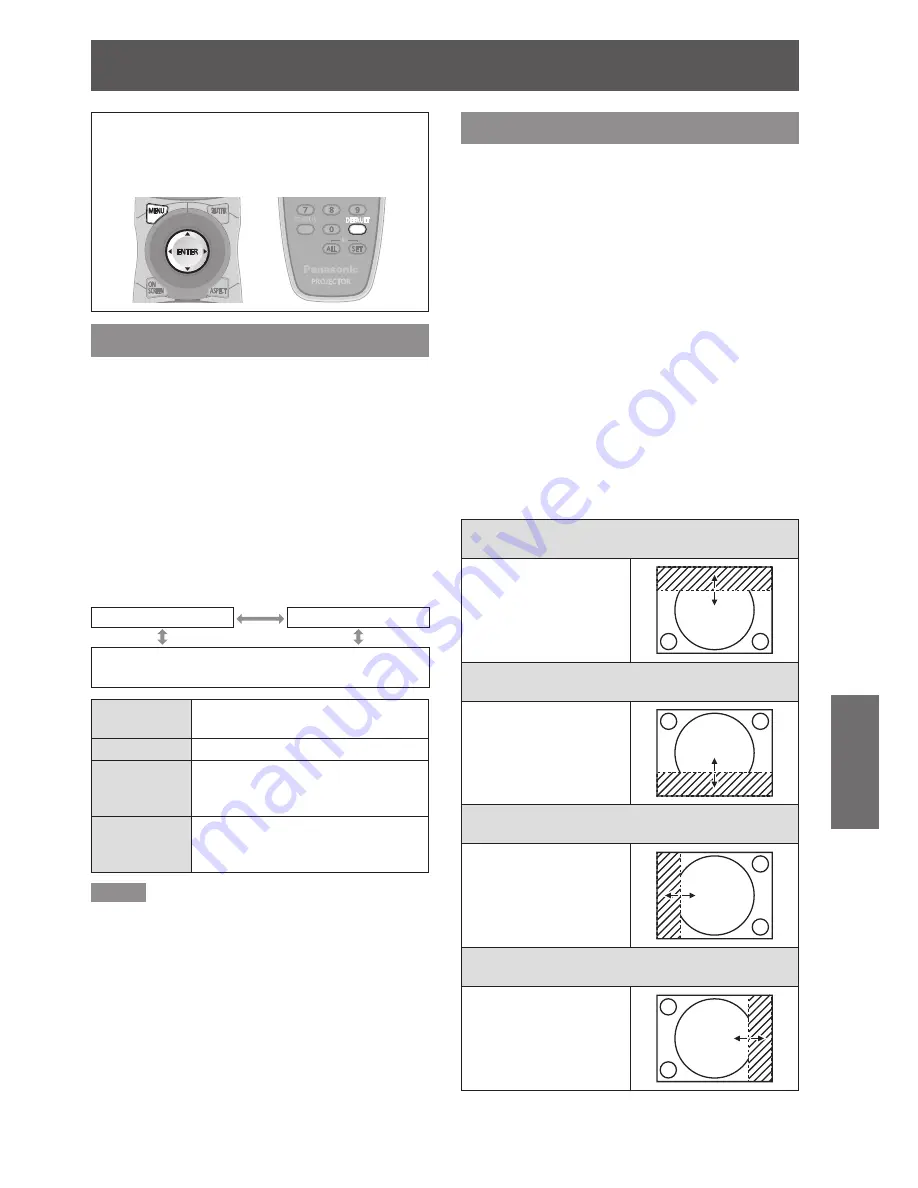
When correcting the upper blanking of the
screen (top)
Press ◄ to move the
blanking zone upward;
Press ► to downward.
When correcting the lower blanking of the
screen (bottom)
Press ► to move the
blanking zone upward;
Press ◄ to downward.
When correcting the left hand blanking of the
screen (left)
Press ► to move the
blanking zone to the right;
Press ◄ to the left.
When correcting the right hand blanking of the
screen (right)
Press ◄ to move the
blanking zone to the right;
Press ► to the left.