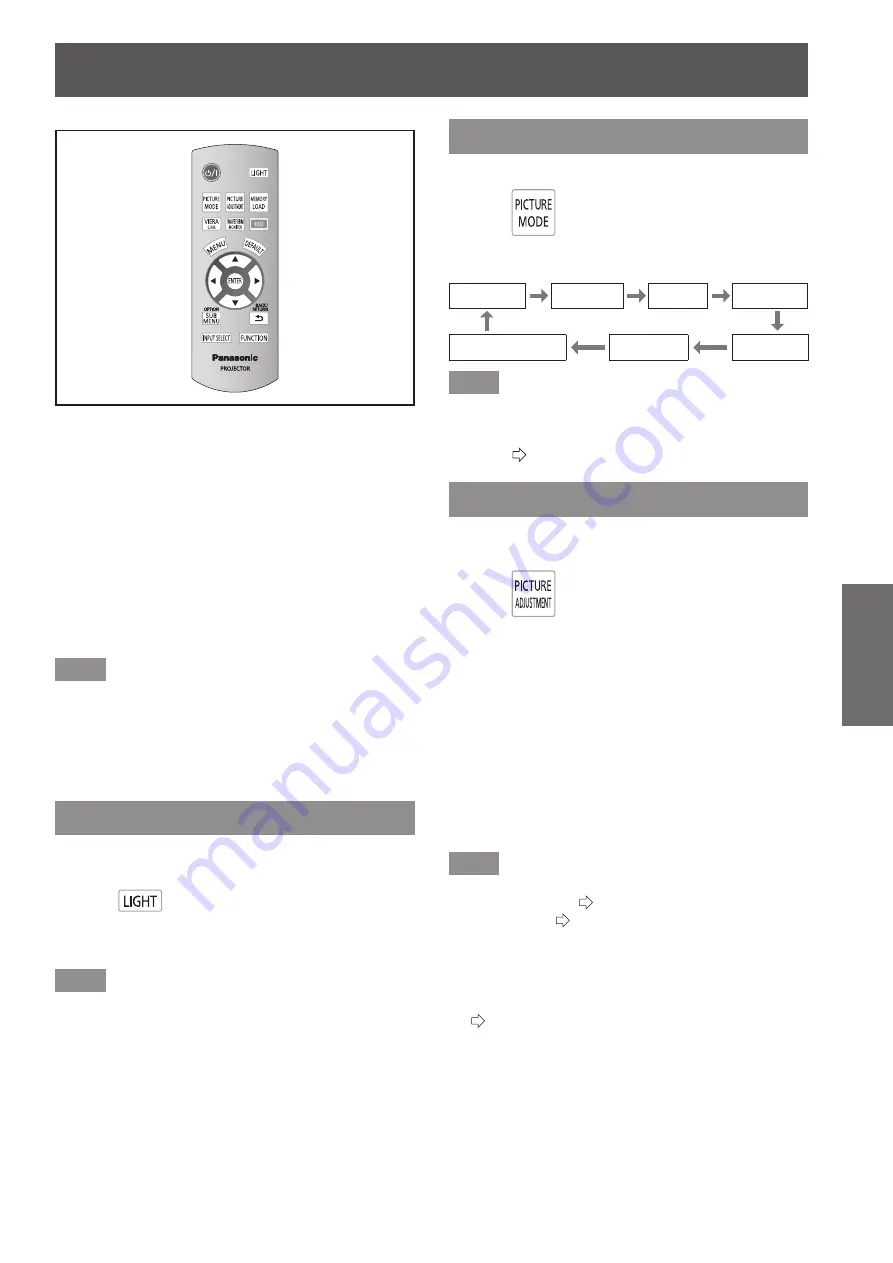
Remote control operation
ENGLISH
- 31
Basic Operation
You can operate the projector with the remote control
within a range of 7 m (23').
Operating by pointing at the projector
z
Ensure the remote control transmitter is facing the remote
control signal receiver on the front of the projector during
use.
Facing to the screen
z
Ensure the remote control transmitter is facing the screen
and press the required buttons to operate the projector.
The signal will be reflected off the screen. The operating
range may differ due to the screen material. This function
may not be effective with a translucent screen.
Note
Do not let strong light shine onto the signal receiver. The
z
remote control may malfunction under strong light such
as fluorescent light.
If there are any obstacles between the remote control
z
and the remote control signal receiver, the remote control
may not operate correctly.
Illuminating button lights
You can illuminate the button lights on the remote
control.
Press
Press the <LIGHT> button again to extinguish the
button lights.
Note
Button lights dim if no actions are carried out for
z
approximately 5 seconds, and then extinguish if no
actions are carried out for a further 5 seconds.
After the button lights have automatically extinguished,
z
they automatically illuminate again if any button is
pressed.
(If the <LIGHT> button is pressed within 10 seconds
of illuminating, the button lights extinguish and do
not automatically illuminate even if another button is
pressed.)
Selecting the picture mode
You can switch to your desired picture mode settings.
Press
The settings change as follows each time the button
is pressed.
[NORMAL]
[DYNAMIC]
[GAME]
[SPORTS]
[VIVID CINEMA]
[CINEMA1]
[REC709]
Note
You can also switch the picture mode settings using the
z
on-screen menu.
For details see [PICTURE MODE] in the [PICTURE]
menu. (
page 37)
Adjusting the picture
Switchable setting items from the [PICTURE] menu of
the on-screen menu can be displayed in a list.
Press
Press the button to switch between [PICTURE] menu
and [ADVANCED MENU] menu. Press ▲ ▼ to select
the required menu item and ◄ ► to adjust.
[PICTURE] menu items
z
[PICTURE MODE], [CONTRAST], [BRIGHTNESS],
[COLOUR], [TINT], [COLOUR TEMPERATURE],
[SHARPNESS ] and [DYNAMIC IRIS]
[ADVANCED MENU] menu items
z
[GAMMA HIGH], [GAMMA MID], [GAMMA LOW],
[CONTRAST], [BRIGHTNESS], [NR], [MPEG NR],
[MOTION EFFECT], [x.v.Colour], [DETAIL CLARITY],
[CINEMA REALITY], [TV-SYSTEM], [RGB/YC
B
C
R
] and
[RGB/YP
B
P
R
]
Note
For details regarding the adjustment method, see the
z
[PICTURE] menu (
page 37) and the [ADVANCED
MENU] menu (
page 42).
Press the <RETURN> or <MENU> button or wait for 7
z
seconds without performing any operation to clear the
adjustment screen.
Set the [ADJUSTMENT MODE] to [SIMPLE] for adjusting
z
[GAMMA HIGH], [GAMMA MID], and [GAMMA LOW]
(
page 42).
The items for [SHARPNESS] that can be adjusted differ
z
depending on the [ADJUSTMENT MODE].
[SIMPLE]:
[SHARPNESS]
[ADVANCED]:
[H-SHARPNESS]
[V-SHARPNESS]
Remote control operation


