


Record mode
37
LSQT0974
≥
The picture may appear dark if flash is lit in front
of a white background.
≥
Set the flash to [
] where using a flash is
prohibited.
≥
Do not block the flash by hand or any other
means.
ª
When the flash is not used
Set [ADVANCED] >> [FLASH] >> [
].
ª
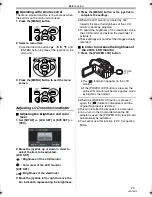
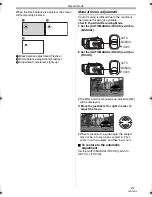
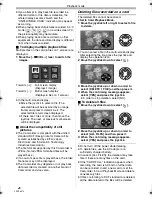
To adjust the brightness of the flash
1
Set [ADVANCED] >> [FLASH LEVEL] >>
select the desired brightness level.
[
ß
j
]:
If the brightness is too high ([
ß
j
] or
[
ß
A
j
] indication will appear.)
[
ß
d
0]:
In normal recording (the [
ß
] or [
ß
A]
indication will appear.)
[
ß
i
]:
If the brightness is insufficient ([
ß
i
]
or [
ß
A
i
] indication will appear.)
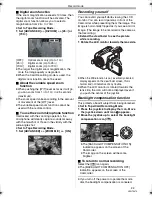
ª
Red eye reduction function
Reduces the phenomena where human eyes
become red from flashes.
1
Set [ADVANCED] >> [RED EYE] >> [ON].
≥
The [
] indication appears.
≥
The flash is activated 2 times. Do not move until
the second flash is finished.
≥
Use this when you take pictures of people in
dark places.
≥
Red eye phenomenon may appear depending
on the recording conditions.
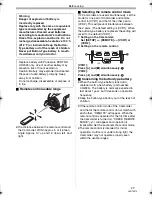
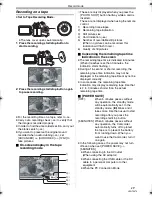
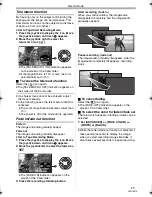
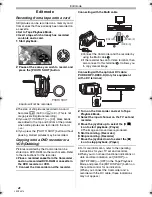
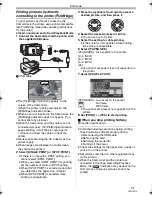
Self-timer recording
You can record still pictures on a card using the
timer.
≥
Set to Card Recording Mode.
1
Press the joystick to display the icon. Move
the joystick down until icon
1
appears.
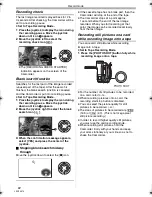
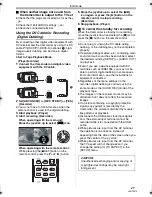
2
Move the joystick left to select the self-timer
recording icon [
].
≥
The [SELF-TIMER ON] indication appears on
the screen of the Camcorder.
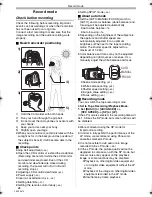
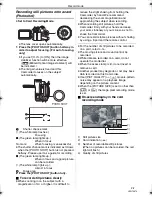
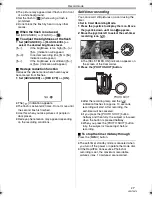
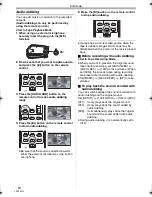
3
Press the [PHOTO SHOT] button.
≥
After the recording lamp and the [
]
indication flashes for approx. 10 seconds,
recording will start. After recording, the
self-timer will be canceled.
≥
If you press the [PHOTO SHOT] button
halfway and then fully, the subject is focused
when the button is pressed halfway.
≥
When you press the [PHOTO SHOT] button
fully, the subject is focused just before
recording.
ª
To stop the timer midway through
Press the [MENU] button.
≥
The self-timer standby mode is canceled when
you turn off the power or operate the mode dial.
≥
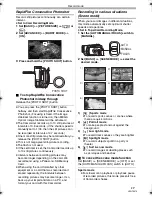
If the RapidFire Consecutive Photoshot
recording is set, the maximum recordable
pictures (max. 10 pictures) are recorded.
A
1
PHOTO SHOT
LSQT0974_ENG.book 37 ページ 2005年11月7日 月曜日 午前11時58分


