37
1
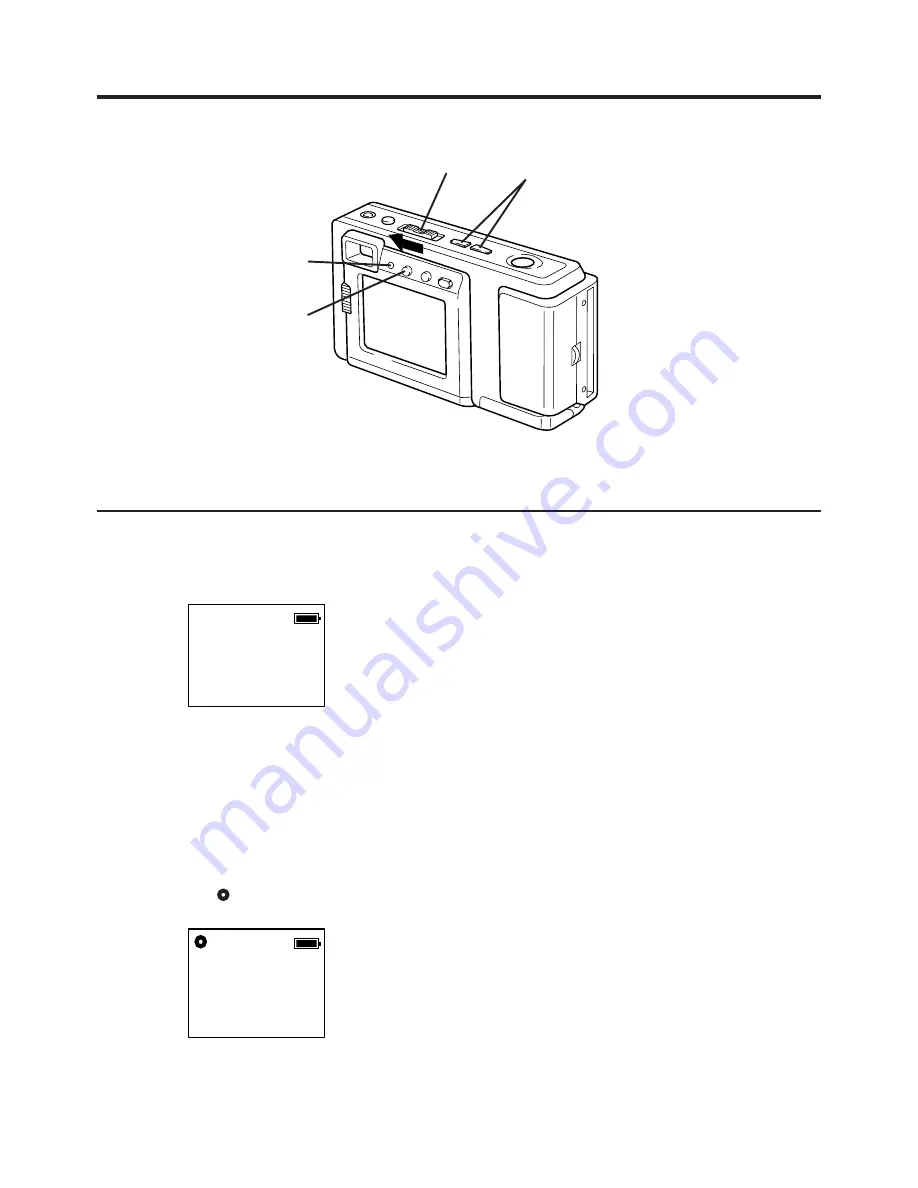
Set the POWER switch to PLAY.
•
The LED Lamp lights up.
2
Press
(+)
or
(−)
repeatedly to select the
images you want to mark for printing.
•
You can mark images in either Manual
Playback Mode (see page 22), or Multi-
Image Playback Mode (see page 24).
3
Press IRIS to stamp a print mark on the
image. A
" "
mark will appear on the
image.
•
Press IRIS again to cancel the print
mark.
•
Hold IRIS for more than 5 seconds to
delete all print marks.
Using the Digital Photo Printer
1
Stamp Print Marker
2
P10 FINE
LED Lamp
3
10 FINE
Images can be selected for print out on a digital photo printer (sold separately).
Printing on a Digital Photo Printer
1
1
Remove the CompactFlash Card
containing the captured images from
the camera and insert it into the
PCMCIA Adapter (see page 31).
2
2
Connect the PCMCIA Adapter (in-
cluded with printer) to the Digital Photo
Printer*.
•
*Requires a Digital Photo Printer
PV-PD2000 (sold separately).
•
Insert the adapter in the direction of the
arrow and push the card fully into the
printer.
3
3
Turn on the printer and set the INPUT
SELECT (VIDEO/PC CARD) Switch to
the PC CARD position.
•
The Printer access lamp will flash.
4
4
Slide the AUTO PRINT Lever. Printing
of print marked images begins.
•
Please refer to the printer's operating
instructions for detail on printing.
•
Moving the AUTO PRINT Lever during
the reading of the CompactFlash Card
(ACCESS Lamp is flashing) may
prevent proper printing of the images.
Wait until the ACCESS Lamp turns off
before moving the AUTO PRINT Lever.


