- 107 -
Connecting to other equipment
∫
Transferring images to a PC
1
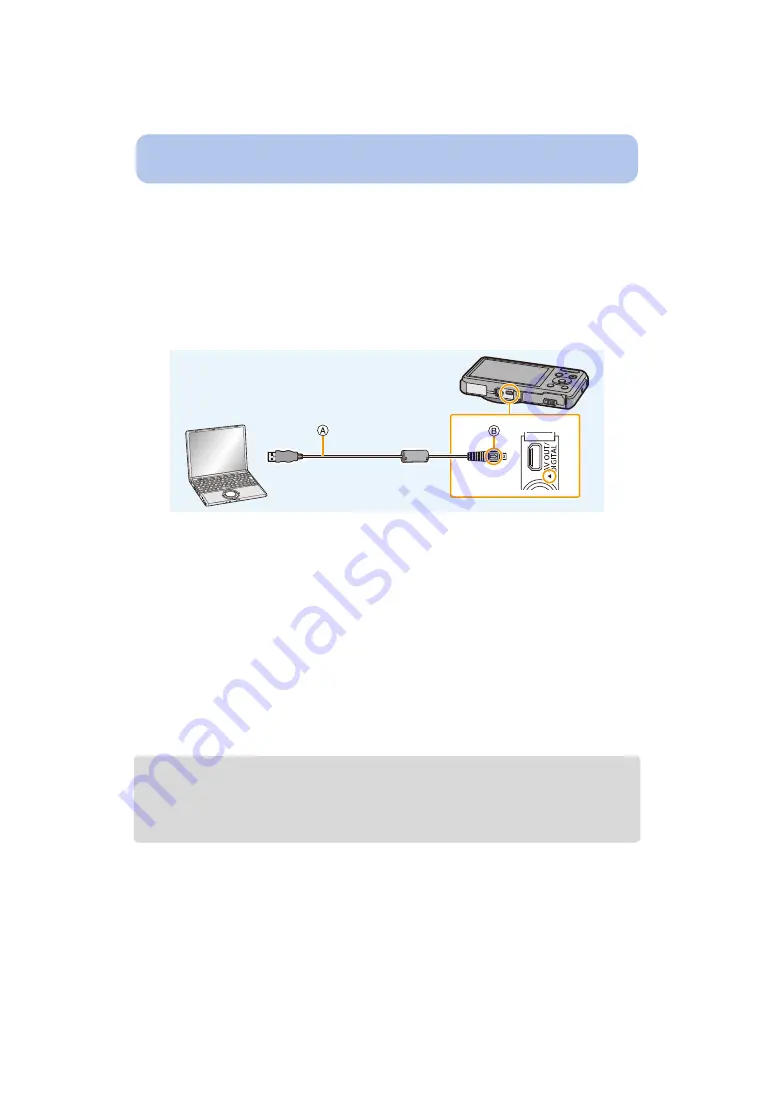
Connect the computer and camera with the USB connection cable
(supplied).
• Please turn this unit on and your PC before connecting.
• Check the directions of the connectors, and plug them straight in or unplug them straight out.
(Otherwise the connectors may bend out of shape, which may cause malfunction.)
• Do not use any other USB connection cables except the supplied one or a genuine
Panasonic USB connection cable (DMW-USBC1: optional).
A
USB connection cable (supplied)
B
Align the marks, and insert.
2
Press
3
/
4
to select [PC], and then press [MENU/SET].
• If [USB Mode]
is set to [PC] in the [Setup] menu in advance, the camera will be
automatically connected to the PC without displaying the [USB Mode] selection screen.
• When the camera is connected to a PC while [USB Mode] is set to [PictBridge(PTP)], a
message may appear on the PC screen. In that case, close the message, and remove the
USB connection cable safely, and then set the [USB Mode] to [PC].
3
Drag and drop files and folders in the camera to the PC.
• When the image transfer is complete, disconnect the USB connection cable safely.
• If the remaining battery power becomes low while the camera and the PC are communicating, the
alarm beeps.
Disconnect the USB connection cable safely. Otherwise, data may be destroyed.
• Before inserting or removing a card, turn the camera off and disconnect the USB connection cable.
Otherwise, data may be destroyed.
• For Windows:
A drive ([Removable Disk]) is displayed in [Computer]
• For Mac:
A drive ([NO
NAME]) is displayed on the desktop


