


Advanced (Recording pictures)
- 56 -
Taking pictures that
match the scene being
recorded
(Scene mode)
When you select a scene mode to match the
subject and recording situation, the camera
sets the optimal exposure and hue to obtain
the desired picture.
• Refer to
P57
to
68
and “About the
information
” for details about each scene
mode.
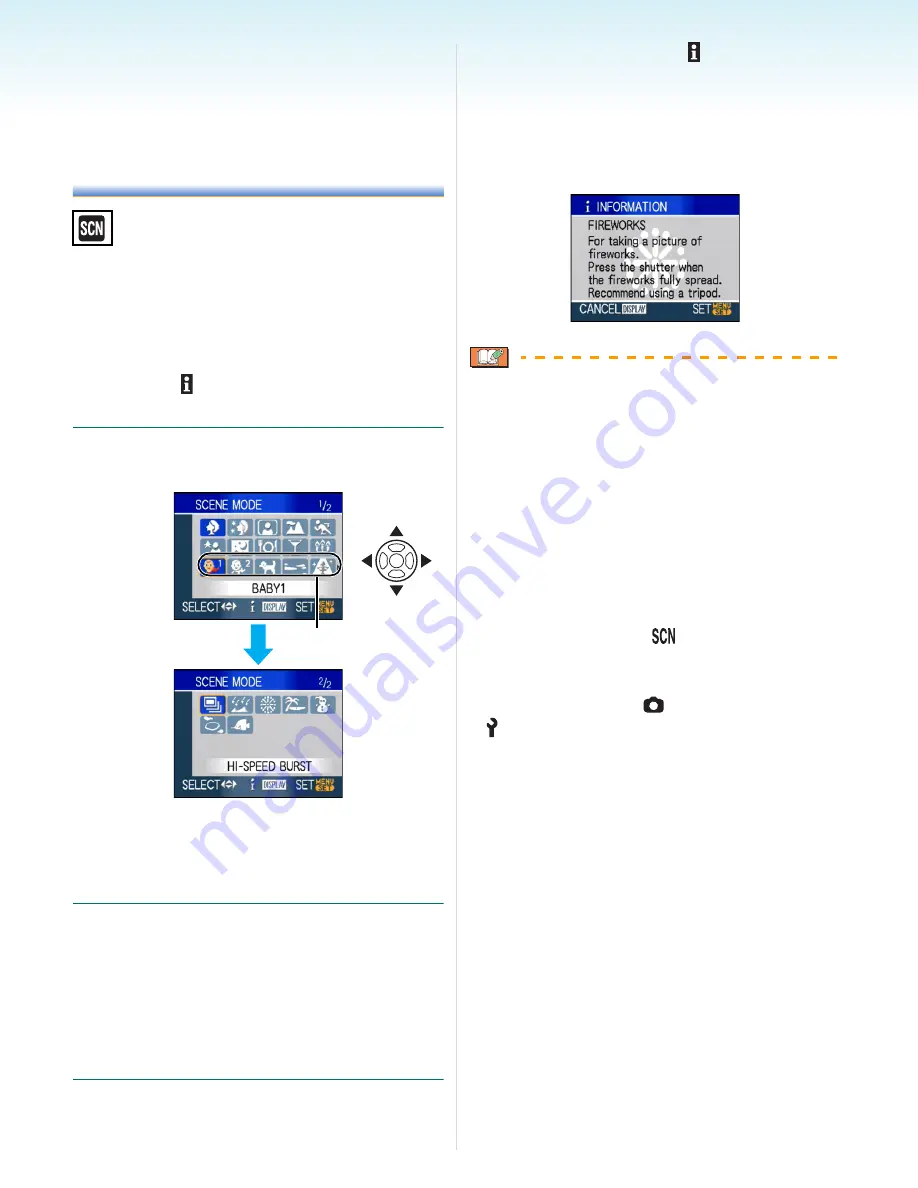
1
Press
3
/
4
/
2
/
1
to select the scene
mode.
• Press
4
at
A
to switch to the next menu
screen.
• You can switch menu screens from any
menu item by rotating the zoom lever.
2
Press [MENU/SET] to set.
• The menu screen is switched to the
recording screen in the selected scene
mode.
• To change the scene mode, press [MENU/
SET], then press
1
, and repeat steps
1
and
2
above.
∫
About the information
• If you press [DISPLAY] when selecting a
scene mode in step
1
, explanations about
each scene mode are displayed. (If you
press [DISPLAY] again, the screen returns
to the [SCENE MODE] menu.)
• Refer to
P51
for information about the
shutter speed.
• The flash setting is memorised even if the
camera is turned off. However, the scene
mode flash setting is reset to the initial
setting when the scene mode is changed.
• When you take a picture with a scene mode
that is not adequate for the purpose, the hue
of the picture may differ from the actual
scene.
• When [MENU/SET] is pressed and the menu
screen is displayed, [
] is selected in the
[SCENE MODE] menu. You can set each of
the settings by pressing
4
and selecting
[REC] mode menu [
] or [SETUP] menu
[ ].
• The following items cannot be set in scene
mode because the camera automatically
adjusts them to the optimal setting.
– [INTELLIGENT ISO]
– [SENSITIVITY]
– [COL.MODE]
A


