


Materials – List of Default Settings/Custom Saving/Settings Available for Copying
803
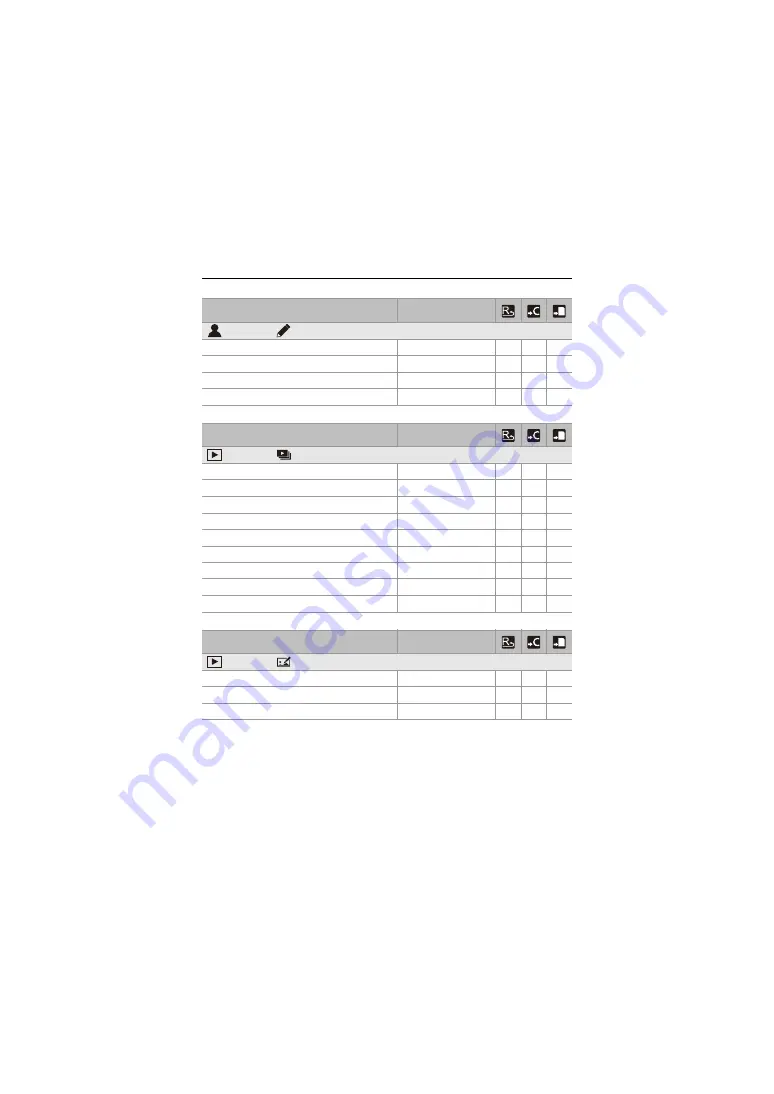
Menu
Default setting
[My Menu]
:
[Edit My Menu]
[Add]
—
[Sorting]
—
[Delete]
—
[Display from My Menu]
[OFF]
Menu
Default setting
[Playback]
: [Playback
Mode]
[Playback Mode]
[Normal Play]
[Slide Show]
—
[Rotate Disp.]
[ON]
[Picture Sort]
[DATE/TIME]
[Magnify from AF Point]
[OFF]
[LUT View Assist (Monitor)]
[OFF]
[HLG View Assist (Monitor)]
[MODE2]
[Anamorphic Desqueeze Display]
[OFF]
[Behavior After Video Playback]
[End Playback]
Menu
Default setting
[Playback]
: [Process
Image]
[RAW Processing]
—
[Time Lapse Video]
—
[Stop Motion Video]
—
Содержание LUMIX DC-G9M2
Страница 35: ...Introduction Names of Parts 35 Supplied Lens H ES12060 H FS12060 4 6 7 1 2 3 5 8 6 7 1 2 3 8 ...
Страница 61: ...Getting Started Attaching a Lens 61 A Lens fitting marks 1 2 A 3 ...
Страница 400: ...Video Settings Headphones 400 This can also be set during video recording ...
Страница 679: ...Wi Fi Bluetooth Wi Fi Connections 679 Please also refer to the operating instructions for the device to be connected ...


