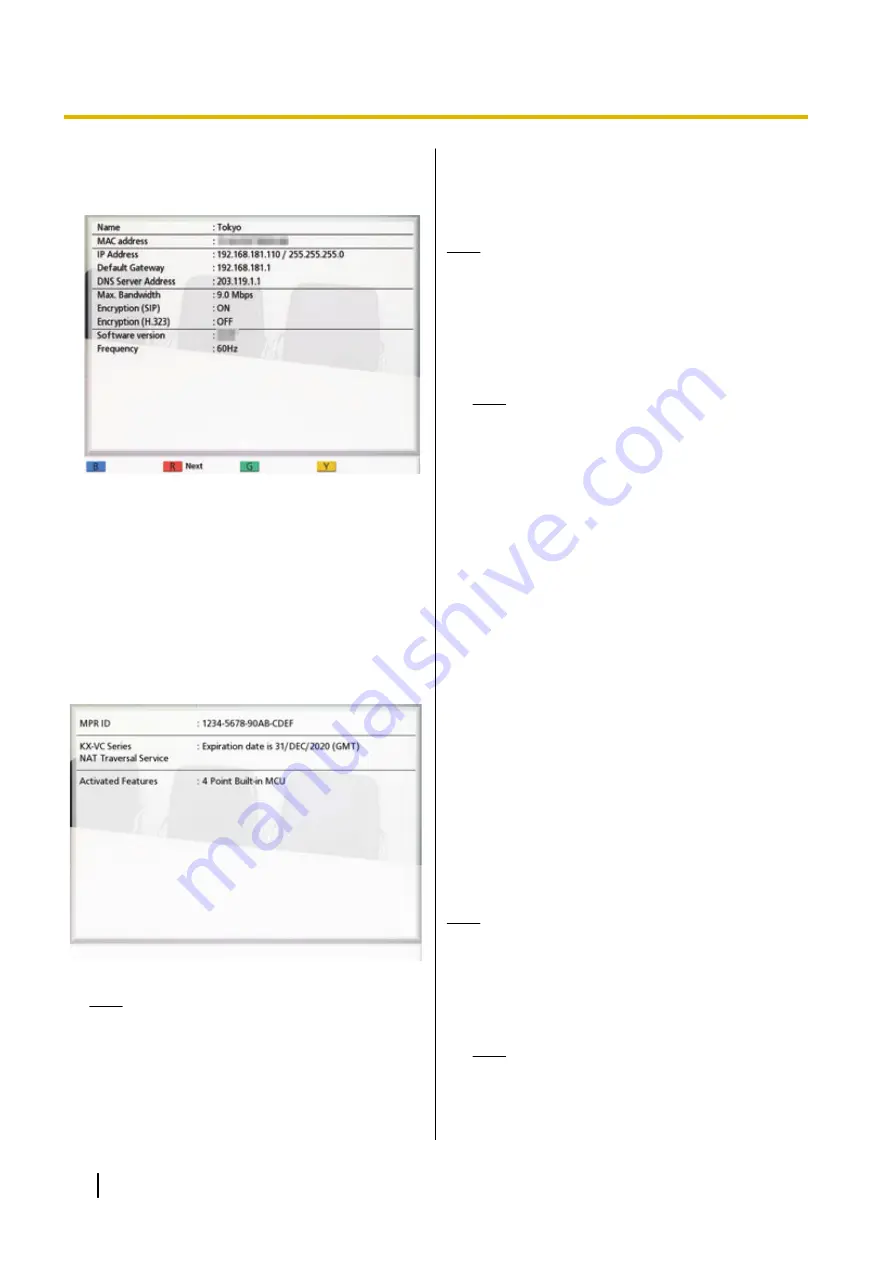
1.
Select
"System Info."
and press
[ENTER]
.
•
The unit information screen is displayed
(Page 90).
2.
Press
[BACK]
.
•
The system setting screen is displayed.
Checking Enhanced Features
You can check which features have been activated due
to software enhancement (Page 133).
1.
Select
"Enhancement"
and press
[ENTER]
.
•
The enhanced feature confirmation screen is
displayed.
Note
•
For details about
"Activated Features"
,
2.
Press
[BACK]
.
•
The system setting screen is displayed.
Performing a Network Test
You can confirm whether a network connection can be
established with a particular IP address.
Note
•
You cannot perform a network test from the
contact list screen or the call history screen.
1.
Select
"Network Test"
and press
[ENTER]
.
•
The network test screen is displayed.
2.
Enter an IP address.
Note
•
If an IPv4 address contains 1 or 2 digit
numbers, enter these numbers as they are.
Do not enter like [.001].
Example: The IP address is [192.168.0.1].
–
Correct entry: [192.168.0.1]
–
Wrong entry: [192.168.000.001]
•
For the input format when an IPv6 address
is used, refer to Page 43.
3.
Press
[R]
.
•
The network test starts. After the network test is
finished, if the network test was successful or
timed out, the details of the results are
displayed. If the network test failed, a message
indicating the failure is displayed.
4.
Press
[BACK]
.
•
The system setting screen is displayed.
Performing Self Diagnosis
You can check how your image will be displayed and
how your voice will be heard to the other party before
starting a video conference call, using your own display
and speakers.
Note
•
Self diagnosis can be performed even when a
headset is connected.
1.
Select
"Self Diag."
and press
[ENTER]
.
•
The self diagnosis screen is displayed with the
dialogue box.
Note
•
You can hide or display the dialogue box by
pressing
[B]
.
114
User Manual
Document Version 2015-08
Contacts and Settings


