Preparation
16
Setting the date and time
Set the date and time so that the unit will
display the date and time the calls were
received in the caller list (page 26).
Important:
L
When “
E
Press MENU.
” flashes on the
display, press
{
MENU
}
, then skip to step
3.
1
Press
{
MENU
}
.
2
Scroll to “
Date and time
” by pressing
{V}
or
{^}
, then press
{
>
}
or
{
Select
}
.
3
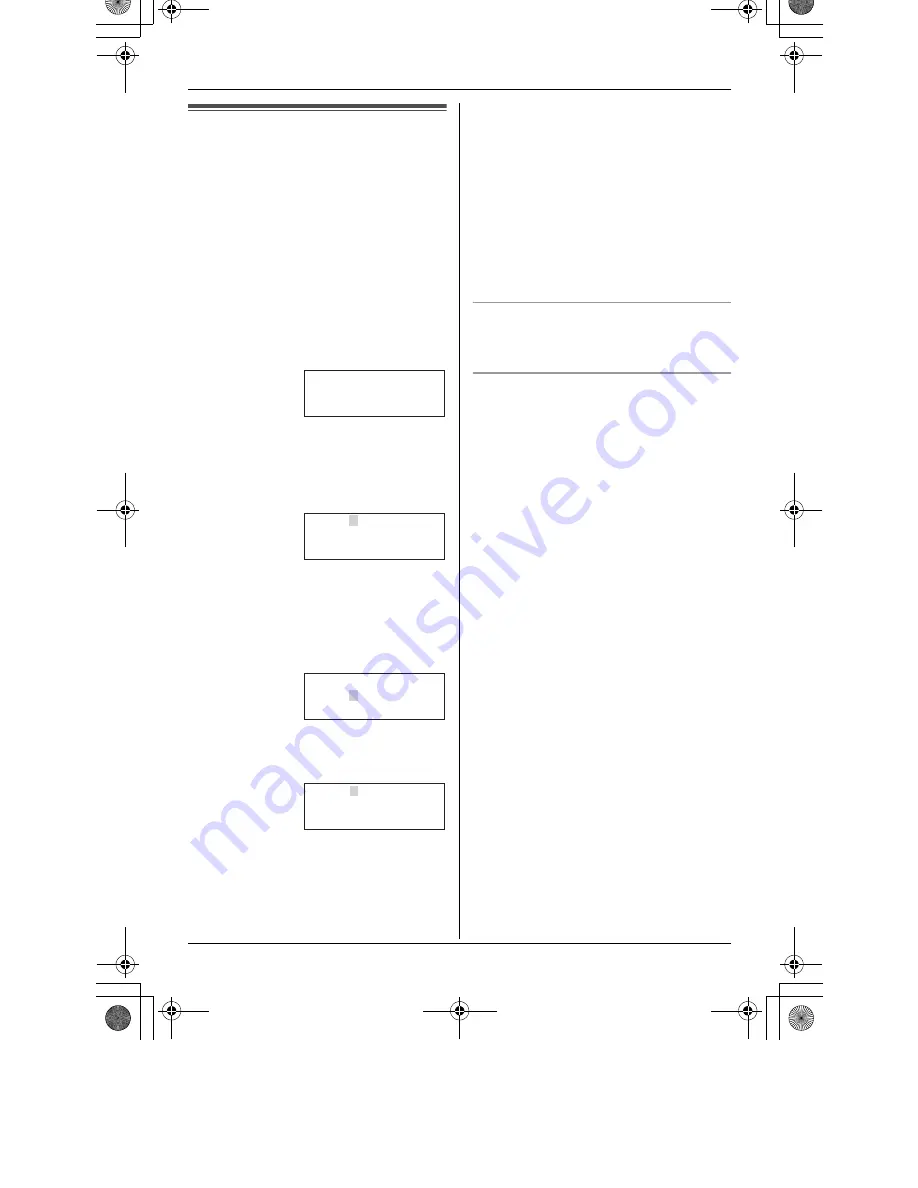
Enter the current day, month, and year
by selecting 2 digits for each.
Example: 15 June, 2005
Press
{
1
}{
5
}
{
0
}{
6
}
{
0
}{
5
}
.
4
Enter the current hour and minute (12-
hour clock format) by selecting 2 digits
for each.
Example: 9:30 PM
Press
{
0
}{
9
}
{
3
}{
0
}
.
5
Select “
AM
” or “
PM
” by pressing
{
AM/
PM
}
.
6
Press
{
Save
}
.
L
If the handset beeps 3 times, the date
and time were not set correctly. Enter
the correct digits.
7
Press
{
OFF
}
.
Note:
L
If you make a mistake when entering the
date and time, press
{
<
}
,
{
>
}
,
{V}
, or
{^}
to move the cursor, then make the
correction.
L
The date and time may be incorrect after
a power failure. When “
E
Press
MENU.
” flashes on the handset display,
adjust the date and time.
To confirm the date and time
Repeat steps 1 and 2. Press
{
OFF
}
when
finished.
Time adjustment (Caller ID subscribers
only)
If the Caller ID time and date display
service is available in your area, Caller ID
will automatically adjust the unit’s date and
time setting each time a call is received.
L
To use this feature, you must first set the
unit’s date and time setting manually.
L
You can turn this feature off (page 37).
K
Back
d
B
Select
L
Date and time
Date:31.12.2005
Time:12:00 AM
K
AM/PM Save
L
Date:15.06.2005
Time:12:00 AM
K
AM/PM Save
L
Date:15.06.2005
Time:09:30 AM
K
AM/PM Save
L
TG2423BX_2424BX(e).book Page 16 Thursday, April 14, 2005 11:49 AM


