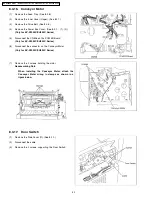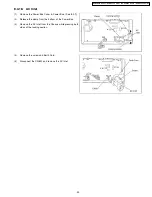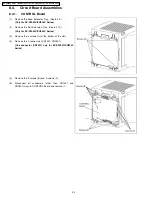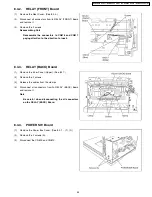
8.3.14.
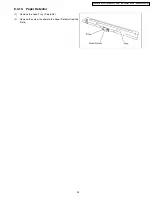
CIS (Back)
(1)
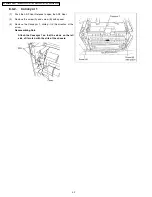
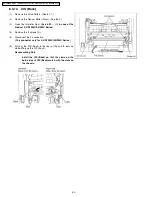
Remove the Drive Rollers. (See 8.3.7.)
(2)
Remove the Sensor Roller (Front). (See 8.3.9.)
(3)
Open the Imprinter Door.
(See 8.2.3. - (1) in case of the
Product KV-S2025C/SU225C Series)
(4)
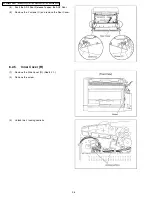
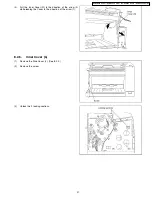
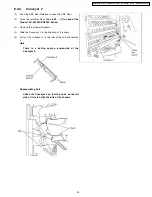
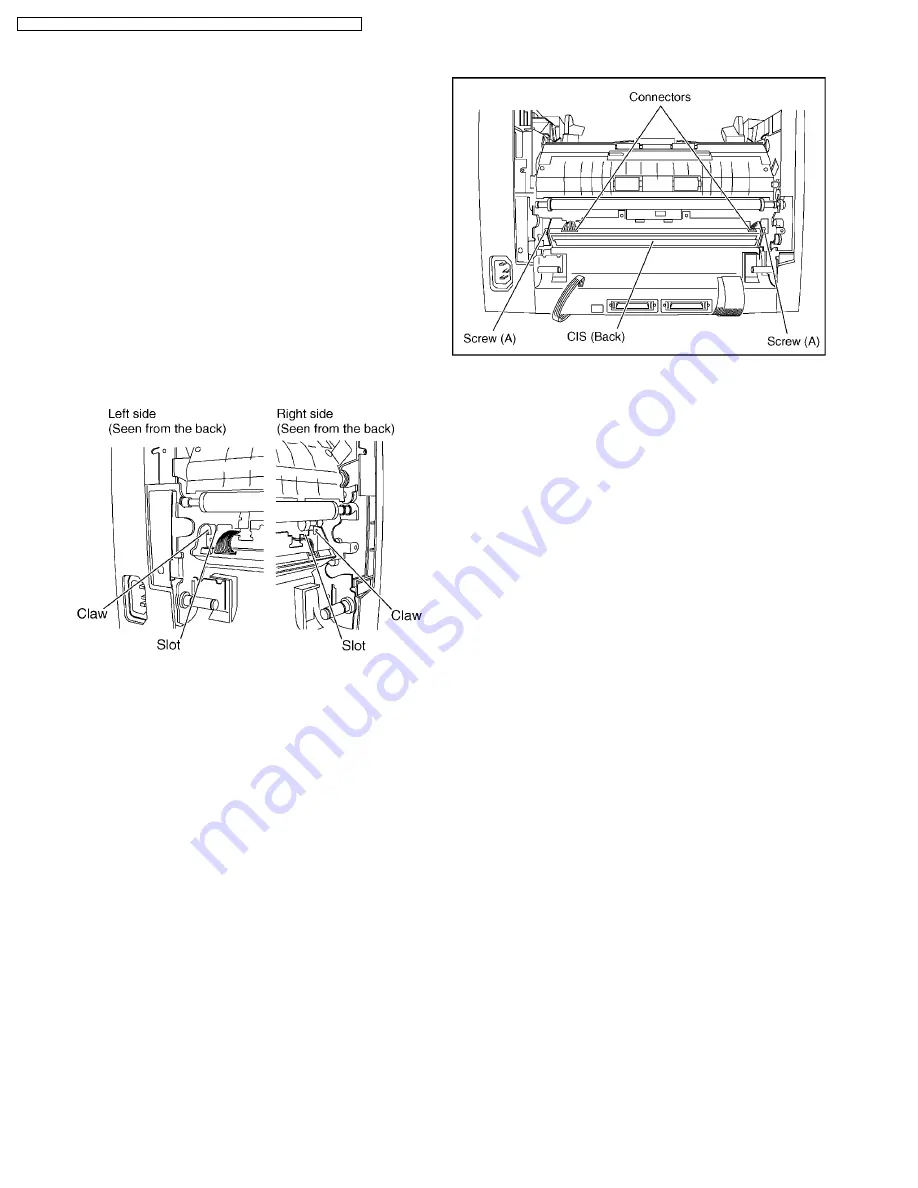
Remove the 2 screws (A).
(5)
Disconnect the 2 connectors.
(One connector only for KV-S2025C/SU225C Series)
(6)
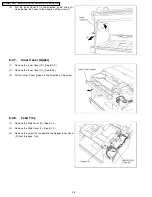
Pull out the CIS (Back) to the rear of the unit to remove,
while lifting up the CIS (Back).
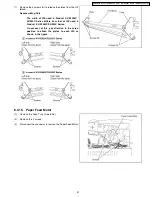
Reassembling Note
·
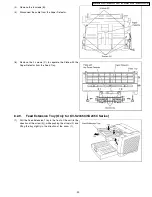
Install the CIS (Back) so that the claws on the
both sides of CIS (Back) match with the slots on
the chassis.
50
KV-S2025C Series / KV-SU225C Series / KV-S2045C Series / KV-SU245C Series
Содержание KV-S2045C
Страница 93: ...12 2 POWER Board PbF stamp 93 KV S2025C Series KV SU225C Series KV S2045C Series KV SU245C Series ...
Страница 96: ...96 KV S2025C Series KV SU225C Series KV S2045C Series KV SU245C Series ...
Страница 114: ...KV S2025C Series KV SU225C Series KV S2045C Series KV SU245C Series 114 ...
Страница 116: ...14 1 Exterior 116 KV S2025C Series KV SU225C Series KV S2045C Series KV SU245C Series ...
Страница 118: ...14 2 Chassis and Base 118 KV S2025C Series KV SU225C Series KV S2045C Series KV SU245C Series ...
Страница 120: ...14 3 Hopper Unit 120 KV S2025C Series KV SU225C Series KV S2045C Series KV SU245C Series ...
Страница 122: ...14 4 Power Unit 122 KV S2025C Series KV SU225C Series KV S2045C Series KV SU245C Series ...
Страница 124: ...14 5 Packing 14 5 1 KV S2025C SU225C Series 124 KV S2025C Series KV SU225C Series KV S2045C Series KV SU245C Series ...
Страница 126: ...14 5 2 KV S2045C SU245C Series 126 KV S2025C Series KV SU225C Series KV S2045C Series KV SU245C Series ...

