129
5.2
LAN Mode
For the LAN mode, after you logged in, you can see the main window. See Figure 5-8.
This main window can be divided into the following sections.
Section 1: there are six function buttons: Preview, Setup (chapter 5.8), Info (Chapter 5.9), Playback
(chapter 5.10), Alarm (chapter 5.11), and Logout (chapter 5.12).
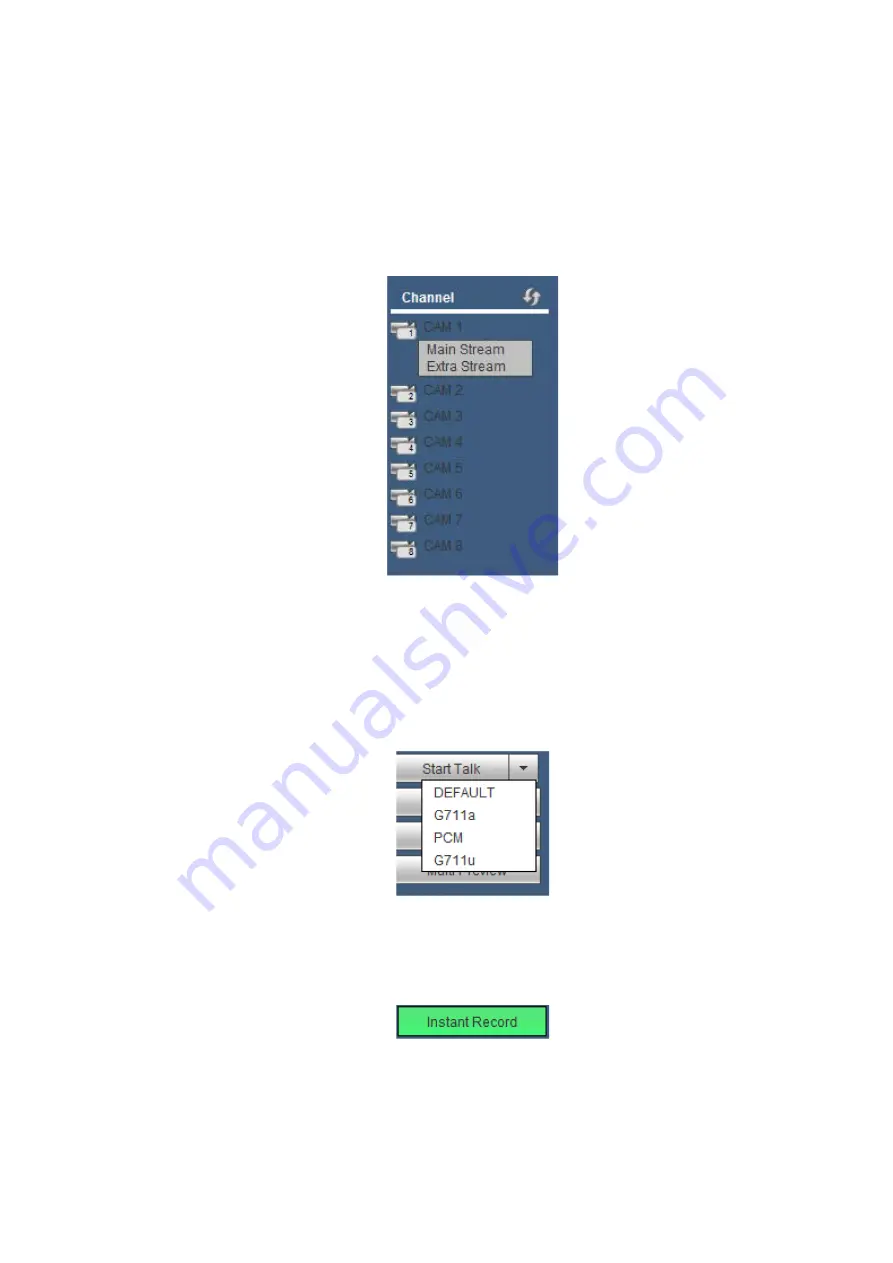
Section 2: There are monitor channels successfully connected to the NVR.
Please refer to Figure 5-4 for main stream and extra stream switch information.
Figure 5-4
Section 4: Start Talk button.
You can click this button to enable audio talk. Click
【▼】
to select bidirectional talk mode. There are four
options: DEFAULT
,
G711a
,
G711u and PCM. See Figure 5-5.
After you enable the bidirectional talk, the Start talk button becomes End Talk button and it becomes
green. Please note, if audio input port from the device to the client-end is using the first channel audio
input port. During the bidirectional talk process, system will not encode the audio data from the 1-channel.
Figure 5-5
Section 5: Instant record button. Click it, the button becomes green and system begins manual
record. See Figure 5-6. Click it again, system restores previous record mode.
Figure 5-6
Section 6: Local play button.
The Web can playback the saved (Extension name is dav) files in the PC-end. Click local play button,
system pops up the following interface for you to select local play file. See Figure 5-7.
Содержание k-nl308k
Страница 1: ...Network Disk Recorder User s Manual Model No K NL304K K NL308K K NL316K Version 1 0 5 ...
Страница 32: ...23 The following figure is based on our K NL316K product Figure 3 2 ...
Страница 50: ...41 Figure 4 25 ...
Страница 67: ...58 Figure 4 52 Figure 4 53 ...
Страница 88: ...79 Figure 4 71 Figure 4 72 ...
Страница 89: ...80 Figure 4 73 Figure 4 74 ...
Страница 94: ...85 Figure 4 78 Figure 4 79 ...
Страница 95: ...86 Figure 4 80 Figure 4 81 ...
Страница 96: ...87 Figure 4 82 Figure 4 83 ...
Страница 99: ...90 Figure 4 86 Figure 4 87 ...
Страница 114: ...105 send rate and receive rate at the top panel Figure 4 105 ...
Страница 116: ...107 Figure 4 107 In Figure 4 107 click one HDD item the S M A R T interface is shown as in Figure 4 108 Figure 4 108 ...
Страница 119: ...110 Figure 4 111 Figure 4 112 ...
Страница 129: ...120 Figure 4 125 Figure 4 126 ...
Страница 142: ...133 Figure 5 11 You can click this icon to display or hide the PTZ control platform 3D Intelligent Positioning Key ...
Страница 164: ...155 Figure 5 38 Figure 5 39 Figure 5 40 ...
Страница 172: ...163 Figure 5 51 Figure 5 52 Figure 5 53 Figure 5 54 ...


