- 10 -
CAUTION:
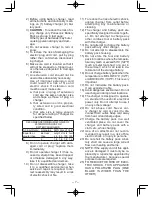
• The built-in LED light is designed to
illuminate the small work area tem-
porarily.
• Do not use it as a substitute for a
regular flashlight, since it does not
have enough brightness.
This product has the built-in LED light.
This product is classified into “Class 1
LED Product” to IEC (EN) 60825-1:2001.
LED RADIATION
DO NOT STARE INTO BEAM
CLASS 1 LED PRODUCT
Use of controls or adjustments or perform-
ance of procedures other than those speci-
fied herein may result in hazardous radiation
exposure.
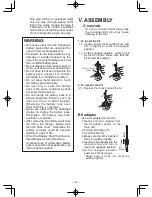
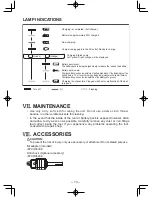
(2) Overheat warning lamp
Off
(normal
operation)
Flashing: Overheat
Indicates operation has
been halted due to battery
overheating.
The overheating protection feature
halts tool operation to protect the
battery pack in the event of over-
heating. The overheat warning lamp
on the control panel flashes when
this feature is active.
• If the overheating protection feature
activates, allow the tool to cool
thoroughly (at least 30 minutes).
The driver is ready for use when the
overheat warning lamp goes out.
• Avoid using the tool in a way that
causes the overheating protection
feature to activate repeatedly.
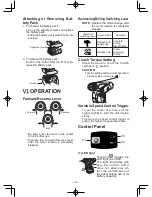
(3) Battery low warning lamp
Off
(normal
operation)
Flashing
(No charge)
Battery protection
feature active
The battery protection feature acti-
vates immediately before the battery
loses its charge, causing the battery
low warning lamp to flash.
• If you notice the battery low warning
lamp flashing, charge the battery
pack immediately.
Installing the Shoulder Strap
CAUTION:
• Install the shoulder strap firmly to
the main unit of the tool and check
the length of the strap before use.
• Check the condition of the strap
and do not use if it is cut or torn
etc.
There is a risk of injury or damage
if used while improperly installed.
• Please wear the shoulder strap se-
curely on the shoulder.
There is a risk of injury or damage
if it is accidentally dropped.
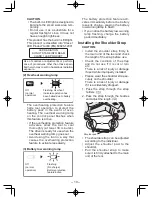
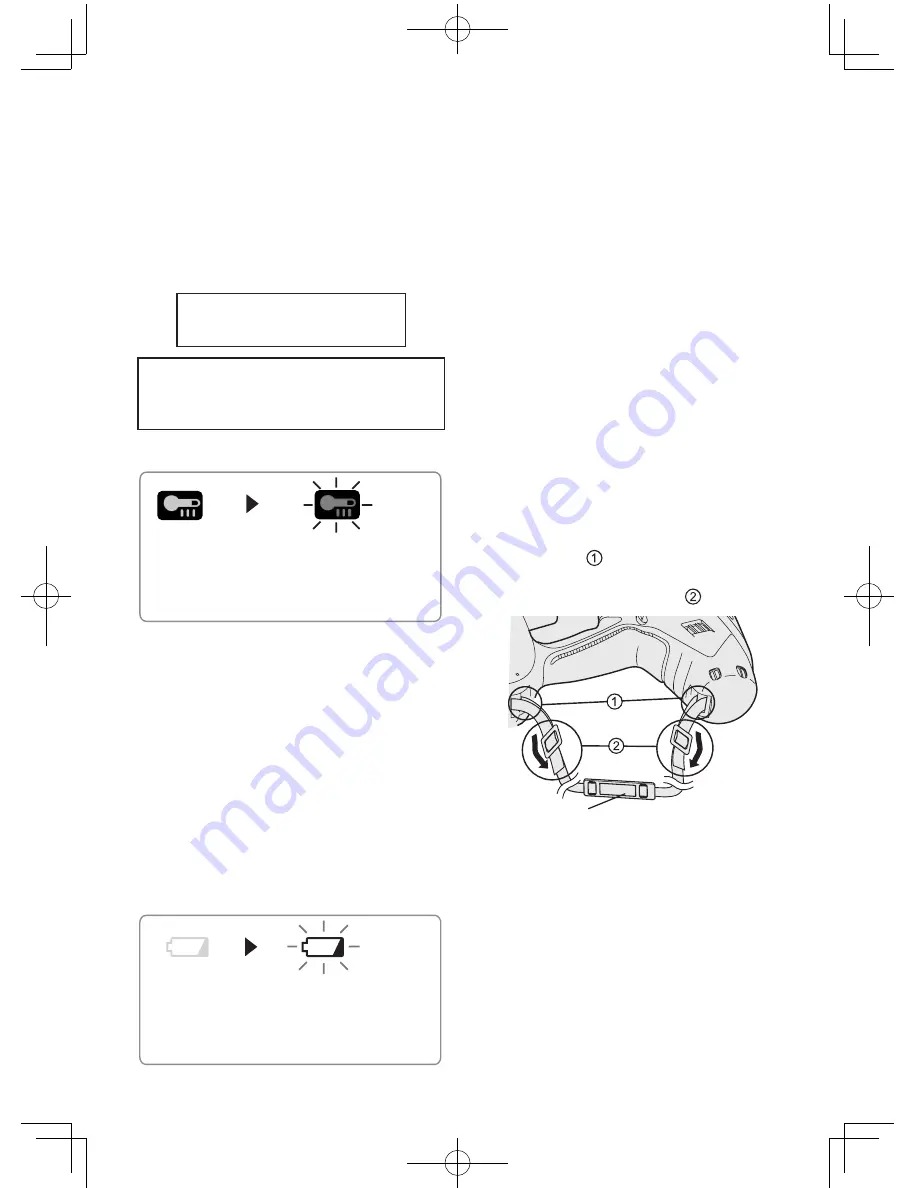
1. Pass the strap through the strap
holders. ( )
2. Pass the strap through the buckles
and adjust the length. ( )
Shoulder pad
• The shoulder strap can be adjusted
according to the individual.
• Adjust the shoulder pad to the
shoulder.
• Pull the shoulder strap to make
sure it is firmly attached to the main
unit of the tool.
Содержание EY7840LR2S
Страница 46: ... 46 MEMO ...
Страница 47: ... 47 MEMO ...


